
Painting an older house in Boise takes more than choosing a new color. Age, layered coatings, plaster, wood trim, weather exposure, and previous moisture problems can all affect the plan. A careful assessment helps protect the home, avoid premature peeling, and choose a finish that fits the surface.
In short, painting an old house in Boise starts with identifying the home’s age and materials, checking for moisture and unstable coatings, planning lead-safe work when potentially pre-1978 paint may be disturbed, preparing plaster or wood correctly, and scheduling around Treasure Valley weather. A professional assessment is especially valuable when the home has extensive prep, uncertain coatings, or difficult access.
Planning to paint an older Boise home? Request a free estimate from Paint Boise.
What Makes Painting an Old House Different in Boise?
Older homes often have several generations of paint, repairs, and replacement materials. A wall may include original plaster, a later skim coat, patched drywall, and multiple layers of finish. Exterior siding and trim may have weathered at different rates, especially on elevations exposed to sun, wind, or irrigation overspray.
Boise and the Treasure Valley also bring conditions that matter during preparation and application. Hot, dry summer air can make some products skin over quickly, while cool nights and fall moisture can slow drying. Winter freezing conditions are unsuitable for many exterior coatings. Temperature, surface temperature, direct sunlight, overnight moisture, and manufacturer instructions all belong in the schedule.
This does not mean every old house needs the same treatment or that every historic feature must be preserved in one particular way. It means the project should begin with observation rather than assuming a fresh coat will solve peeling, cracking, staining, or dampness.
First Assess the Home, Surfaces, and Paint History
Start with age and building history
Note when the home was built, whether it has been remodeled, and which rooms or exterior elevations changed. Additions may have different substrates and coatings from the original structure. A previous owner may have painted over wallpaper, sealed a porous repair, or installed new trim over older material.
Home age is a planning clue, not a diagnosis. If the home may have painted surfaces from before 1978, plan for lead-safe evaluation before disturbing them. Do not sand, scrape, or create dust from a coating when its hazards are unknown.
Identify the substrate before choosing preparation
Look for plaster, drywall, wood siding, wood trim, masonry, metal, and repaired areas. Each substrate has different movement, porosity, adhesion, and primer considerations. Plaster can be firm while separating from its base. Wood can hold moisture near a joint or end grain. Masonry can carry salts or moisture that push a coating away.
Record visible cracks, soft spots, bubbling, chalking, peeling, stains, exposed fasteners, and failed coatings. A small test area can reveal whether a surface is sound and whether the planned cleaner, primer, and finish are compatible. Follow product directions, and stop when the condition is unclear.
Check for moisture, rot, and efflorescence
Painting over active moisture usually hides the symptom briefly and creates a larger coating failure later. Check around windows, roof lines, gutters, hose bibs, bathrooms, kitchens, basements, and exterior areas near sprinklers. On masonry, white powdery deposits may indicate salts moving through the surface. On wood, softness, darkened fibers, or recurring staining can point to a repair need.
Paint is not a substitute for correcting a leak, improving drainage, replacing damaged wood, or allowing a damp surface to dry. When staining or deterioration continues after obvious sources are addressed, ask a qualified professional to assess the condition before painting.
Use a simple homeowner observation checklist
- Which rooms or elevations have peeling, cracking, bubbling, or chalking?
- Are different surfaces joined in the same area, such as plaster beside drywall or wood beside masonry?
- Do stains return after cleaning or rain?
- Are any coatings old, unknown, or potentially from before 1978?
- Will ladders, tall walls, ornate trim, or occupied rooms make preparation difficult?
Photographs and notes make an estimate more useful, but they do not replace an on-site assessment. Obtain qualified advice when the project involves uncertain coatings, extensive dust-producing preparation, structural deterioration, active moisture, or unstable access.
Lead-Safe Preparation for Older Homes
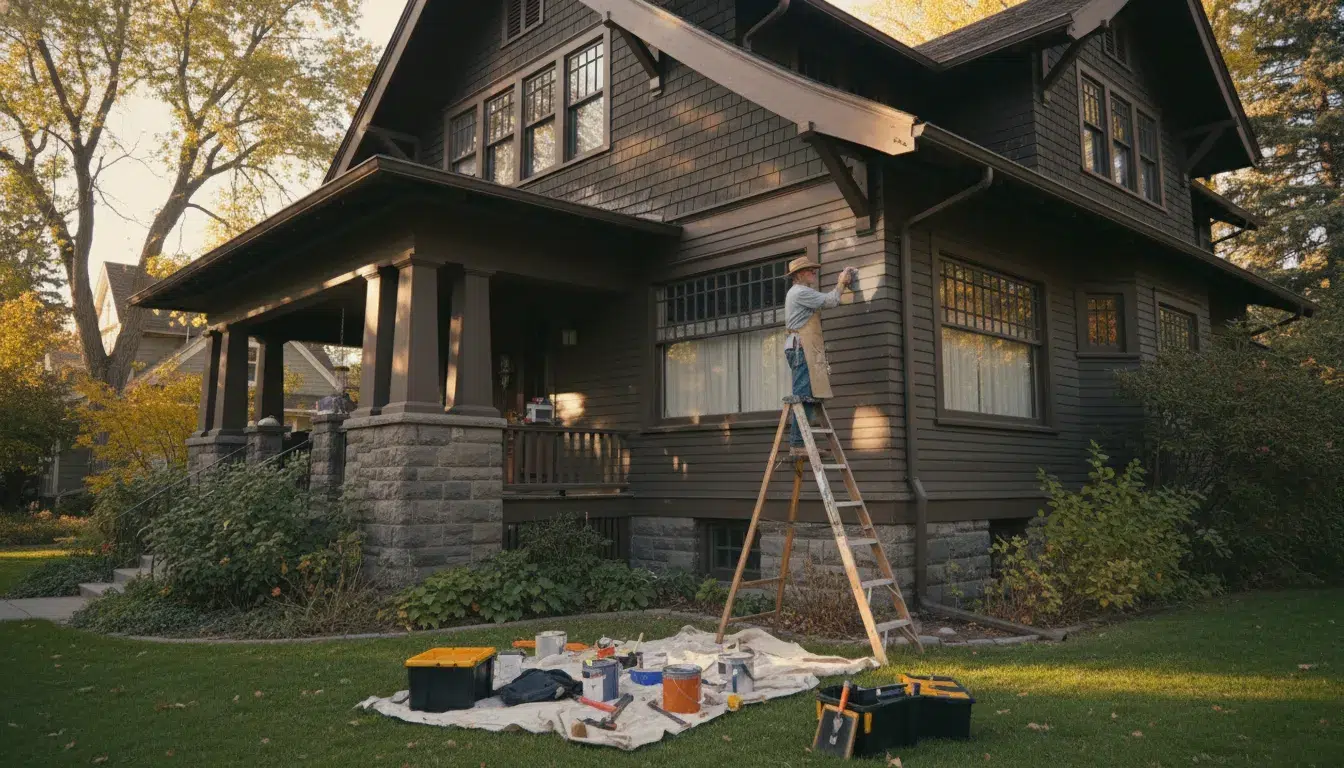
Painted surfaces in a potentially pre-1978 home deserve a lead-safe plan before work begins. The question is whether existing coatings could contain lead and whether the planned work could disturb them.
Avoid dry sanding, aggressive scraping, or other dust-producing preparation until the coating has been evaluated and the work approach is understood. Keep children and pets away from chips and dust, isolate the work area as appropriate, and maintain clean work practices. This guide is not an abatement, disposal, testing-kit interpretation, medical, or legal manual.
For renovation, repair, and painting work that may disturb painted surfaces, use a firm with appropriate training and credentials when applicable. The EPA Renovation, Repair and Painting program is a useful starting point. Paint Boise can help evaluate the painting scope and explain which preparation questions should be resolved before an estimate becomes a work plan. For a focused overview, see our guide to lead paint in homes.
How to Prepare Plaster Walls and Ceilings
Clean without damaging the surface
Remove loose dust and surface dirt using a method appropriate for the plaster’s condition. Avoid saturating a weak or cracked area. The goal is a clean, stable surface, not aggressive cleaning that enlarges cracks or pulls away a finish.
Stabilize cracks and delaminated areas
Hairline cracks, open cracks, loose keys, hollow-sounding sections, and flaking layers do not all need the same repair. A stable hairline crack may need a compatible patch and careful feathering. A section separated from its base may require more involved repair before primer. Do not bridge a moving or loose area with a thick layer of paint.
Use compatible patching and primer
Repairs can be more porous than the surrounding wall and may flash through the finish if they are not sealed correctly. Choose patching, skim, and primer products based on the substrate and manufacturer instructions. Let repairs dry fully, smooth transitions without overworking the surrounding surface, and test adhesion in a small area.
Moisture needs to be addressed before coating plaster. Bubbling paint, recurring stains, or powdery surfaces can indicate that the wall is not ready. For a narrower explanation of primer decisions, review when and why paint primer is used.
How to Prepare Old Wood Siding, Trim, and Millwork
Clean gently and identify loose coatings
Old wood siding and detailed millwork need enough cleaning to remove dirt and contaminants, but excessive pressure can damage fibers and drive water into joints. Identify loose or unstable coatings before deciding how to handle them. If a coating may contain lead, use the lead-safe approach above instead of treating it like ordinary paint.
Assess repair areas before priming
Check end grain, window sills, corner boards, fascia, and joints for soft wood or recurring dampness. Painting over rot will not restore the wood. Repairs and replacements should be complete, dry, and sound before spot priming. Caulk only joints appropriate for caulk, and follow product directions.
Respect detailed trim
Ornate trim and historic millwork can be visually important even when the project is not a preservation project. Avoid burying profiles under unnecessary filler or heavy coating. For detailed interior-trim technique, see our painting trim and baseboards guide. If color and historically compatible choices are the main question, our Boise historic-home painting guide covers that separate topic.
Choose Paint and Plan Around Treasure Valley Weather
Product selection should follow the substrate, existing coating, exposure, and intended use. Primer is not interchangeable across every surface. A porous repair, glossy coating, exterior wood, masonry, and a painted interior wall may each need different preparation. Use manufacturer instructions rather than assuming one formula works everywhere.
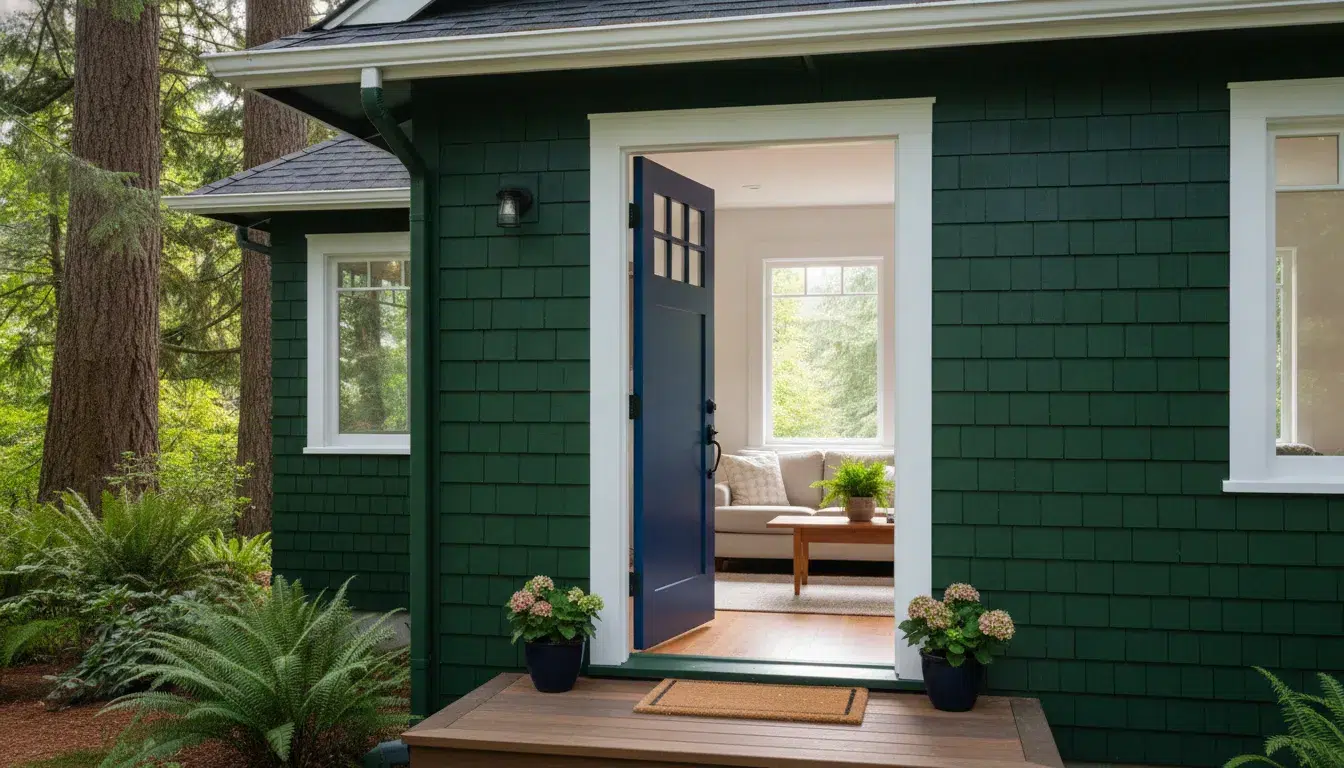
For exterior work, plan around a stable dry-weather window and the surface temperature, not just the forecast high. Direct afternoon sun can heat one elevation while another remains cool. Overnight moisture can extend drying time. Summer heat and ultraviolet exposure affect scheduling, while freezing weather can make exterior painting unsuitable. Allow coats to dry and cure according to product directions.
For interior work, ventilation and occupancy matter. Protect freshly coated rooms from dust, moisture, and contact while the finish cures. Choose sheen based on the room, cleaning needs, and surface condition. A higher sheen can emphasize uneven plaster or repairs.
Planning exterior repairs before the busiest warm-weather period can identify substrate repairs, access needs, and material questions before a narrow weather window becomes a rushed application.
DIY or Professional Painter? A Practical Decision Guide
DIY painting can be reasonable for an accessible, stable, low-complexity area when the surface is known, preparation is straightforward, and the homeowner has time and tools. A small interior room with sound drywall is different from a multi-story exterior with peeling paint and unknown layers.
| DIY may fit when | Professional help is wise when |
|---|---|
| The surface is stable, dry, and easy to reach. | Coatings may be from before 1978 or their hazards are uncertain. |
| Prep is limited to ordinary cleaning and minor repairs. | There is extensive peeling, plaster failure, rot, efflorescence, or recurring moisture. |
| You can protect the room and allow realistic drying time. | The project includes multi-story access, difficult elevations, or ornate trim. |
| You have the right tools and can follow product directions. | You need a coordinated prep, repair, and finish plan or have limited time. |
The professional decision should be based on conditions, not pressure. A qualified painter can help define repairs, preparation, Boise-weather scheduling, and areas outside a simple repaint. When extensive preparation, lead-safe planning, or difficult access is involved, review Paint Boise house painting services and request an estimate that addresses the home’s condition.
Common Mistakes to Avoid When Painting an Old House
- Painting over moisture: Find and correct the source before coating a stain or bubbling area.
- Coating an unstable surface: New paint cannot make loose layers or failing plaster sound.
- Using one primer for every substrate: Match preparation and primer to the surface and existing coating.
- Disturbing an unknown old coating: Plan lead-safe evaluation before dust-producing work.
- Ignoring dry and cure conditions: Follow product directions for temperature, moisture, recoat time, and cure time.
- Skipping a test area: Check adhesion, color, sheen, and appearance before the full project.
- Relying on a fresh coat to solve repairs: Rot, leaks, plaster separation, and masonry moisture need attention first.
If peeling is the main issue, our guide to fixing peeling paint can help distinguish common causes. The solution depends on why the coating failed, not only what the failure looks like.
Want a safer plan for painting your older Boise home? Contact Paint Boise for a free estimate.
Frequently Asked Questions About Painting an Old House
Do older Boise homes need a different painting preparation plan?
Often, yes. Older homes may combine plaster, wood, masonry, layered coatings, repairs, and previous moisture exposure. The right plan starts with assessing the actual substrates and coating condition.
What should I do before disturbing paint in a pre-1978 home?
Pause dust-producing preparation until the coating and work approach have been evaluated. Use lead-safe practices and an appropriately qualified firm when applicable. Keep children and pets away from chips and dust, and use the EPA guidance linked in this article.
How is plaster preparation different from drywall preparation?
Plaster can have cracks, porous repairs, or sections separated from their base. It may require stabilization and compatible patching before primer. Drywall also needs sound, clean repairs, but the failure modes and materials are not identical.
What Boise weather conditions matter for exterior painting?
Plan around dry conditions, surface temperature, direct sun, overnight moisture, and freezing temperatures. Follow coating limits for application, recoat, and cure time. A forecast alone does not describe every elevation’s surface conditions.
When should I hire a professional painter?
Consider professional help when coatings are uncertain, preparation is extensive, access is difficult, plaster or wood needs repair, moisture is recurring, or you lack time and tools. A site assessment can clarify the scope before you commit.
Plan Your Old-House Painting Project
A successful old-house repaint begins before the first roller or brush. Identify substrates, resolve moisture questions, plan lead-safe preparation when needed, repair unstable areas, choose compatible products, and schedule around Treasure Valley conditions. Paint Boise serves Boise and the surrounding Treasure Valley, including Meridian, Eagle, Garden City, Nampa, Caldwell, Kuna, and Star. Call (208) 254-6615 or use our contact page to request a free estimate.