Living in one of Boise’s beautiful, historic homes comes with a unique charm and a specific set of responsibilities. When you see peeling paint, especially in a house built before 1978, your first thought shouldn’t just be about aesthetics; it should be about safety. Old paint can contain lead, and disturbing it without proper precautions can release toxic dust into your home. This guide is built on a safety-first approach. We’ll cover the critical steps for testing for lead, explain the right way to prepare the surface, and show you how to achieve a flawless finish while keeping your family safe.
Peeling paint is a common problem in many homes. It can be caused by a humid climate with frequent rainfall. Many homeowners assume painting over flaking, peeling paint will solve the problem. However, it’s important to deal with peeling paint before applying a fresh coat to ensure proper adhesion. In this blog, we will discuss the causes of peeling paint and outline crucial steps to fix and prevent peeling paint effectively.
How to Fix Peeling Paint for Good
Peeling paint can be fixed with DIY methods, but some cases require professional attention, depending on the damage. Here’s how to fix peeling paint in your home:
A Serious Note on Lead Paint Safety
Before you start scraping away at old, flaky paint, we need to talk about something important: lead. It’s a serious topic, but understanding the risks is the first step to keeping your family safe during any home improvement project. This is especially crucial for anyone living in one of Boise’s beautiful, historic neighborhoods where older homes are common.
Is Your Home at Risk?
If your home was built before 1978, there’s a real possibility that the peeling paint on your walls contains lead. While it’s harmless when undisturbed, the process of scraping or sanding it releases fine, toxic dust into the air. This lead dust is extremely dangerous when inhaled or ingested, posing significant health risks, particularly to children and pregnant women. Before you begin any work, it’s essential to check for lead. You can get an EPA-recognized lead test kit from a hardware store or learn more from the National Lead Information Center. It’s a simple step that can prevent a major health hazard.
Protect Yourself and Your Family
If your test confirms the presence of lead, the project shifts from a simple DIY task to a hazardous material situation. Protecting your family becomes the number one priority, and this requires specialized precautions. A standard dust mask won’t cut it; you need a NIOSH-approved respirator and specific techniques to contain the dust and debris. Honestly, this is a job best left to certified professionals. Our team of house painters is trained in lead-safe work practices to handle the removal and cleanup safely, ensuring your home remains a healthy environment. We take this responsibility seriously, because your family’s well-being is paramount.
First, How Bad Is the Damage?
Assess the damage to your interior and exterior walls. If the damage is minor, you may be able to fix the peeling paint yourself. However, if the problem is extensive, professional help might be necessary.
Gather Your Tools and Prep the Area
Depending on the severity of the damage, you may need a scraper, a sandpaper block, sandpaper, as well as protective equipment like a mask or gloves. Before you begin, gently clean and dust any dirt or debris off the walls.
Choosing the Right Sandpaper
To get started, you’ll want to grab a couple of different sandpaper grits; this isn’t a one-size-fits-all job. For the initial, aggressive work of getting all that loose, flaky paint off the wall, you’ll want something coarse. An 80 or 100-grit paper has enough bite to power through the peeling layers without much fuss. Once the loose stuff is gone, you’ll notice a hard edge between the remaining paint and the bare wall. To get that invisible, seamless finish you’re after, you need to feather the edges of the old paint. This is where a finer, 220-grit sandpaper comes in. Gently sanding the perimeter of the patch will create a smooth transition, ensuring your repair won’t be noticeable once you apply a fresh coat.
Picking the Perfect Primer
Don’t even think about skipping the primer! It’s the secret ingredient to making your repair last and preventing future peeling. Learn how to paint over old paint the right way for a lasting finish. The type of primer you choose is just as important as the act of priming itself. If you’re working in a bathroom or another high-moisture area, a mildew-resistant primer is non-negotiable. For surfaces that are slick or have stubborn stains bleeding through, you’ll need something with more muscle. A bonding primer is designed to give you extra adhesion on tricky materials. Another great tool for your arsenal is a sealer, which is specifically made to lock down the edges of the remaining paint after you’ve scraped and sanded, keeping them from lifting later.
Cleaning the Surface
Now that you’ve finished sanding, you’re left with a lot of dust. Wiping it away is one of the most critical steps for ensuring your new paint sticks properly. You need a perfectly clean surface, free of any dust or grime. A heavy-duty cleaner like TSP (trisodium phosphate) is a popular choice for pros because it cuts through everything, but it absolutely must be rinsed off completely, or it will interfere with your paint. For a simpler, no-rinse option, try wiping the wall down with a cloth dampened with heated distilled water. If all this prep work sounds like a lot, it’s because it is! It’s also where professionals make all the difference. Our expert interior painting team knows that meticulous prep is the foundation of a flawless, long-lasting finish.
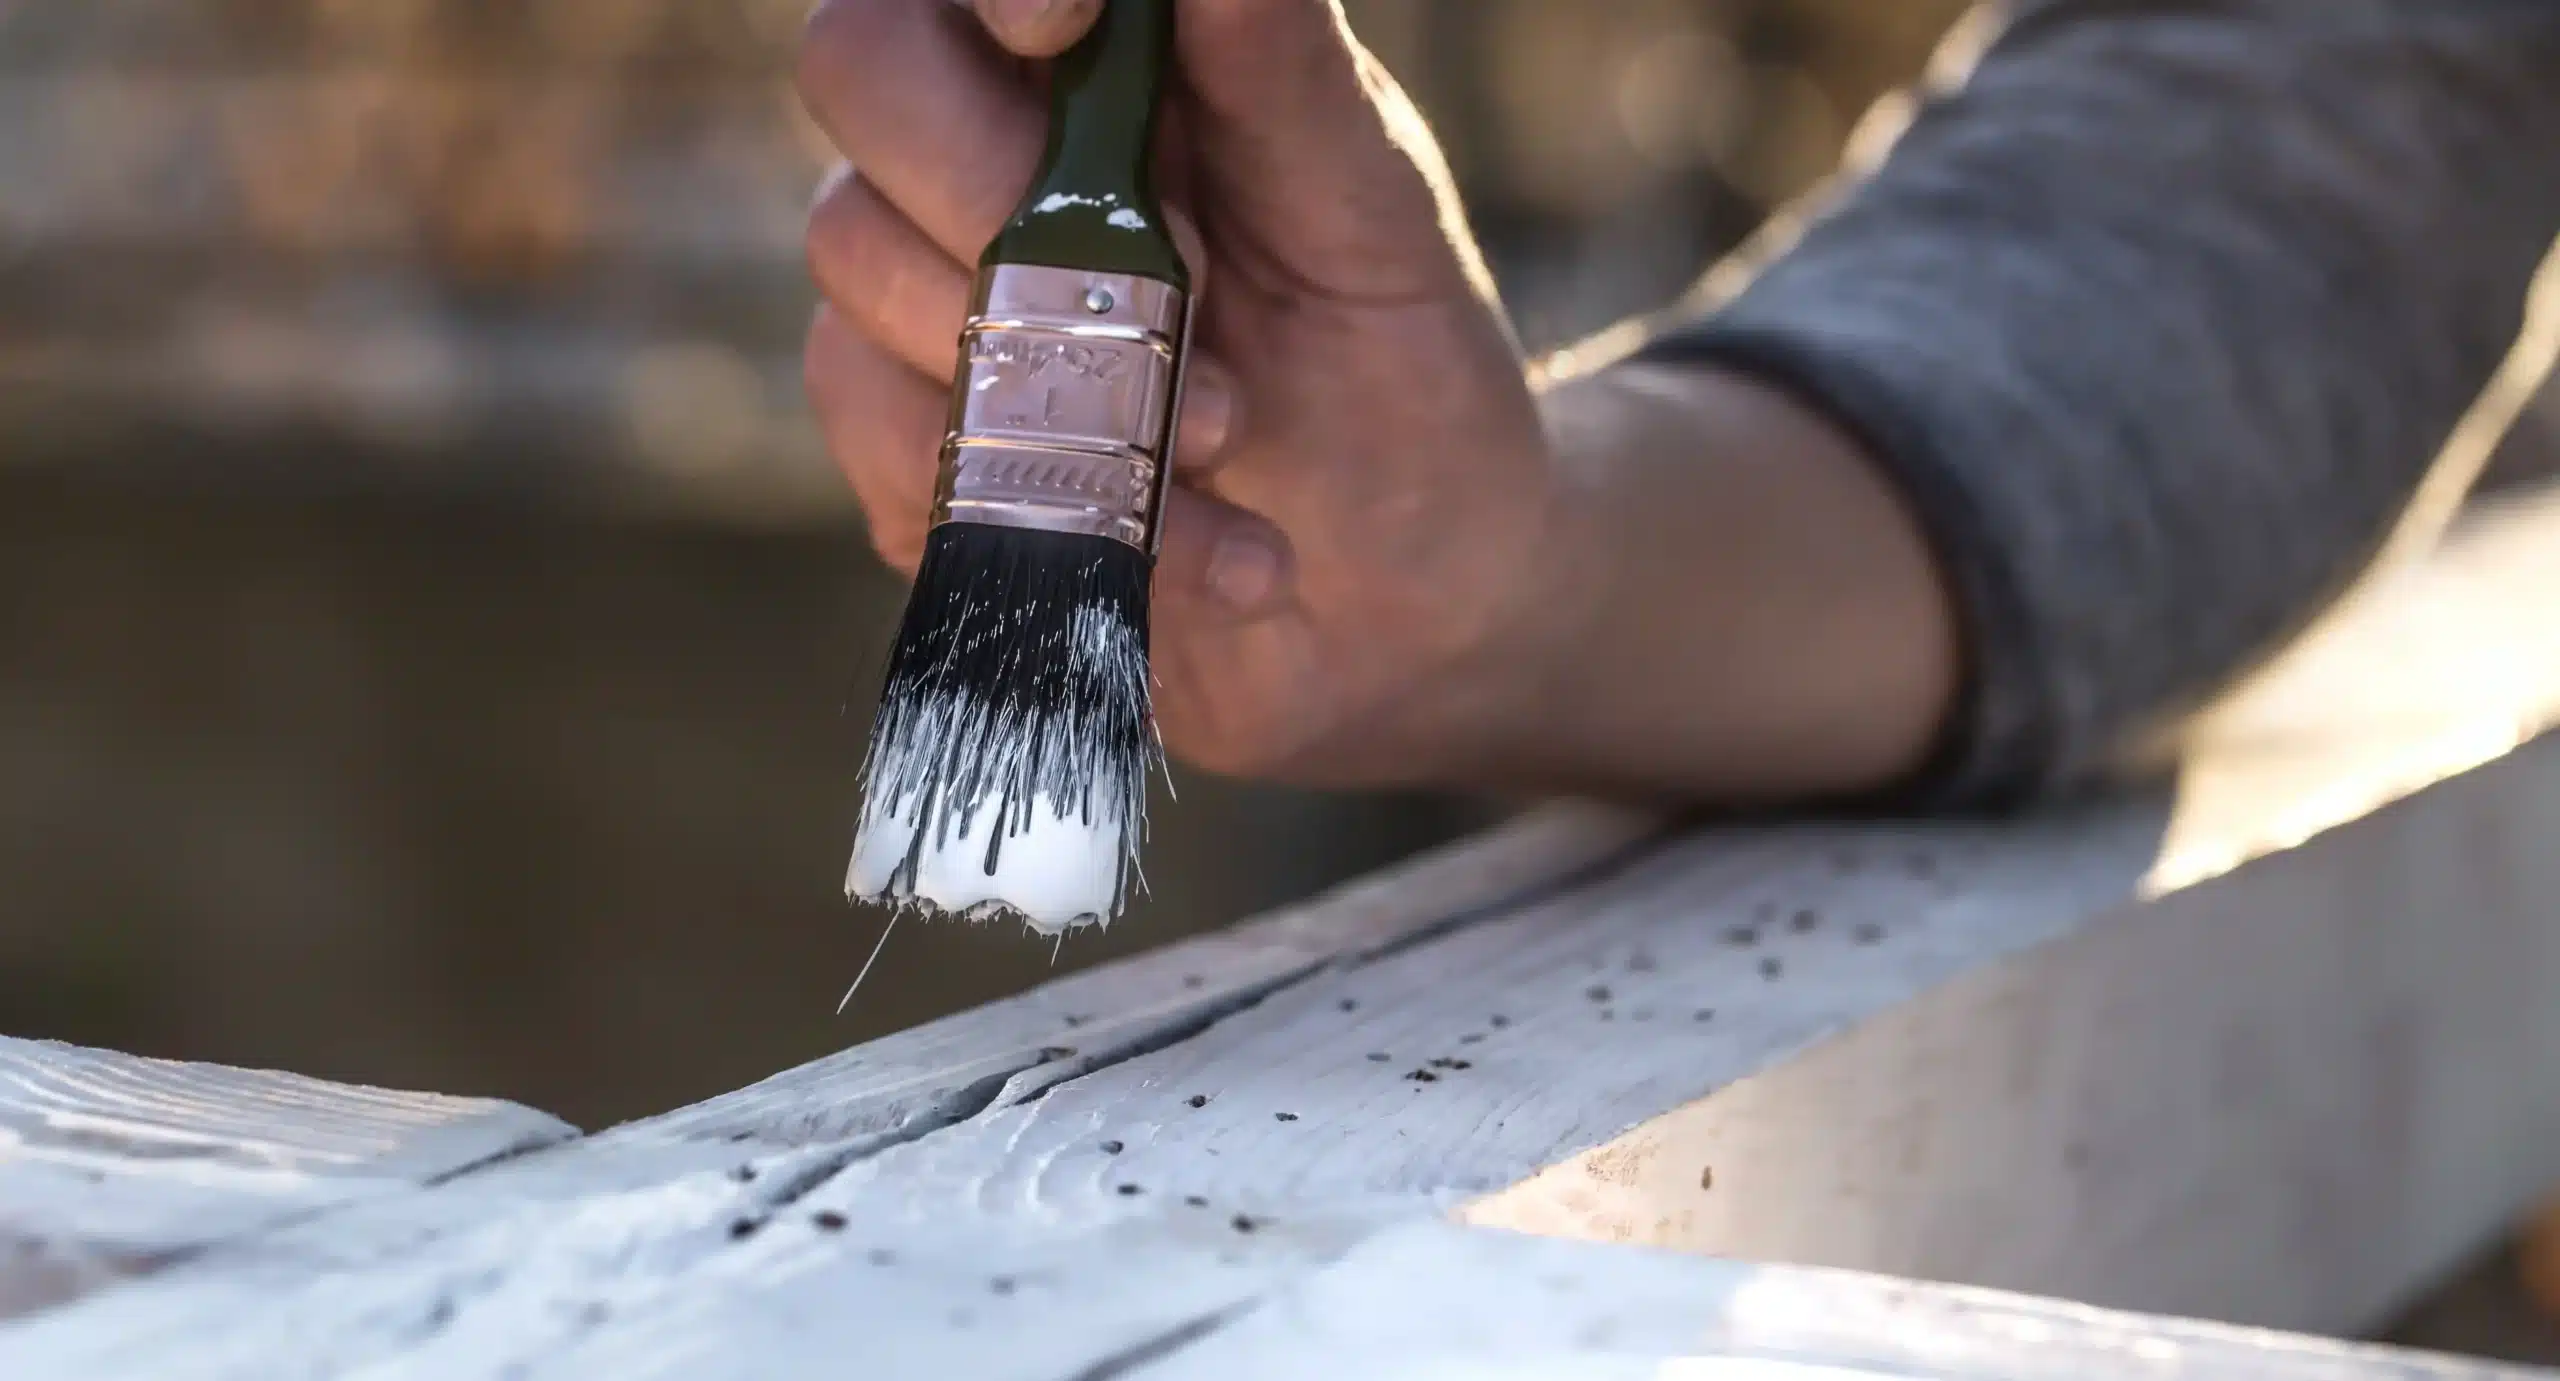
Scrape Away the Old, Flaking Paint
Use tools to gently scrape the peeling paint off. This is important because you do not want to apply primer and new paint to a rough or bumpy surface. Removing peeling paint is the first step to creating a smooth surface for new paint.
For Large Areas: Consider a Heat Gun
If you’re tackling a large section of peeling paint, a heat gun can be your best friend. It’s a tool often used for big jobs because it gently softens old paint, making it much easier to scrape away without damaging the wall underneath. Simply hold the gun a few inches from the surface and move it back and forth until the paint begins to bubble or wrinkle, then gently lift it off with a scraper. Just be sure to keep the gun moving to avoid scorching the wall. Remember, if your home was built before 1978, it’s critical to test for lead paint first, as heating it can release toxic fumes. For extensive peeling or if you have any safety concerns, our professional house painters are always here to help.
Sand and Patch for a Smooth Finish
Once any peeling paint has been removed, it’s time to smooth the surface. Use a sandpaper block or sandpaper with different grits to smooth the surface and clean off any remaining chunks of dried paint. Use filler to patch holes and gaps if necessary.
Dealing with Shrinkage
You’ve applied your filler, and it looks perfect, but when you check on it later, there’s a slight dip. Don’t panic! It’s completely normal for spackle or filler to shrink a bit as it dries, which can leave a small indent. The fix is simple: just apply a second, thin layer of filler over the indented area. Once that’s dry, a final, light sanding will make the surface perfectly level with the rest of the wall. The key is to work in thin layers; trying to fill a deep hole with one thick coat often leads to more shrinkage and cracking, so patience is your best friend here.
Advanced Step: Skim Coating
If scraping and patching have left your wall looking like a bumpy, uneven landscape, you might need a more advanced solution. Skim coating involves applying a very thin layer of joint compound over the entire damaged area to create a brand-new, uniform surface. After it dries, you sand it smooth for a flawless finish that’s ready for primer and paint. This technique requires a steady hand and can be tricky for a DIY first-timer. If your walls need this level of repair to look their best, it might be time to call for an expert interior painting service to guarantee a professional result without the headache.
Don’t Skip the Primer
Once the wall is smooth and the holes are patched, apply a coat of primer on your walls. Primer allows for better paint adhesion and ensures that the new coat of paint lasts for as long as possible. Read the manufacturer’s instructions to determine how much primer to use.
Apply Your Fresh Coat of Paint
Once the surface is primed, the last step is to apply the paint of your choice on the surface. Make sure you choose the right paint for exterior and interior walls. Select a high-quality paint that provides a smooth, fine finish.
Two Thin Coats are Better Than One
When it comes to painting, it’s tempting to load up your roller and try to get the job done in one thick coat. However, for a finish that looks professional and lasts, patience is key. The golden rule is that two thin coats are always better than one thick one. A heavy coat of paint is prone to drips and runs, and it can dry with an uneven, bumpy texture. Applying two lighter coats allows for a smoother application and a more uniform color. More importantly, it creates a more durable and resilient paint film that stands up better to wear and tear. Just be sure to let the first coat dry completely before you start the second. Check the paint can for recommended drying times, as rushing this step can cause the fresh paint to pull up the first layer, creating a mess you’ll have to fix.
Tip for Porous Surfaces
If you’re painting a surface that has never been painted before, like new drywall or bare wood, you’re dealing with a porous surface. Think of it like a dry sponge—it’s going to soak up that first layer of paint, which can lead to a blotchy finish and use up more paint than necessary. Here’s a pro tip to get better adhesion and a more even result. For your first coat of water-based paint, you can thin it slightly with a small amount of distilled water. This thinned-down coat acts almost like a sealer, quenching the “thirst” of the porous surface. It helps the subsequent coats of paint go on more smoothly and evenly, giving you a much better final result without wasting your expensive topcoat paint.
What If My Walls Are Textured?
Textured walls are common, but they present a unique challenge when you need to patch a hole or fix a peeling spot. After you scrape and spackle, you’re often left with a perfectly smooth patch that sticks out like a sore thumb against the surrounding texture. To blend your repair seamlessly, you’ll need to recreate that texture. You can find spray-on wall texture products at most hardware stores that can mimic common patterns like orange peel or knockdown. The secret to success is to practice on a piece of cardboard first to get a feel for the spray pattern and pressure needed to match your wall. For smaller spots, you can also try dabbing thinned-down joint compound onto the patch with a sponge to replicate the texture by hand.
Matching Your Existing Paint Color
For small touch-ups, getting the color right is everything. If you just guess, you’ll likely end up with a patch that’s slightly off, drawing even more attention to the repair. The most reliable method is to get a perfect match from the paint store. Carefully use a utility knife to cut out a small chip of paint from the wall, about the size of a quarter. You can often do this in an area that will be hidden, like behind a piece of furniture or a wall hanging. Take that chip to a paint store, where they can use a spectrophotometer to scan the color and create a custom-matched sample. Remember to also identify the paint’s sheen (e.g., matte, eggshell, satin), as a mismatch in sheen will be just as noticeable as a mismatch in color.
Why Is My Paint Peeling?
Paint peeling can occur on the exterior and interior walls of your home due to various issues, including:
Excess Moisture and Humidity
Underlying moisture problems are a common cause of peeling paint. Water can seep through your interior and exterior walls, leading the paint to lose its adhesion. As a result, the paint can start bulging, peeling, and flaking.
Remember: Paint is Water-Resistant, Not Waterproof
It’s a common misconception that a new coat of paint can act as a seal against water. The reality is that even the highest-quality paint is only water-resistant, not waterproof. It can stand up to moisture for a while, but it can’t stop a persistent leak. This is why it’s so important to address the root cause of the dampness. Whether it’s a leaky pipe, a compromised roof, or poor ventilation in a bathroom, fixing the source of the water is the only way to guarantee your new paint job will last. Simply painting over the problem is a temporary fix that will have you dealing with peeling paint again down the road.
Manage Moisture Before You Paint
Patience before you start painting is crucial for a lasting finish. Your walls must be completely dry for the primer and paint to bond correctly. In humid areas like bathrooms or laundry rooms, this can be tricky. A great tip is to run a dehumidifier in the room for a day or two before you begin your interior painting project. This simple step pulls lingering moisture from the drywall, creating the ideal dry surface for primer to adhere to. It’s a small bit of prep work that makes a huge difference in preventing future peeling and ensuring a professional-looking result.
The Problem with Poor Prep Work
If whoever painted the walls last did not prepare the surface properly before painting, the new paint may not have properly adhered to the surface. This can cause the paint to peel and flake after some time.
Checking for Mold
If your paint is peeling in a bathroom, kitchen, or any other area prone to dampness, it’s smart to play detective before you start scraping. Peeling paint can be a sign of a bigger issue lurking underneath: mold. Before you proceed with any repairs, it’s a good idea to check for mold. You can find simple test kits at most home improvement stores that will give you a clear answer. Just painting over it won’t solve the problem; the mold will continue to grow and can eventually push through the new paint. Remember, mold thrives in moisture. If you do find mold, it’s a strong signal that you need to address the underlying moisture source—whether it’s poor ventilation or a hidden leak—to ensure it doesn’t come back.
Rushing the Job: Not Enough Drying Time
Proper painting requires multiple coats for strong adhesion, depending on the paint quality and surface texture. Each coat needs to be dried before a new coat is applied. If the painters don’t leave adequate drying time between the coats, the paint can start peeling soon afterward.
Paint Drying Too Quickly
It might seem like a good thing, but paint that dries too fast can cause just as many problems as paint that stays wet too long. When paint dries too quickly, it doesn’t have enough time to properly cure and form a strong, flexible bond with the surface underneath. This rapid drying process can lead to a brittle finish that is prone to cracking or flaking down the road. Conditions like painting in direct sunlight, on an overly hot surface, or in very low humidity can accelerate drying time significantly. Professional painters understand how to manage these environmental factors, often by choosing the right time of day to work and using additives that slow down drying, ensuring a durable, long-lasting finish for your exterior painting project.
Too Much Sun and UV Damage
Sun exposure is another common reason why the paint on your exterior walls might start peeling off. Always select paint that offers UV protection for exterior walls. Otherwise, it can start flaking over time.
Using Low-Quality or Cheap Paint
Low-quality paint is also why you may observe your paint peeling or flaking. Low-quality paints usually do not have strong adhesion, even if you apply multiple coats. Therefore, over time, you may observe paint peeling off your walls.
Applying Paint Layers Incorrectly
As discussed above, paint must be applied in multiple coats, with each coat having adequate drying time. Usually, paint containers have the manufacturer’s instructions about the right number of coats and drying time. If the paint layers aren’t formed properly, paint can peel over time.
Applying Paint Too Thickly
It’s a common shortcut: trying to get full coverage in a single, heavy-handed coat to finish the job faster. While it seems efficient, applying paint too thickly is a classic mistake that almost guarantees problems later. A thick layer of paint can’t cure correctly; the surface may feel dry to the touch, but the paint underneath remains soft and wet, trapping moisture against the wall. This prevents the paint from forming a strong bond, and according to experts at Sherwin-Williams, an uneven or overly thick application is a primary reason paint fails to adhere. Instead of one thick coat, the key to a lasting finish is applying multiple thin, even coats. This professional technique allows each layer to dry completely, creating a much stronger surface. It’s why experienced house painters prioritize patience and proper technique over speed, ensuring the job is done right the first time.
Using the Wrong Paint for the Surface
Each surface requires a different type of paint. For instance, you can’t paint wood with the paint designed for concrete surfaces, and vice versa. Incompatible paint surfaces are another reason why paint may peel off the surface.
The Classic Latex-Over-Oil Mistake
This is a common problem, especially in older homes. Years ago, oil-based paints were the standard for their durability. Now, most paints are water-based latex. If you apply a modern latex paint directly over an old, glossy, oil-based finish without the right prep, it’s almost guaranteed to peel. The new paint just can’t get a good grip on the slick, non-porous surface. The solution involves some elbow grease: you have to scuff up the old paint by sanding it, then apply a special bonding primer. This primer acts as a bridge, creating a surface that the new latex paint can firmly adhere to. It’s a crucial step that ensures your hard work lasts.
How to Fix Peeling Paint on Different Surfaces
The general steps of scraping, sanding, and priming are a great starting point, but the best approach often depends on the surface you’re working with. A bathroom wall has very different needs than a wooden front door or a concrete garage floor. Each material interacts with paint and moisture in its own way, so using the right techniques and products is key to a repair that actually lasts. Getting these details right can be the difference between a quick fix and a long-term solution. If you’re facing a tricky surface and want to ensure a flawless, durable finish, our teams have the experience to handle any material. We stand by our work with a service guarantee, so you can feel confident in the result.
Wood Doors and Trim
Wood is a beautiful but active material that expands and contracts with changes in temperature and humidity, which can be tough on paint. When you find peeling paint on wood trim, doors, or even your kitchen cabinets, the prep work is everything. After you scrape and sand away the loose flakes, you’ll notice the edges of the remaining paint. To prevent those edges from lifting later, it’s smart to apply a sealer. This product helps bind those old paint edges to the wood, creating a solid, unified base. From there, you can apply your primer and topcoats, knowing you’ve built a stable foundation for a smooth, lasting finish.
Bathrooms
In a high-moisture environment like a bathroom, peeling paint is often a sign of a constant battle with steam and condensation. Here, prevention is just as important as the repair itself. After you’ve scraped away the peeling paint, it is absolutely essential to let the wall dry out completely. Painting over even slightly damp drywall is a recipe for failure. Once it’s bone-dry, use a high-quality, mildew-resistant primer. This will help block future moisture and prevent mold growth. Follow that with a paint specifically formulated for bathrooms or high-humidity areas. These paints create a more durable, scrubbable surface that can better withstand the daily steam from showers.
Concrete Floors
Peeling paint on a concrete floor, like in a garage or basement, is a common headache. Standard wall paint simply isn’t designed to bond with concrete or handle the abrasion from foot traffic and vehicles. To fix this correctly, you need to use products made for the job. After thoroughly scraping and cleaning the surface to remove all loose paint, dust, and oils, the next step is a specialized primer. Look for an epoxy primer designed for concrete, as it will create a powerful bond with the surface. Then, apply a durable floor paint, often an epoxy or polyurethane-based formula, that is tough enough to withstand heavy use without chipping or peeling again.
How to Stop Paint From Peeling in the Future
Although paint peeling is a common problem, there are a few ways to prevent it:
- Use high-quality paint
- Make sure the paint you choose is compatible with the surface you are painting.
- Prepare surfaces with sandpaper and primer before painting.
- Leave adequate drying time between coats.
- Apply the right number of coats.
- For exterior walls, use paint that offers sun protection.
- Perform regular maintenance and keep surfaces clean.
- If your walls have underlying moisture issues, fix them before painting.
A Quick Note for Renters
If you’re a renter, you know that sinking feeling when you take down a picture and a piece of paint comes with it. Before you start worrying about your security deposit, take a breath. In many cases, this kind of minor damage is considered “normal wear and tear.” If the paint came off easily, it might even suggest the wall wasn’t painted properly to begin with, which isn’t on you. Many local rules actually prevent landlords from charging for simple touch-ups. Your best move is to take a quick photo of the spot, then check your lease and Idaho’s landlord and tenant guidelines to know exactly where you stand.
DIY or Call a Pro? When to Get Expert Help
When peeling paint is extensive, recurring, or linked to underlying structural problems like moisture damage, it’s best to seek professional help. Professional painters also address hazardous situations, such as lead paint, ensuring safety throughout the process. Experts like Boise Commercial and Residential Painting possess the right experience and tools to assess the damage and identify the root cause of peeling paint problems. We will apply durable solutions, ensuring proper surface preparation, high-quality materials, and a lasting finish, saving time and preventing future issues.
Your Path to a Perfect, Peel-Free Finish
Peeling paint is a common household problem, but it can be fixed and prevented in the future. Fixing peeling paint requires assessing the cause of the damage, proper preparation, and careful application of primer and paint. Additionally, addressing underlying issues like moisture is crucial for long-term results. When the problem is extensive, consulting professionals ensures lasting solutions. Contact Boise Commercial and Residential Painting today for reliable, cost-effective, high-quality painting solutions.
Frequently Asked Questions
Can I just paint over the peeling spots to save time? I know it’s tempting to look for a quick fix, but painting directly over peeling paint is one of the biggest mistakes you can make. For a full walkthrough of exterior painting best practices, check our complete house exterior painting guide. Think of it this way: the old paint is already losing its grip on the wall. Anything you put on top of it will peel right off with it, likely within a few months. Taking the time to properly scrape, sand, and prime the surface is the only way to ensure your new paint job actually sticks and gives you a smooth, lasting finish.
My paint keeps peeling in the same spot, even after I’ve fixed it. What’s going on? This is a classic sign that there’s an underlying issue that hasn’t been addressed. Check how much exterior house painting costs to budget for a professional repaint. The most common culprit is moisture. Check for hidden leaks from pipes, poor ventilation in a bathroom causing condensation, or water seeping in from outside. Until you find and fix the source of the dampness, the paint will continue to fail. Simply repainting the spot without solving the root cause will only lead to more frustration down the road.
How serious is the lead paint warning for a home like mine? If your home was built before 1978, you should take this very seriously. The danger isn’t the paint itself while it’s undisturbed on the wall; the risk comes from the fine, toxic dust created when you scrape or sand it. This dust is incredibly harmful, especially to children and pregnant women. A simple lead test kit from a hardware store is an essential first step before you do any work. If the test is positive, the project becomes a hazardous material situation that is best handled by a certified professional.
What’s the single most important step I shouldn’t skip? Without a doubt, it’s the preparation. It’s not the most glamorous part of the job, but all the work you do before you even open a can of paint is what determines the final quality and longevity of your finish. Thoroughly scraping away all loose flakes, sanding the edges for a smooth transition, and applying the right primer creates the perfect foundation. Skipping these steps is the fastest way to guarantee you’ll be fixing it all over again.
The repair is done, but now I have a smooth patch on my textured wall. How do I make it blend in? This is a very common challenge, but it’s fixable. The trick is to recreate the wall’s original texture on your smooth patch before you prime and paint. You can find aerosol spray texture products at most home improvement stores that come in different patterns like “orange peel” or “knockdown.” My best advice is to practice on a piece of cardboard first. This helps you get a feel for the spray pressure and distance needed to match your wall’s specific texture.
Key Takeaways
- Safety First: Test for Lead: If your home was built before 1978, test for lead before you scrape or sand any paint. A positive result means the project is hazardous, and for your family’s well-being, it’s time to stop and call a certified professional.
- Prep Work is the Real Secret: A lasting paint job is 90% preparation. To get a finish that won’t peel again, you must take the time to properly scrape, sand for a smooth surface, clean away all dust, and use the right primer.
- Fix the Cause, Not Just the Symptom: Peeling paint often points to a deeper problem like moisture, poor ventilation, or using the wrong products. Simply painting over it is a temporary fix; you have to solve the underlying issue for a permanent solution.