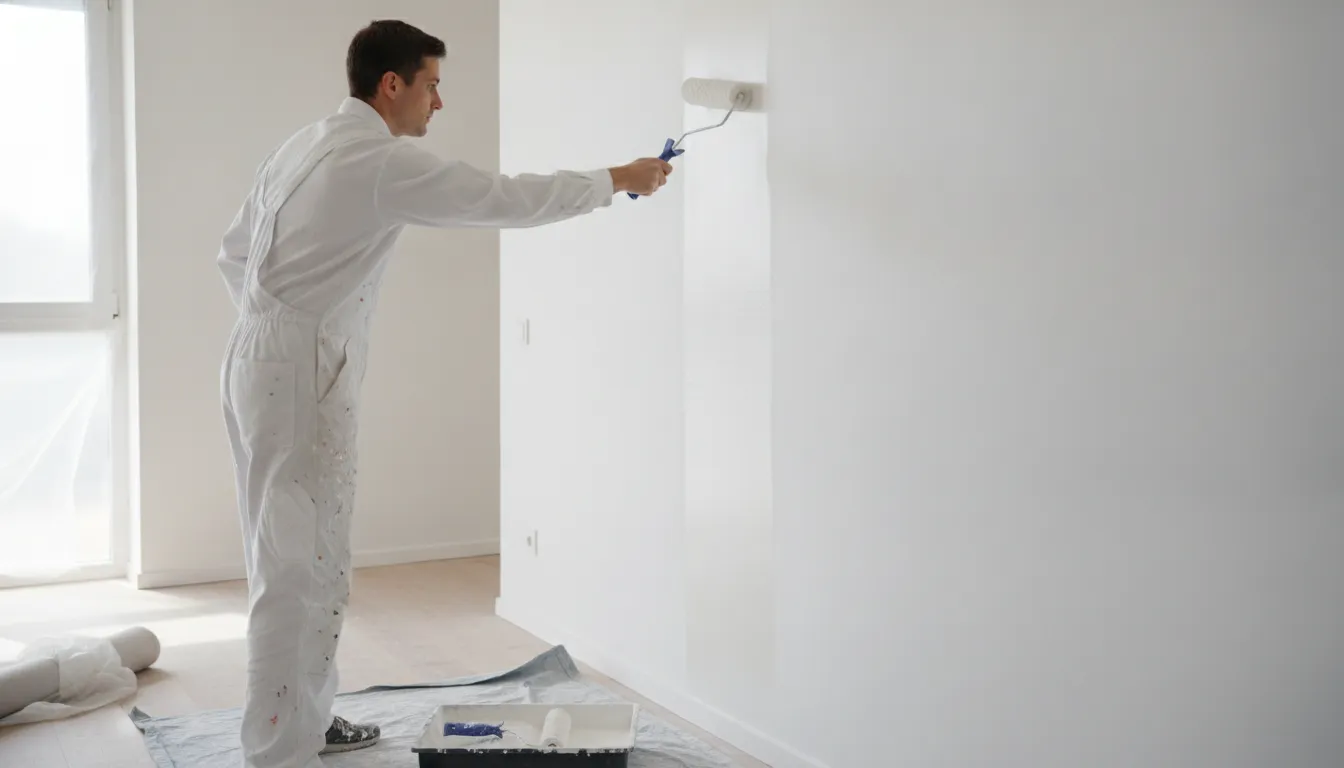
A fresh coat of paint will quickly peel if it lacks a strong grip below. Putting paint straight onto bare wood or raw drywall always leads to early failure.
Using paint primer when and why it is needed ensures a durable and great finish by creating a strong, tight bond between raw surfaces and your new paint. This base layer seals highly porous surfaces like fresh drywall and bare wood, which stops them from soaking up paint and causing a patchy, very uneven final look. According to Utah State University Extension research, primer also provides a rough texture called tooth that helps your future paint layers stick tightly without ever peeling off later. You should always use a true primer when covering dark paint colors, blocking tough water stains, prepping slick metal surfaces, or restoring old, worn out wood siding.
But how do you know if your home painting project needs this extra prep step? To help you make the best choice for your walls, we will break down When to Use Paint Primer and Why It Matters. The path begins with
When to Use Paint Primer and Why It Matters
Starting a painting project is exciting, but you must prep the surface first. Many people want to skip the prep work and go straight to the color. But applying paint primer is the most vital step for a finish that lasts. Knowing when to use primer and why it matters can save you time, money, and hassle on your next home improvement project.
How Primer Creates a Strong Bond
Primer acts as an undercoat that helps paint stick to the wall. Raw wood, new drywall, and metal are either very porous or too smooth. Standard paint cannot stick well to these surfaces on its own. A high-quality primer creates a strong chemical or mechanical bond between the raw surface and the topcoat of paint.
This base coat also provides what painters call “tooth.” This is a slight texture that gives the wet paint something to grip. Studies show that this tooth ensures the proper adhesion of later layers to prevent peeling and cracking over time. Without this grip, your paint may bubble, flake, or peel off within just a few months.
Is Primer the Same Thing as Paint?
Many homeowners ask if primer is just thin white paint, but the short answer is no. While they look similar, they have very different jobs. Paint is full of color pigments and is made to look pretty and resist wear. Primer is mostly resin and is made to seal surfaces and grip the topcoat.
Because it does not have the same binders as paint, primer will not hold up to weather or scrub brushes. It is a prep layer, not a finish. If you try to use paint as a primer, the surface will soak up the paint in uneven spots. This makes your walls look blotchy, and you will need to buy and use much more paint to get a clean finish.
Preparing Your Room for a Lasting Finish
Using primer is a key part of preparing a room for painting properly. To get a smooth look, you must start with a clean and sealed surface. A good primer seals the pores in raw wood or drywall so your topcoat goes on evenly. It also blocks old stains and odors from bleeding through your new color.
Taking the time to prime ensures your paint looks great for years. It prevents the need for constant touch-ups and keeps your walls looking fresh. Whether you are painting bare wood, new drywall, or a dark wall, priming first is the secret to a professional result that stands the test of time.
Why Skipping Primer Causes Adhesion and Coverage Problems
Many people want to save time and money by skipping prep work. But skipping primer leads to bad paint failures that cost more to fix later. If you paint straight onto raw or repaired walls, you will likely face peeling and blotchy spots. Knowing about paint primer when and why you need it will save you from a lot of stress.
Poor paint adhesion on bare surfaces
When paint is put straight on a bare surface, it cannot stick well. This is because raw surfaces like wood, plaster, or drywall do not have the right grip for paint. As shown in a study on paint grounds and primers, these coatings provide tooth, which ensures that later layers stick well to prevent peeling. This coat is needed to make a strong bond between the raw surface and your topcoat.
This issue is clear when you repair old walls. When you scrape and sand spots where old paint has peeled off, you create a mix of bare patches and old paint. If you paint over this patchy surface without a primer, the new paint will peel off soon.
A Utah State report notes that you should apply primers on surfaces that you have scraped and sanded. On home walls, using primer for damaged surfaces is the best way to make new coats last. Skipping this step means your paint job will not last, and you will have to repaint much sooner.
Uneven sheen and texture on drywall
Bare drywall is a tough surface to paint because it has two split textures. You have the paper face of the drywall sheet and the smooth joint compound used to cover the seams. The joint compound is highly porous, while the paper face is less porous. When you paint straight over new drywall, these two parts absorb paint at uneven rates.
This leads to a clear flaw called flashing, where some spots look shiny and others look dull. Stephanie Glick from Behr Paint Company notes that you will see sheen differences at the joint line if you do not prime. New drywall mud joints soak up paint like a sponge. This uneven soaking makes the paint cover better in some spots than others. Without a drywall primer, you will need extra topcoats to hide these dull lines, which wastes paint and adds to your total costs.
Drywall primer seals the surface to prevent these paint problems. Here is what a quality primer does:
- Seals the highly porous drywall mud so it does not soak up topcoats.
- Prevents joint band flashing where seam lines show through the paint.
- Creates an even texture across the whole wall for a smooth finish.
- Saves you money by cutting the number of paint coats you need.
Stains and bleeding through the paint
Another major problem that occurs when you do not prime is stain bleed-through. Many common stains dissolve fast in water. When you apply water-based latex paint straight over these stains, they bleed right through to your new topcoat. This leaves ugly yellow, brown, or dark spots on your freshly painted walls.
This issue is highly common with wood tannins, water stains, and soot. Glick from Behr notes that primers are designed to lock in stains, block tannins, and prevent cracking. For instance, bare wood like cedar or redwood will bleed dark sap if you do not use a blocking primer. If you skip primer, these stains will bleed through no matter how many topcoats you apply, which ruins the look and forces a costly redo.
Key Scenarios That Call for a Primer Coat
Using a base coat is not always a choice. In many cases, it is the only way to make sure your paint sticks and lasts. If you want to know about paint primer when and why to use it, you must look at the state of your walls or siding.
Raw and damaged surfaces
Raw wood and new drywall are highly porous. They soak up paint like a sponge, which leads to a dull, uneven look. For wood, you need a sealer to stop natural oils and sap from leaking through your topcoat.
A blocking primer works best for raw wood, like redwood, cedar, teak, and mahogany. These woods often bleed. This leaves dark brown stains on your light paint. A base coat seals those wood pores and stops the sap from rising.
You must also use a base coat when you work on damaged or worn areas. If old paint has cracked, flaked, or fallen away, you cannot just paint over the bare spots. You should use a scraper and sand the wood or wall first.
A solid foundation is needed to bind the old paint edges with the new coat. Applying a quality base coat is key. It is a vital step in repairing peeling exterior paint. You can learn more about how primers restore worn surfaces that have lost their old paint.
Major color changes
Changing your room from a dark shade to a light one is a major shift. If you try to paint light blue straight over deep red, the dark color will bleed through. Your new paint will look muddy or off-color.
A white or gray undercoat hides the old, dark shade. It creates a clean, neutral base. This base means you need fewer coats of costly finish paint to get a true color. Using a base coat is a vital part of when you need a primer to block dark paint from showing through.
Going from a glossy paint to a flat sheen also calls for a primer. Glossy paint is very slick, so new paint cannot grab onto it and will peel off in sheets. A special bonding primer will stick to slick areas. It provides a rough texture that topcoats can grip.
Masonry and specialty surfaces
Masonry and brick are tough to paint because they are porous and alkaline. Concrete and brick can draw moisture from the ground, which leads to white salt stains. Standard paint traps this wetness. You must use a special primer for masonry surfaces to seal the brick.
Last, some modern home materials are not porous at all. Surfaces like plastic, glass, metal, and vinyl will reject normal latex paint, causing it to bead up or scrape off. For these tough spots, you can use special primers for non-porous surfaces. These products are made to stick to slick materials and form a strong bond that keeps the topcoat from peeling.
Paint-and-Primer-in-One vs a True Primer
Many homeowners wonder if they can skip a step by buying self-priming paint. Knowing how they differ shows you why paint primer is important for a job that lasts. The right choice depends on the state of your walls and your paint color.
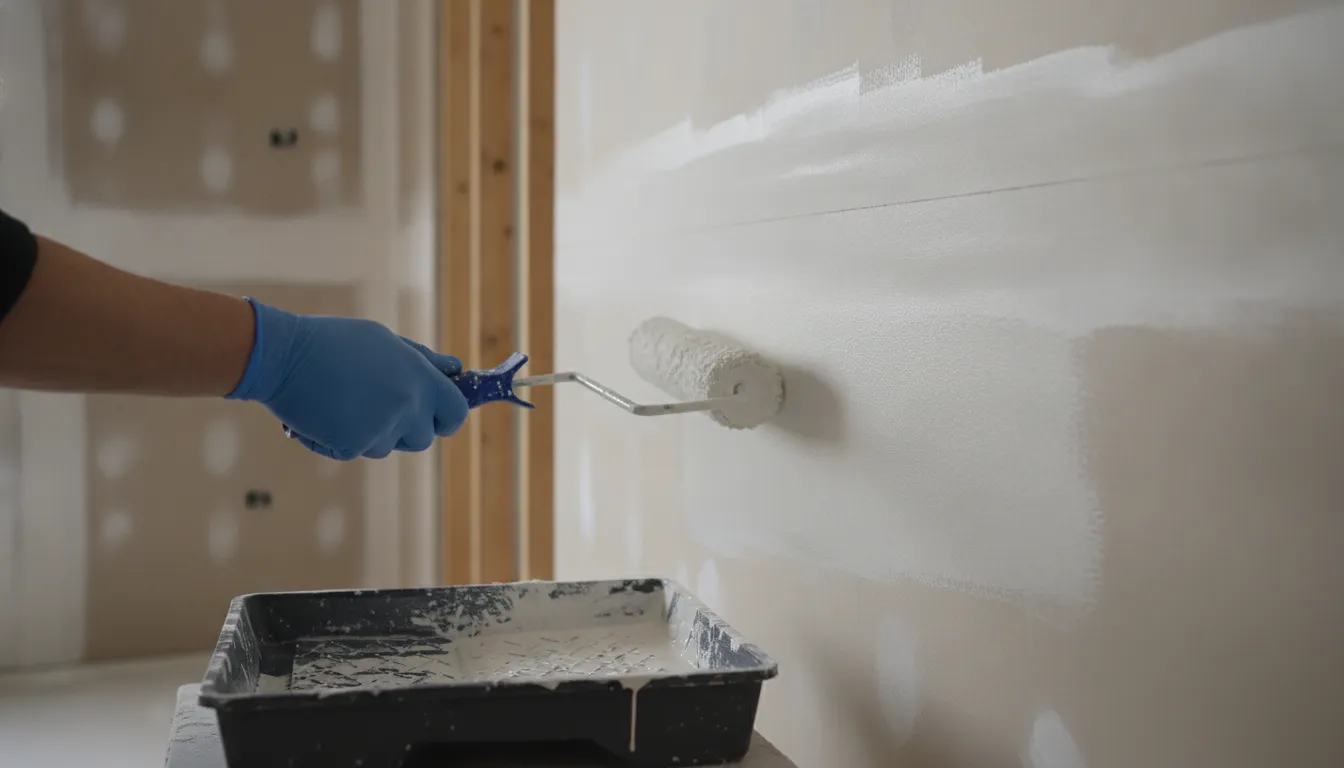
What is a true primer?
A true primer is not paint. It is a base coat built to prep the surface before the topcoat. True primers are designed to make a strong bond between the raw surface and the new paint. According to paint experts at Behr Paint Company, a true primer does many jobs at once. It can seal porous wood or drywall, block tough stains, and stop cracking. A good primer also prevents wood from bleeding sap and blocks salty white stains on brick.
How self-priming paint works
Paint-and-primer-in-one is actually a thick type of paint. It does not contain real primer. Instead, it is a high-build paint that covers minor marks on clean, smooth walls. As noted by paint supplier Ringsend, these products work best on sound surfaces. They are great if you are applying a similar or darker color to walls in good shape. But if the wall is peeling, bare, or deeply stained, thick paint is not enough.
The table below shows how these two options compare across key categories.
| Product Type | Best Surface Condition | When It Works vs Fails | Coverage and Sealing | Cost |
|---|---|---|---|---|
| True Primer | Bare, porous, damaged, or stained surfaces | Works on wood, brick, and raw drywall; fails as a final decorative finish | Seals porous spots, blocks deep stains/odors, and stops paint cracking | Lower cost per gallon; saves money by reducing paint coats |
| Paint-and-Primer-in-One | Clean, smooth, previously painted surfaces in good repair | Works for quick color changes; fails on bare wood, raw drywall, or gloss | Provides thick coverage but does not lock in stains or seal deep pores | Higher cost per gallon; can be costly if you need extra coats |
Making the right choice for your project
If you are painting bare wood or raw drywall, always use a true primer first. Skipping it means the dry wood or wallboard will soak up your costly paint. You will end up using three or four coats of paint and spending much more money. A paint-and-primer product is a great tool if you just want to freshen a clean wall with a similar shade. Taking time to prep your surfaces is the best way to get a smooth coat that lasts.
How to Choose the Right Primer for Your Surface
Choosing the right paint primer when and why to use it depends on your surface type and goals. Standard paint is made to coat and protect, but it needs a proper base to stick. Using the right primer ensures your new paint coat does not chip or peel over time. This is why paint primer is important when prepping a room for painting. Skilled teams like Paint Boise use high-quality primers from brands like Sherwin-Williams and Benjamin Moore to match their good finish paints. Doing this step right protects your home’s paint job and ensures a smooth, long-lasting look.
Drywall and Wood Primers
When you have new or bare drywall, it acts like a giant sponge. The drywall sheet and the joint mud soak up paint at varied rates. If you do not prime, you will see patchy sheen and flat spots along the joint lines. A quality drywall primer seals these porous areas so your topcoat dries smooth. Plus, buying drywall primer is much cheaper per gallon than using extra coats of quality latex paint to get the same finish.
Bare wood needs a special approach. Some woods like cedar, redwood, teak, and mahogany contain wood oils called tannins. These tannins bleed through plain latex paint, leaving ugly yellow or brown stains on your fresh walls. To stop this, you must use a wood-blocking primer before you paint. An oil-based primer is best for bare wood. It has time to soak deep into the wood fibers and lock in those stains.
Specialty Stain and Masonry Blockers
Water spots, smoke, ink, and grease can ruin a new paint job if you do not seal them first. Regular paint will not hide these marks. They will keep bleeding through to the surface no matter how many coats you apply. A stain-blocking primer creates a tight seal over these marks. It traps the stain beneath a tough film, keeping your topcoat clean and bright.
Masonry surfaces like concrete, stucco, and brick are highly porous and naturally alkaline. This high salt content can cause paint to fail, peel, or show white powder called efflorescence. When working on brick, you need a special primer for masonry surfaces to lock in these salts. This type of primer seals the pores and resists the high pH levels of the stone. It creates a stable face so your paint stays bonded for years.
Bonding Primers and Drying Times
Smooth, glossy, and non-porous surfaces like tile, metal, glass, vinyl, or plastic are hard for paint to stick to. Standard paint will just slide off or scratch away easily. For these jobs, you must use a bonding primer. These special primers provide the needed surface texture, or tooth, that paint needs to grip. This strong bond ensures your paint coat stays secure and does not peel off these tricky surfaces.
Once you choose your primer, you must let it dry fully before you paint. Most primers dry in about one to three hours, but this depends on the brand and the air humidity. In wet or cold weather, you will need to wait longer. Putting paint over wet primer will ruin the bond and lead to peeling. Allowing the primer to cure fully is a key step in Paint Boise’s six-step painting process. This careful prep work supports their quality and warranty standards.
Boise Weather, Moisture, and Primer
Boise has a unique mountain climate. Our dry summers, cold winters, and fast heat swings put paint to the test. To make sure your paint job lasts, you must know how local weather affects the way coatings dry and bond.
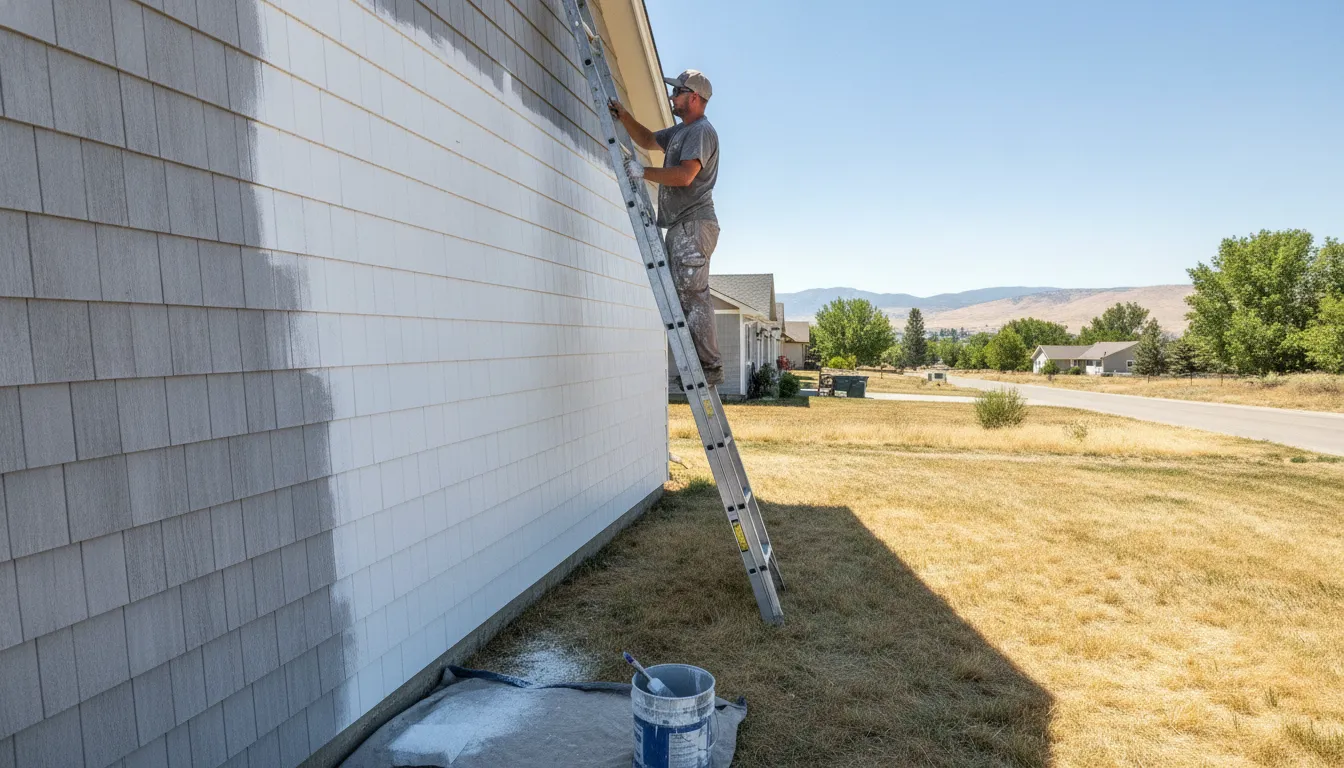
How local climate affects dry times
Weather plays a major role in how fast primer cures. On good days, paint primers dry in one to three hours. But this dry time can change based on the brand you choose and the humidity in the air. Boise’s hot, dry summer air can speed up dry times, while cool, damp spring days will slow them down.
High heat or cold can ruin paint adhesion. Expert crews check local weather forecasts to find the best times to work. Paint Boise uses top-grade paints and primers from brands like Sherwin Williams and Benjamin Moore to handle these heat swings. Choosing the right products ensures your new coating cures well in our local climate.
Moisture problems and masonry
Moisture can ruin a paint job, mainly on brick or concrete. When water moves through these porous surfaces, it leaves a white, powdery salt crust. This buildup is called efflorescence, and it can push paint right off the wall if you do not seal it first.
A true primer is the best way to stop this damage. These primers can seal porous surfaces, block stains, and lock in efflorescence. For brick, studies show a base coat is vital to build a strong bonding between the undersurface and the top paint finish. This bond keeps moisture from lifting your new topcoat.
Preparing exterior surfaces for priming
You cannot apply primer to a dirty wall. First, you must clean the surface to remove dirt, mold, and dust. For siding, you should consider the benefits of washing. Learning the role of primer in exterior painting starts with a clean slate.
If you have old, flaking paint, you must scrape and sand the wood. Preparing the wood is the key to using primer for damaged surfaces so the new coat can stick. Paint Boise uses a standard six-step process to prep, wash, and prime every home. This thorough prep work protects your home and backs up our five-year warranty.
When Professional Priming Is Worth the Cost
Understanding paint primer: when and why to use it
Many homeowners wonder about paint primer when and why they should pay for it. Prep work can seem like a lot of extra labor. But skipping this step can lead to peeling paint and costly fixes later. Knowing why paint primer is important helps you protect your home. Hiring an expert crew ensures that your walls are prepared right.
A five-step guide for Boise homeowners
Deciding whether to prime your walls yourself or hire help depends on several factors. You must think about the state of your walls and the time you have. Follow these five steps to find out if expert priming is the best choice for your home.
- Assess surface health: Look closely at your walls or siding. If you see bare wood, peeling paint, or raw drywall, you will need primer to make the new paint stick.
- Find out if the project needs primer: High-moisture rooms or big color changes need a sealing coat. True primer stops stains from bleeding through to ruin your topcoat.
- Weigh DIY prep against expert help: Scraping, sanding, and priming take hours of dusty work. A local pro has the tools to prep and prime your home safely and fast.
- Factor lifetime cost against painting again: A cheap paint job that skips primer may fail in just two years. Using high-quality primer keeps your paint fresh for a decade.
- Check the warranty benefit: Most paint guarantees only cover the paint if you prep and prime the surface right. Expert priming secures your warranty so you can rest easy.
How expert prep protects your home
Using paint primer is not just about looks; it is about chemistry. According to research from Utah State University, primer is needed to create a strong bonding between the raw surface and the paint. This is why we never skip this step. Our crew at Paint Boise uses a careful 6-step process that places prep work first. We use premium primers from Sherwin Williams and Benjamin Moore to ensure a lasting bond.
When you choose an expert team, you buy peace of mind. Our careful prep work lets us back our home projects with a strong 5-year warranty. We do the hard work so you do not have to spend your weekend on a ladder. To start your next project, you can get a free quote from us. Our team is ready to help you paint your home the right way.
Frequently Asked Questions
When is paint primer needed before painting?
You need a primer when painting bare wood, new drywall, or metal. It is also needed when making a major color change or sealing stains. According to research from Utah State University Extension, primers create a strong bond between the raw surface and your paint. Skipping this step on bare or porous walls can cause the topcoat to peel off quickly. If you want a paint job that lasts, priming is a must.
What happens if I skip paint primer?
If you skip primer on a raw surface, your paint can soak in unevenly. This leaves ugly dull spots and shiny patches on your wall. Skipping primer also stops the paint from clinging well. The University of Delaware notes that primer provides texture or tooth for paint layers to grip. Without this grip, your paint is much more likely to peel or bubble over time.
When should I use a tinted primer?
You should use a tinted primer when you want to paint a light color over a dark wall. Tinted primer is shaded gray to match your new paint. According to Paint Boise’s guide to dark walls, this gray base helps you get full coverage with fewer coats of paint. It saves you time and money by blocking the old dark color from showing through your new topcoat.
Can I use primer on any surface?
Yes, but you must choose the right type. There are different primers made for wood, drywall, brick, and metal. For example, porous brick needs a unique mix to deal with moisture. For details on masonry, you can read Paint Boise’s guide to brick painting. Using the wrong primer or skipping it on tricky surfaces can lead to quick paint failure.
Ready to request a free painting estimate?
Skipping the proper primer on your interior or exterior walls will lead to peeling paint, uneven color, and costly repair bills down the road. If you book your painting project now, you can get your home or commercial building on our schedule before the dry summer weather ends. Our skilled local team uses a proven six-step process to ensure every surface is clean, dry, and fully ready for a beautiful new coat.
Ready to request a free painting estimate? Call Paint Boise at (208) 254-6615 to speak with our friendly local team today, or request your free quote online. We are proud to use premium paint to protect your property and back all of our work with a solid five-year warranty.