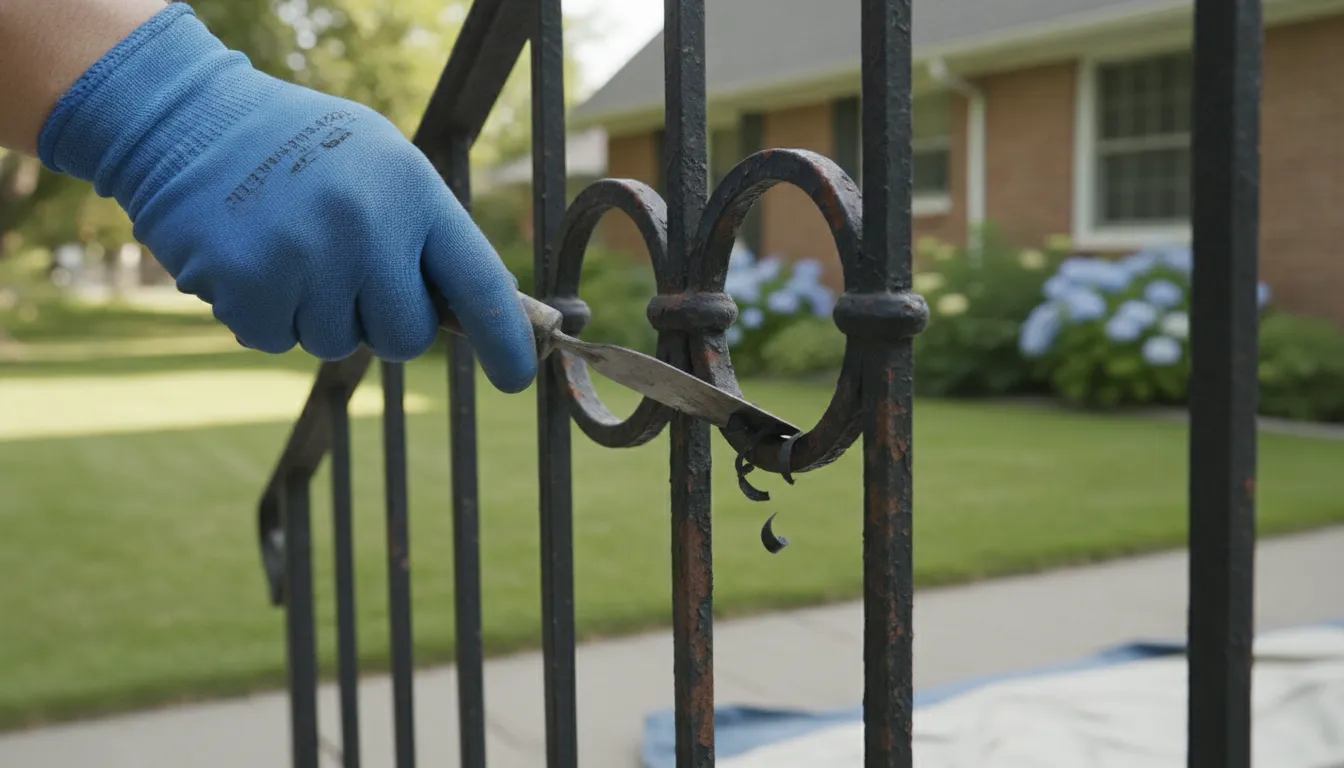
Paint rarely fails evenly on a metal gate, railing, or door. Some areas may be sound while other spots are lifting, exposing rust, or hiding damage beneath several old coats. That makes removal more than a choice between a scraper and a stripper: the coating’s age. The type of metal, and the condition you want to preserve all matter.
The safest way to decide how to remove paint from metal is to identify the substrate and coating first, then test a small area before choosing a compatible removal method. If paint may be lead-based, pause and follow EPA guidance rather than disturbing it. Removal also needs to leave the metal clean, dry, and ready for corrosion control and repainting.
A little inspection now can prevent damage to a softer or protected metal surface and help keep dust or residue contained. Start by checking what the feature is made of, how the existing coating is behaving, and whether the age of the paint calls for testing or professional help.
Contact Paint Boise to discuss preparation for your metal repainting project.
Before You Remove Paint from Metal, Check the Surface and Coating
Start by figuring out what is underneath the coating and what condition it is in. Iron or steel, aluminum, galvanized metal, and stainless steel can respond differently to tools and products, so do not assume a method that suits one will suit another. If you cannot identify the metal, pause and check product compatibility or ask a painting professional before starting.
Not sure how to approach a painted metal surface? Contact Paint Boise to discuss your project.
Look for peeling, cracking, rust, dents, and areas where earlier layers may be exposed. Note whether the coating appears newer or could date to an older renovation. A small test in a hidden spot can reveal whether the proposed approach affects the metal or surrounding finish; stop if the surface changes unexpectedly. Keep the test controlled and follow the product label if using a remover.
Take extra care with older homes. The EPA says homes built before 1978 may have lead-based paint, and renovation or repair that disturbs it can create dangerous dust. If the metal is part of a pre-1978 home and the coating’s lead status is unknown. Do not scrape, sand, heat, or strip it as an ordinary DIY job. Review the EPA’s lead-safe renovation guidance, and consider testing by a certified lead inspector or risk assessor before disturbing the coating. EPA recommends a lead-safe certified contractor for relevant work when lead-based paint is present. Do not spread dust or debris through the home; containment and cleanup need to match the lead-safe requirements.
DIY removal is more reasonable when the coating is known to be lead-free, the metal is identifiable. The test area behaves as expected, and you can protect nearby surfaces and manage residue safely. Choose professional help if the coating may contain lead, the piece is large or detailed, corrosion is extensive, or the material and finish remain uncertain. For the repainting stage, see this guide to painting metal surfaces; it covers application rather than paint removal.
Which Paint Removal Method Works Best on Metal?
The right method depends on the metal, the shape of the piece, how firmly the coating is attached, and what the surface must look like after stripping. A flat steel panel can tolerate a different approach than a thin aluminum trim piece or a railing full of joints and scrollwork. Start with a small, inconspicuous test area and stop if the metal becomes scratched, distorted, discolored, or otherwise damaged.
| Method | Works well when | Tradeoffs and cautions |
|---|---|---|
| Hand scraping and sanding | Paint is loose, peeling, or limited to a small, accessible area. | Offers direct control and avoids applying chemicals, but takes effort and may leave paint in seams or tight details. Aggressive scraping or coarse sanding can gouge softer metal and leave scratches that show through the new finish. |
| Chemical stripper | The piece has profiles, corners, or ornamental details that are difficult to reach with a scraper. | Can loosen coating in crevices, but residue must be removed as directed and the product must be compatible with the metal. Some strippers can harm aluminum and certain alloys, so check the label and test a hidden spot. Protect nearby surfaces and follow the product’s safety and disposal directions. |
| Professional abrasive blasting | A large, sturdy surface has widespread, stubborn coating or corrosion, and the work can be properly contained. | Can reach broad areas consistently, but the abrasive and technique must suit the substrate. Excessive force can damage thin metal, soften edges, or alter a decorative surface. Containment and appropriate protective measures matter because blasting creates airborne debris. |
| Heat | A limited, controlled area is being considered after checking the coating and surrounding materials. | Not a default choice. Heat can create fire and fume hazards, damage nearby components, or warp thin metal. Avoid it when the coating may contain lead, and do not use an open flame as a casual shortcut. |
For a broad, flat surface with sound, sturdy metal, controlled mechanical removal may be practical. For intricate railings, a compatible stripper may reach places hand tools miss, though detailed cleanup remains essential. Blasting is better treated as specialized work than a do-it-yourself upgrade, especially where delicate parts, nearby property, or old coatings are involved.
Before choosing, identify the substrate if possible. Aluminum, galvanized metal, and thin decorative sections can be more vulnerable to abrasion or chemical incompatibility than robust steel. If the coating is old, its composition is unknown, or the removal area cannot be isolated safely. Pause and get appropriate testing or professional guidance rather than switching methods by guesswork.
How to Remove Paint from Metal Mechanically
Mechanical removal can work for a small, manageable area when the coating is already loose or peeling. It is not a reason to grind every layer down to bare metal. Start by protecting nearby surfaces and containing the work area so chips and dust do not spread. For a DIY job involving lead-based paint, the EPA specifically recommends containment. If the metal is part of a pre-1978 home and the coating may contain lead, pause and arrange appropriate testing or lead-safe help before disturbing it. See the EPA’s lead-safe renovation guidance.
For an appropriate small job, use a hand scraper to lift only paint that releases with modest pressure. Keep the blade controlled and work along the surface rather than digging into it. If light abrasion is needed on stubborn edges, use a nonaggressive hand method and check your progress often. The goal is to feather loose edges and prepare a sound surface, not gouge the metal or remove a protective finish unnecessarily.
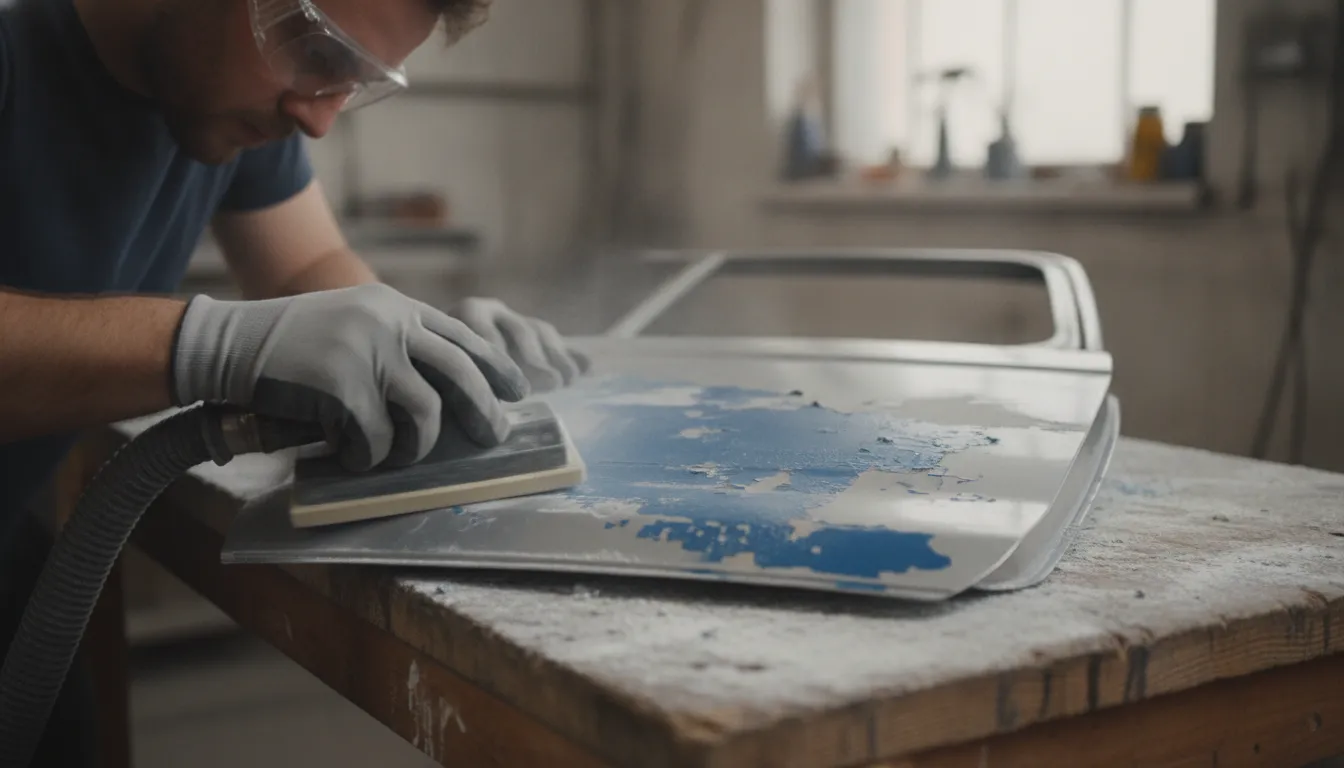
Powered sanding or grinding is not the beginner default. These tools can throw paint chips and create airborne dust, and they can remove metal or damage a thin coating quickly. If the job appears to require a powered tool, involves extensive layers. Or creates dust that you cannot safely contain, stop and choose a better-suited method or professional help. Surface-preparation work carries risks that depend on the operation and material, so do not improvise protective equipment.
As paint comes off, collect chips and debris instead of sweeping them into the surrounding area. Keep the waste contained and follow applicable disposal guidance, especially if lead may be present. When scraping is complete, inspect the surface in good light: identify remaining firmly bonded paint, exposed metal, scratches, and any rust. A clean-looking patch is not automatically ready for a new coating. If paint is peeling elsewhere, review these steps for safe paint removal and preparation before deciding how broadly to continue.
When Chemical Stripping Is the Better Choice
A chemical stripper can be useful when paint is packed into scrollwork, joints, embossed details, or other areas a scraper cannot reach cleanly. It may also help soften several layers so they can be lifted without grinding across the metal. That does not make it the right choice for every project: the coating, the metal, and the surrounding area all affect whether a product is suitable.
Before applying anything, check the product label for compatibility with the exact substrate, not just the broad category of “metal.” If the item is aluminum. Galvanized, plated, or an unknown alloy, be especially cautious and do not assume that a product intended for steel is safe for it. Test a small, inconspicuous spot first and check the metal and finish after removing the test area. Stop if the surface changes in a way you did not expect.
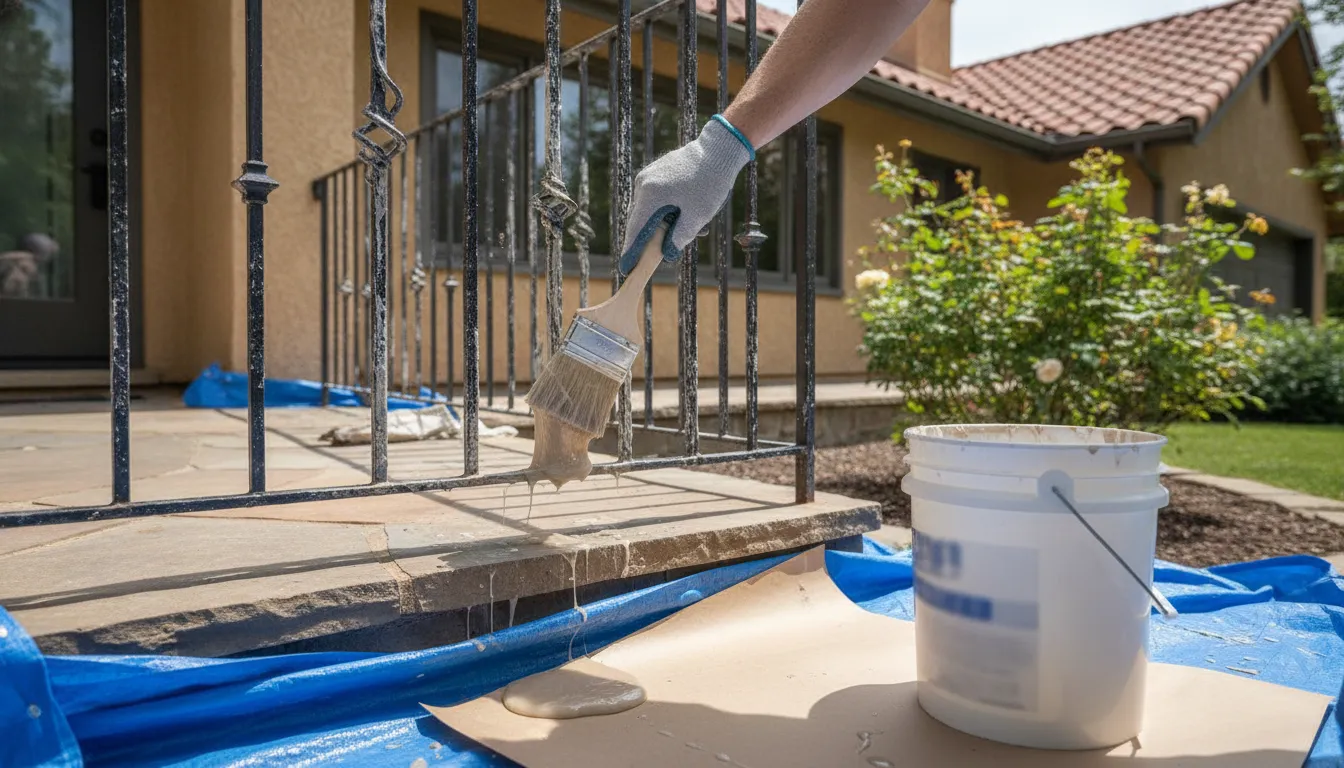
Follow the label for application, removal, ventilation, and cleanup. Use the gloves, eye protection, and other protective equipment specified for that product, and avoid skin or eye contact. Work with the ventilation the label requires; if you cannot provide it, choose another approach or get professional help. Keep children and pets away from the work area.
Protect nearby painted surfaces, masonry, flooring, and plants from splashes and runoff. Apply only where you can control the material, and collect softened paint and residue rather than letting it spread into soil or drains. Follow the product’s cleanup and disposal instructions, along with any applicable local requirements. If the coating may be lead-based, pause before disturbing it: EPA says renovation, repair. Or painting in a pre-1978 home with lead-based paint can create dangerous lead dust, and recommends lead-safe practices. See the EPA lead-safe renovation guidance before proceeding.
Chemical stripping is a method, not a shortcut around careful preparation. For a detailed gate or railing with multiple layers, a compatible product and controlled test can make removal more manageable. For broad flat areas or uncertain coatings, compare other removal options before starting.
How Metal Type Changes Paint Removal
Before choosing a remover or abrasive, identify what is under the coating. A magnet can help distinguish many ferrous metals from aluminum, but it does not identify every alloy or confirm whether a surface has a protective finish. If you are unsure, check the product or fixture documentation, then test a small, inconspicuous area. Follow the remover label for compatible metals and stop if the test patch discolors, pits, softens, or otherwise changes the surface.
Iron and ordinary steel can begin to corrode once paint is removed, especially if moisture remains or bare metal is left exposed. Work carefully around seams and damaged areas, and plan to clean, dry, and protect the surface according to the selected coating system after stripping. Removal is only one part of the job: the condition of the exposed metal will guide what preparation it needs next.
Aluminum is lighter and softer than steel, so aggressive abrasion can leave gouges or an uneven profile. Some chemical removers may also be unsuitable for aluminum or particular alloys. Do not assume a product safe for steel is safe for aluminum; check the label and test first. For painted aluminum siding, this overview of aluminum siding painting offers related repainting context, though it is not a paint-removal procedure.
Galvanized steel has a zinc coating that helps protect the underlying steel. Cutting through or stripping away that layer changes the surface you are preparing, so avoid unnecessarily harsh abrasion and use only products whose directions allow the application. Stainless steel and copper bring other considerations: their existing finish, texture, or surface condition can affect how paint releases and what preparation is suitable. Avoid treating every metal as bare, ordinary steel.
Once the substrate is known and a test patch behaves as expected, select a removal approach that the product or tool instructions permit for that material. Then assess the exposed surface before recoating. For the separate steps involved in cleaning, priming, and painting, see our guide to painting metal surfaces.
Control Rust and Prepare Bare Metal for Repainting
Removing the old coating is only part of the job. Before repainting, get the metal clean, dry, and sound, and follow the directions for the specific stripper and coating system you used. Residue left behind can interfere with the next preparation or coating step, so remove it exactly as the stripper label directs. Some products require a particular rinse or neutralizing step; do not substitute a general-purpose wash or assume water is appropriate unless the label says so. Collect residue and debris for disposal according to product directions and any applicable local requirements, especially if the coating may contain lead.
Power washing can help clean dirt from exterior metal as part of painting preparation. But it is not a paint stripper and does not replace the removal method selected for the coating. Paint Boise describes washing as a way to clean surfaces and help expose damage that may need attention. See its power-washing preparation service for that distinct role.
Once the required cleanup is complete, let the surface dry fully before evaluating or coating it. Bare steel and iron can begin to corrode when exposed, so avoid leaving them wet or unprotected while other work continues. Check corners, joints, fasteners, and areas where paint lifted for remaining loose coating, discoloration, rust, or roughness. Remove only the corrosion and coating that your chosen preparation method and product directions allow, then clean away the resulting dust or residue. If paint on a pre-1978 home could contain lead, stop before disturbing it further and use EPA guidance on lead-safe renovation practices; EPA recommends certified testing and qualified lead-safe contractors for relevant work. Avoid starting a new coating until the metal is fully dry and the remaining surface condition is understood.
Distinguish surface rust from damage that calls for experienced assessment. Deep pits, metal that flakes or crumbles, holes, loose joints, or visibly weakened railings and gates may indicate deterioration beyond a routine repaint. Do not hide compromised metal under primer. Ask a qualified professional to assess whether repair or replacement is needed before coating, particularly where a railing or gate must remain secure and functional.
For sound bare metal, select a primer and topcoat explicitly suited to the substrate and intended exposure. Follow the manufacturer’s instructions for final cleaning, surface profile, compatible primer, application conditions, and recoating sequence. Do not assume one primer works for every metal: follow the selected product system, including its directions for steel, galvanized material, or other substrates. Paint Boise’s exterior surface preparation steps offer broader context, while its separate guide to painting metal surfaces covers the application stage after removal and preparation. The company’s power-washing service also describes cleaning as one part of preparation, not a replacement for stripping a coating.
In Boise and the Treasure Valley, outdoor conditions can change how exterior work should be planned. Check the coating label and account for current weather and the surface condition rather than relying on a fixed calendar rule. Paint Boise notes that exterior products are selected with weather resistance and local climate in mind. For related preparation and repainting help, see professional exterior painting in Boise.
Frequently Asked Questions About Removing Paint from Metal
How can I tell whether old paint on metal is safe to remove myself?
Do not assume an older coating is lead-free. The EPA says homes built before 1978 may contain lead-based paint, and disturbing it can create dangerous dust. If the age or coating is uncertain, pause before scraping, sanding, heating, or using a stripper. Consider having the surface tested by a certified lead inspector or risk assessor. For renovation, repair, or painting work involving lead-based paint in a pre-1978 home, review the EPA’s lead-safe renovation guidance and RRP program requirements; EPA recommends hiring a lead-safe certified contractor for applicable work.
Can I use paint stripper on aluminum?
Only use a product whose label specifically lists the aluminum surface and intended application as compatible. Some removers can damage aluminum or certain alloys, so first test a small, inconspicuous area and inspect the result before proceeding. Follow the product’s safety, application, and cleanup directions. If the metal is thin, decorative, or valuable, or you cannot identify the alloy, get product-specific guidance rather than applying a general-purpose stripper across the surface.
Which paint removal method should I choose for metal?
There is no single best method for every project. The right choice depends on the coating, metal type, shape, condition, and the surrounding area. Careful hand scraping or sanding may suit limited, accessible spots; a compatible chemical remover may be considered for intricate details. And larger or heavier jobs may call for specialized equipment and controls. Each approach has different risks, including dust, debris, chemical exposure, or heat damage. Identify the coating and substrate first, test a small area, and stop if the surface reacts unexpectedly or the coating may contain lead.
What should I do about rust and surface preparation after stripping?
Remove residue and clean the surface according to the stripper label, if one was used, then let the metal dry fully. Inspect for remaining coating, loose scale, pitting, or corrosion. Address rust and prepare the surface using products and methods compatible with the metal and the planned coating. Apply an appropriate primer as directed by its manufacturer, and avoid leaving exposed steel or iron unprotected longer than necessary, especially in damp conditions. The surface should be clean, sound, and ready for the selected coating before repainting.
Plan Your Metal Repainting Project
Removing an old coating is only one part of a successful repaint. The metal still needs appropriate cleaning, surface preparation, and a coating system suited to its condition and use. If you are unsure whether paint should be disturbed, what preparation is appropriate. Or how a repaint fits into a larger property project, it can help to discuss the surface and your goals with a painting professional. Paint Boise provides residential and commercial painting services in Boise and the surrounding Treasure Valley, with preparation planned for the project and surface. Reach out to talk through your painting needs or request an estimate. Paint Boise does not advertise paint stripping as a standalone service, so ask about the scope of work that fits your project.