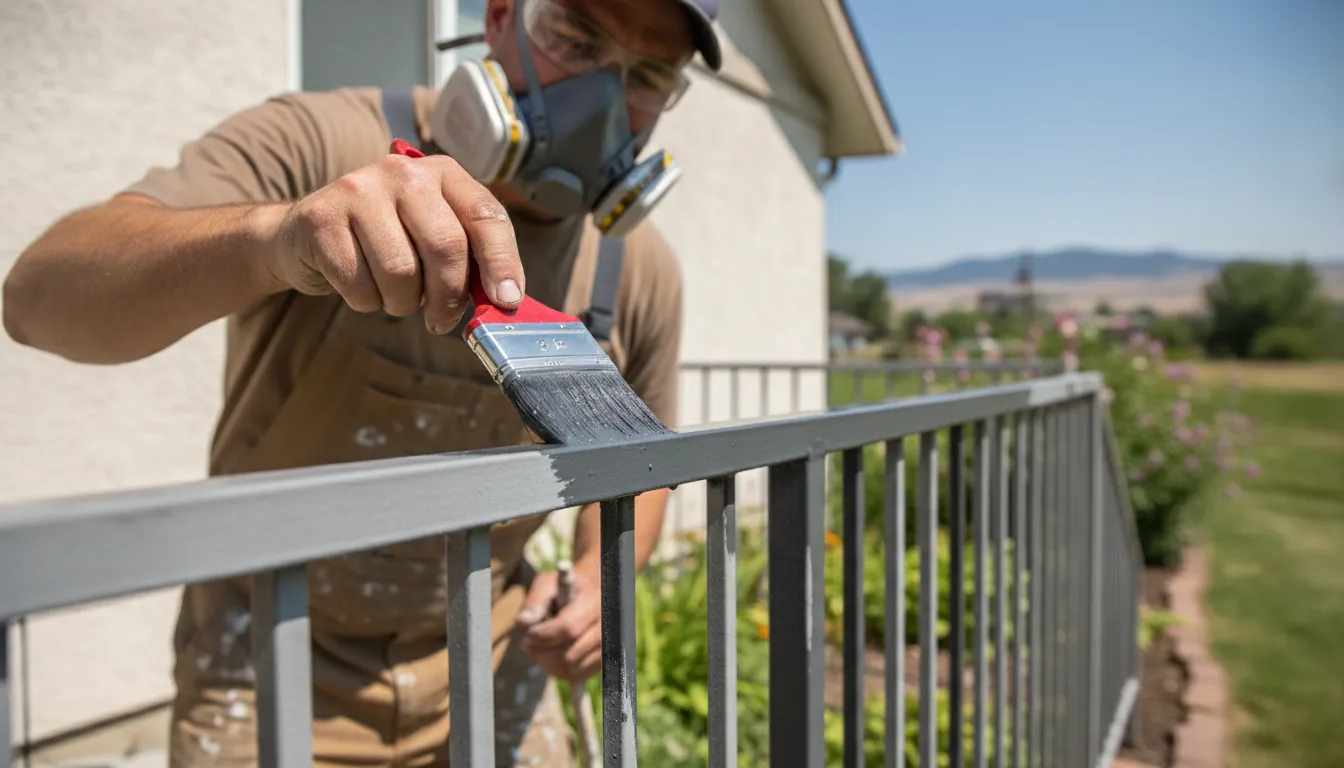
Metal surfaces rarely fail because someone chose the wrong color. They fail when rust, oil, old coatings, or the wrong primer keep new paint from bonding. If you’re learning how to paint metal surfaces, the reliable process is to identify the substrate, clean and degrease it. Remove corrosion, scuff the surface, apply a compatible primer, and then use a paint suited to the location and level of wear. Steel doors and wrought-iron railings need different attention than aluminum gutters or galvanized trim, so the surface should guide every product decision.
That preparation matters even more around Boise and the Treasure Valley. Exterior metal can face dry summer heat, cold winters, freeze-thaw cycles, and moisture from rain or irrigation. A coating that looks excellent on a clean, properly primed railing may peel quickly when applied over contamination or active rust. Interior metal doors and trim also deserve careful prep because frequent contact exposes weak adhesion sooner than a rarely touched surface.
The guide ahead breaks the work into practical decisions, from recognizing ferrous and non-ferrous metals to choosing primer, sheen, and application method. Start by looking closely at what you are actually painting, because that first distinction determines how you prepare it and what protection it needs.
Schedule your free metal painting estimate with Paint Boise
What Kind of Metal Are You Painting?
Metal isn’t one uniform painting surface. The right prep and coating depend on what the material is made of, how it was finished, and whether it will face Boise’s outdoor conditions. Identifying the substrate first helps prevent peeling, poor adhesion, and corrosion showing through a new finish.
Ferrous metals are vulnerable to rust
Iron and steel are ferrous metals, meaning they contain iron. They are common choices for railings, gates, structural components, doors, and other exterior features, but they are also highly prone to corrosion when exposed to moisture and air. The National Research Council of Canada notes that iron and steel may require specialized coating systems for long exposure to the elements: review its guidance on exterior metal coatings.
Before painting ferrous metal, inspect closely for rust, bubbling, flaking paint, and exposed edges. Rust removal is not optional. If corrosion remains under the coating, it can continue spreading and push the paint away from the surface. Cleaning, mechanical preparation, and a compatible rust-inhibiting primer create a better foundation, although the system’s performance will still depend on exposure, drainage, and ongoing maintenance.
Non-ferrous metals need a different approach
Aluminum, copper, stainless steel, and zinc are non-ferrous metals. They do not rust in the same way iron-based metals do, but they can still oxidize. Weather, or resist paint adhesion if the surface is slick, contaminated, or improperly prepared. Scuffing the surface, removing oils and residue, and selecting a primer designed for that specific substrate are important steps.
Galvanized steel deserves special attention. It is steel covered with a protective zinc coating, so it combines a ferrous base with a non-ferrous exterior surface. Treating it exactly like bare steel can lead to adhesion problems or damage to the zinc layer. The zinc surface should be cleaned and prepared according to the coating manufacturer’s requirements before primer and paint are applied.
These differences matter because substrate composition plays a major role in exterior coating selection. Aluminum, steel, and copper can require different preparation techniques for reliable adhesion, as the building-science guidance on metal substrates and exterior coatings explains. Boise’s dry heat, winter temperature swings, freeze-thaw cycles, and irrigation moisture can add stress to exterior finishes. So there is no universal promise of how long a painted metal surface will last. Identify the metal first, then match the preparation, primer, and finish to that material and its environment.
How to Paint Metal Surfaces Step by Step
Proper surface preparation is the foundation of a long-lasting, high-quality finish on metal. Before you open a paint can, identify the substrate and inspect it closely for grease, loose coating, corrosion, or areas of bare metal. The process below works for common projects such as metal doors, railings, trim, gutters, and other painted steel or aluminum surfaces. Adjust the primer and coating to the specific metal and whether the item will remain indoors or face Boise weather.
- Clean and degrease the surface. Remove dust, soil, oil, wax, and fingerprints with an appropriate metal-safe cleaner or degreaser. Work into corners, around hardware, and along edges where residue collects. Rinse or wipe away cleaner as directed, then allow the surface to dry completely. Primer and paint cannot bond reliably to a greasy film.
- Remove rust and loose coating. On iron or steel, scrape away flaking paint and use a wire brush, abrasive pad, or suitable rust-removal method until loose corrosion is gone. Rust removal is not optional because active corrosion can continue beneath a new paint layer. Replace severely damaged metal or repair deep pits before coating.
- Sand or scuff the metal. Smooth rough rust edges and feather the transition between bare metal and sound existing paint. For a previously painted surface that is still firmly bonded, scuff it enough to create a mechanical tooth. Avoid polishing the metal smooth, since a slightly abraded surface gives primer a better grip.
- Wipe away sanding dust. Vacuum or brush off residue, then wipe the surface with a clean, lint-free cloth and the recommended solvent or cleaner. Let it dry fully. Run your hand over the metal only after washing it, because bare skin can leave oil behind and create adhesion problems.
- Apply the correct metal primer. Choose a primer made for the specific substrate, such as steel, aluminum, galvanized metal, or another non-ferrous surface. High-quality commercial primers are especially important for raw metal and exterior projects. Apply an even coat according to the product directions, paying close attention to exposed edges and repaired areas. For more guidance, see our overview of the importance of metal primer.
- Allow the primer to cure, then inspect it. Follow the label’s recoat and cure time rather than relying on how the surface feels. Lightly smooth raised fibers, runs, or rough spots if the product allows it, and remove any new dust before painting. Do not rush this pause, especially in cool or damp conditions.
- Paint in light, even coats. Use the application method suited to the project, keeping each coat thin enough to avoid drips and pooling. Brush, roll, or spray in a consistent direction and maintain a wet edge where practical. Let the first coat dry according to the label, then apply additional light coats until coverage is uniform. Resist the temptation to create one heavy coat, which can sag, wrinkle, or remain soft underneath.
Take extra care around hinges, fasteners, drainage points, and exposed edges, since these areas often receive the most wear or moisture. With the surface clean, corrosion-free, properly primed, and coated in controlled layers, the finish has a much better chance of holding up through everyday use and seasonal changes.
Remove Rust and Prep Bare Metal the Right Way
Rust removal is non-negotiable before you paint iron or steel. Ferrous metal can continue corroding beneath a new coating, turning a fresh finish into peeling, bubbling, or flaking paint. Surface preparation is the foundation of a durable result, especially on exterior doors, railings, gates, brackets, and other metal exposed to moisture and changing temperatures.
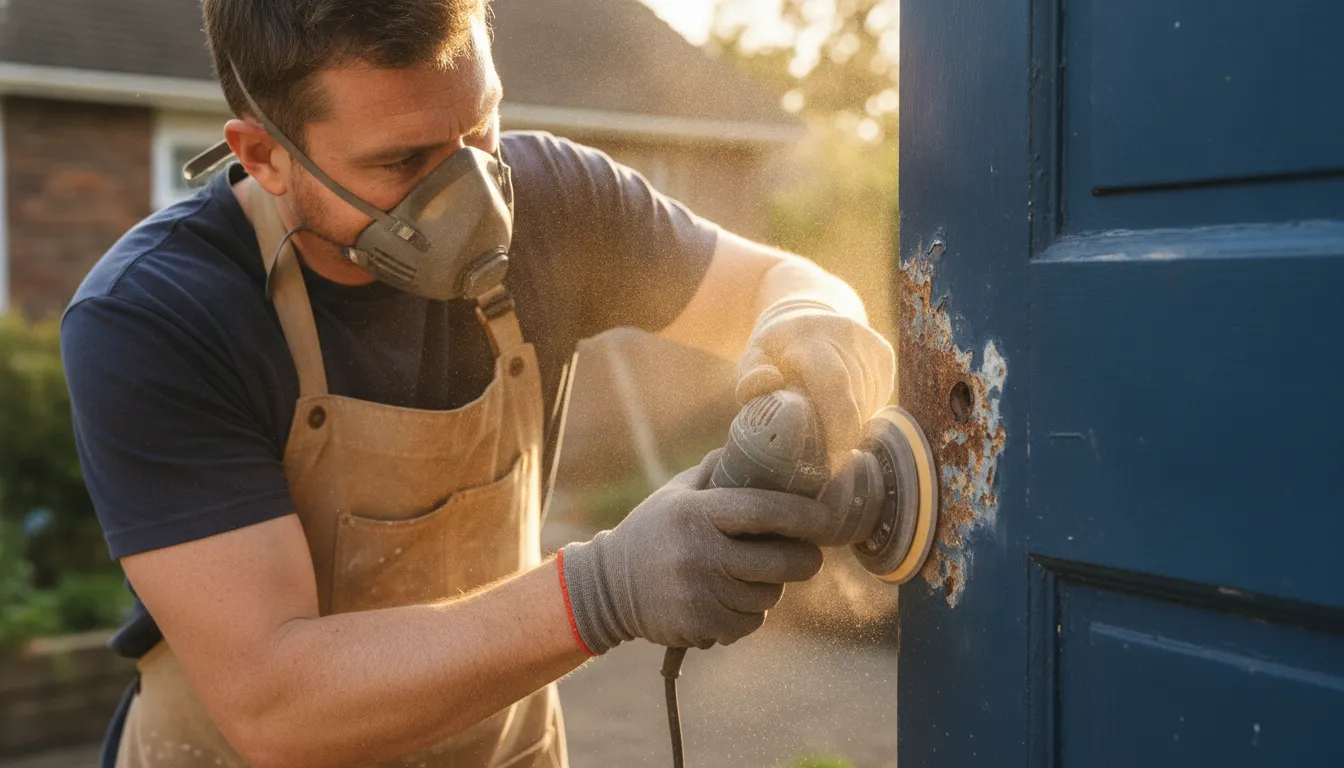
Start by inspecting the entire surface, not just the most visible rust spots. Look for loose scale, lifting paint, discoloration around fasteners, and areas where water may collect. Remove loose rust with a wire brush. If you don’t have one, 120 grit sandpaper can do the job effectively. Work until the remaining surface is stable and the edges of old paint are feathered rather than sharply raised. You don’t need to remove every trace of dark staining if the remaining metal is sound, but any loose corrosion must go.
Clean away grease, dust, and residue
Rust removal leaves behind fine particles, while metal surfaces often carry grease, oils, handprints, or residue from outdoor exposure. Vacuum or brush away the dust, then degrease the surface with an appropriate cleaner. Allow the metal to dry completely before moving on. Primer and paint cannot bond reliably to an invisible film of oil, even when the surface appears clean. This cleaning step is just as important as sanding.
For already-painted metal that is still in good condition, use 240 grit sandpaper to rough up the existing coating. The goal is to create a lightly scuffed surface so the new primer or paint has something to grip. Sand glossy areas until the shine is reduced, then remove all sanding dust. If the old coating is cracked, peeling, or poorly bonded, treat it like a failing surface and remove the unstable material instead of painting over it.
Good preparation follows a simple order: remove loose rust, smooth rough edges, scuff sound paint, degrease, and let the surface dry. If you’re also preparing metal surfaces for paint as part of a larger home project, protect nearby walls, flooring, glass, and hardware from dust and cleaner. Once the metal is clean and stable, apply the primer suited to that substrate before adding the finish coats.
Pick the Right Metal Primer and Paint
Primer is not an optional extra on bare metal. It creates the bond between the substrate and the finish coat, while helping the system resist moisture, corrosion, and everyday wear. The right product depends on whether you are coating steel, iron, aluminum, or another metal. As the National Research Council of Canada explains, the underlying substrate plays a major role in selecting an exterior coating system. Iron and steel are especially prone to corrosion, while raw aluminum needs a different preparation and primer approach.
For outdoor projects and raw aluminum, choose a high-quality commercial primer specifically made for that substrate. A general-purpose primer may look fine at first but can lose adhesion when exposed to Boise’s temperature changes, moisture, and daily use. For more detail, review the importance of metal primer before selecting a product.
Direct-to-metal paints are useful, but not universal
Direct-to-metal, or DTM, paint is formulated to bond to properly prepared metal and can combine some priming and finishing functions. It can be a practical choice for a sound surface with light corrosion and a compatible product specification. However, DTM does not eliminate cleaning, rust removal, scuffing, or careful substrate evaluation. Bare, heavily oxidized, galvanized, or unusually smooth metal may still require a dedicated bonding or corrosion-resistant primer first.
Ask whether the product is rated for interior or exterior use, the specific metal involved, and the expected exposure. For a steel service door or railing, a coating designed for abrasion and frequent handling is generally a better choice than an ordinary wall paint. A satin or semi-gloss sheen is often easier to wipe clean and can provide a practical balance between appearance and durability. Very glossy finishes highlight dents and surface flaws, while flat finishes are usually less forgiving on high-touch metal.
Choose the application method for the surface
Spraying can produce a smooth, even finish on railings, gates, and detailed metalwork, especially when the surrounding area is fully masked and the coating is properly thinned. It also requires control of overspray, ventilation, weather conditions, and film thickness. Brushing or rolling may be more efficient for doors, trim, and accessible railings, and it can make spot repairs easier. Use a quality brush suited to the coating and maintain a wet edge to reduce visible marks.
For demanding exterior work, automotive-grade two-part urethane is a highly durable option, but it often requires professional equipment, ventilation, and application controls. Product selection should account for the metal, exposure, traffic, and desired maintenance level rather than relying on a one-size-fits-all paint. See our guide to durable finishes for exterior metal for additional finish considerations.
What Boise’s Climate Means for Painting Metal
Exterior metal in Boise deals with more than ordinary wear. Hot, dry summer afternoons can heat a railing, door, gutter, or metal trim well beyond the surrounding air temperature. Winter brings cold surfaces, changing humidity, and freeze-thaw cycles that can expose weak spots in an aging coating. Boise’s climate requires careful attention to both moisture and temperature during exterior painting projects.
That makes the timing of the work part of the coating system. Paint should be applied during a stable weather window when the metal is clean and dry. Surface temperatures are within the product manufacturer’s range, and dew or overnight moisture will not settle before the coating cures. A warm, sunny day is not automatically ideal if direct sun has made the metal too hot or if temperatures will drop sharply after sunset. The same judgment matters when deciding when to schedule maintaining painted exterior metal.
Watch moisture around irrigation and drainage
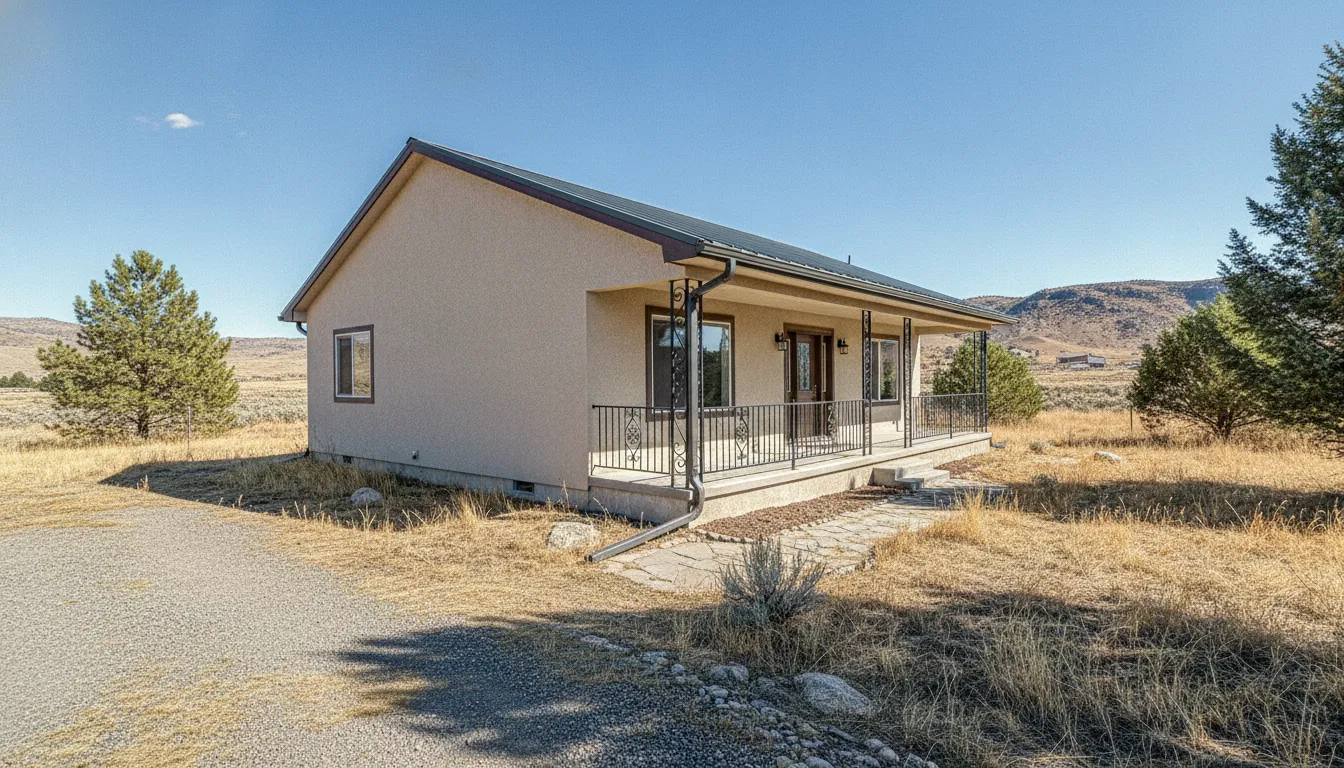
Sprinklers can repeatedly wet metal that would otherwise remain relatively dry. Gutters, downspouts, railings near walkways, gates, and lower sections of exterior doors are common trouble spots. Water that lands on a coating every day can work into small scratches and seams. On ferrous metal, that moisture accelerates rust; on any substrate, it can contribute to adhesion problems when the surface is painted before it has fully dried.
Before painting, the source of the moisture should be addressed where possible. Adjust a sprinkler head, correct a leaking connection, clear a clogged gutter, or improve drainage around the metal. Then allow the surface and nearby joints to dry thoroughly. Painting over residue, oxidation, or trapped moisture only hides the problem temporarily.
Preparation protects against temperature swings
Boise’s dry air can make a surface appear ready before it is actually clean and sound. Dust, chalking, old failing paint, and early corrosion still need to be removed. Metal substrates also differ, so aluminum, steel, copper, and other surfaces require preparation and coating choices suited to their composition. Rust on iron or steel must be removed before priming, because corrosion can continue beneath a new paint layer.
A compatible primer and exterior coating give the metal a better chance of handling expansion, contraction, sun exposure, and seasonal moisture. The result depends less on finding a single “best” paint than on matching the system to the substrate, exposure, and use. For that reason, a detailed inspection and careful preparation are especially valuable when learning how to paint metal surfaces in the Treasure Valley.
Should You DIY or Hire a Pro for Metal Painting?
DIY metal painting can be a practical choice for a small, accessible project when you have time to prepare the surface carefully and select compatible products. A professional finish becomes more valuable when the metal is weather-exposed, heavily corroded, difficult to reach, or spread across a large visible area. The difference is not simply who holds the brush. It usually comes down to preparation, coating knowledge, application conditions, and the consistency of the final finish.
Professional finishes are generally more durable because the work includes more thorough preparation and better-matched product selection. DIY results often fail when dirt, grease, oxidation, or rust remains beneath the coating, or when a general-purpose product is used on the wrong substrate. That does not make DIY unreasonable. It means the project should be sized to your tools, experience, and tolerance for maintenance.
| Project factor | DIY approach | Professional approach |
|---|---|---|
| Surface preparation | Clean, degrease, remove loose rust, and scuff the surface with the tools available. This can work well when the metal is in good condition and easy to handle. | Assess the substrate, remove failing coatings and corrosion thoroughly, and prepare edges and details consistently before priming. The process is especially important for exposed steel. |
| Product selection | Choose a primer and topcoat specifically labeled for the metal and its exposure. Avoid assuming that a single product works equally well on steel, aluminum, galvanized metal, and copper. | Match the primer and coating system to the substrate, existing finish, use, and exposure. Automotive-grade coatings can be very durable outdoors, but they often require professional application. |
| Weather and timing | Plan around dry, moderate conditions, and protect the project from dew, rain, cold, and sudden temperature changes. Seasonal timing can limit how long the surface remains workable. | Account for temperature and moisture throughout preparation and curing, then plan the work around Boise’s changing conditions. This helps reduce adhesion and finish problems. |
| Finish quality and scale | A brush or small sprayer may produce a satisfactory result on a compact item. Large gutters, railings, and doors make lap marks, overspray, uneven coverage, and missed details more noticeable. | Use a repeatable application method across large or detailed surfaces, with cleaner lines and more uniform coverage. The result can be easier to maintain when the coating system and finish are appropriate. |
| Best fit | Good for manageable projects where you can control access, preparation, ventilation, and curing time without rushing. | Well suited to multiple surfaces, elevated or awkward areas, significant rust, high-visibility finishes, and projects where dependable durability matters. |
If you are deciding how to paint metal surfaces, start by inspecting the existing coating and the metal underneath. A small project with stable, lightly weathered metal may be within a careful homeowner’s reach. For extensive corrosion, complex railings, exterior doors, or several connected surfaces, a professional assessment can clarify the preparation and coating work before you commit to materials.
Common Metal Painting Mistakes and How to Avoid Them
Metal can look simple to paint, but the finish depends heavily on what happens before the first coat. A smooth-looking door, railing, gutter, or metal trim piece may still have rust, oil, dust, oxidation, or a slick factory coating that prevents new paint from bonding. Proper preparation is the foundation of a durable finish, and rust removal is especially important on iron and steel because corrosion can continue beneath a new coating. Different substrates also need different preparation, so aluminum, galvanized metal, steel, and copper should not all be treated as if they were the same surface.
Skipping rust removal
One of the most common shortcuts is painting directly over visible rust. That may hide the orange color for a while, but it does not stop the underlying corrosion. On ferrous metals such as iron and steel, remove loose rust, flaking paint, and powdery residue before proceeding. Use a wire brush, scraper, or abrasive tool suited to the surface, then smooth remaining rough edges and clean away the dust. If rust has deeply damaged the metal, determine whether the piece can be repaired or whether a professional coating system is more appropriate. Rust removal is a non-negotiable part of preparation, not an optional cosmetic step.
Painting over greasy or bare metal
Oil, fingerprints, road film, cooking grease, and workshop residue can create an invisible barrier between the metal and the coating. Even bare metal that looks clean may need degreasing. Wash the surface with an appropriate cleaner, rinse or wipe it as directed, and allow it to dry fully. For smaller indoor projects, a compatible solvent such as isopropyl alcohol may be useful after testing in an inconspicuous area. Do not leave cleaner residue behind. After cleaning, lightly scuff glossy areas so the primer has a profile to grip. For more guidance, see this resource on preparing metal surfaces for paint.
Skipping primer or choosing the wrong product
Paint is not a substitute for primer when the surface is bare, rusty, galvanized, or otherwise difficult to coat. Select a primer designed for the specific substrate and the conditions it will face. Raw outdoor aluminum, for example, may need a high-quality commercial primer made for that material. Steel may require corrosion-resistant protection, while galvanized metal has its own adhesion concerns. Read the product label instead of assuming that an all-purpose primer will work everywhere. The same principle applies to the finish paint: choose a coating made for metal and for the item’s exposure, movement, and traffic level.
Ignoring temperature, humidity, and application thickness
Painting during unsuitable weather is another reliable way to create peeling, slow drying, blushing, or poor adhesion. Boise projects may encounter hot, dry summers, cold winters, irrigation moisture, and rapid temperature changes. Check the product’s recommended temperature and humidity range, and avoid painting a surface that is damp. Hot from direct sun, or likely to collect condensation before the coating cures. Plan exterior work for a stable weather window rather than painting simply because the calendar says it is time.
Finally, resist the urge to apply one heavy coat to finish faster. Thick paint can sag, wrinkle, remain soft, or trap moisture. Apply light, even coats and allow each one to dry for the label’s stated recoat time. A short checklist can prevent most avoidable failures:
- Remove rust and loose coating before cleaning.
- Degrease, rinse or wipe clean, and let the metal dry completely.
- Scuff glossy areas and use a substrate-appropriate primer.
- Confirm weather and surface conditions before exterior work.
- Apply multiple light coats instead of one heavy coat.
When the metal is extensive, heavily corroded, or exposed to demanding outdoor conditions. Professional preparation and product selection can make the difference between a temporary cover-up and a finish that holds up to Boise’s climate.
Get a free metal painting estimate for your Boise home or business
Frequently Asked Questions
Can I paint metal without removing every bit of rust?
Remove loose rust, flaking coating, and surface corrosion before painting. Rust left beneath the new coating can continue spreading and lift the finish. Clean and degrease the surface, then sand or mechanically remove corrosion until the remaining metal is sound. Apply a primer intended for the specific substrate before painting.
What is the best primer for a steel door or railing?
Choose a metal primer based on the condition of the steel and whether the surface is indoors or outdoors. A corrosion-resistant primer is important for exterior steel, while a bonding or direct-to-metal product may suit a properly prepared interior surface. Ferrous metals such as iron and steel are especially prone to corrosion when exposed to the elements. So the coating system should match that risk (MIT Building Materials and Technology, substrate guidance).
Is painting aluminum the same as painting steel?
No. Aluminum, steel, copper, and other metals have different surface characteristics, so they need different cleaning, scuffing, and primer choices. Degrease aluminum carefully and use a primer designed to bond with non-ferrous metal. Using the same product on every metal can lead to poor adhesion or premature peeling.
When is the best time to paint exterior metal in Boise?
Plan exterior work for a dry period when the metal and surrounding air are within the paint manufacturer’s temperature range. Boise’s hot, dry summers, cold winters, freeze-thaw cycles, and irrigation moisture can all affect adhesion and curing. Avoid painting damp metal, and allow the coating to cure before exposure to rain, sprinklers, or overnight temperature drops.
Ready to Protect Your Metal Surfaces?
Professional preparation and the right coating can help doors, gutters, and railings look refreshed while standing up to Boise and Treasure Valley conditions. Schedule a free estimate to discuss your metal painting project, recommended preparation, and finish options for your property.