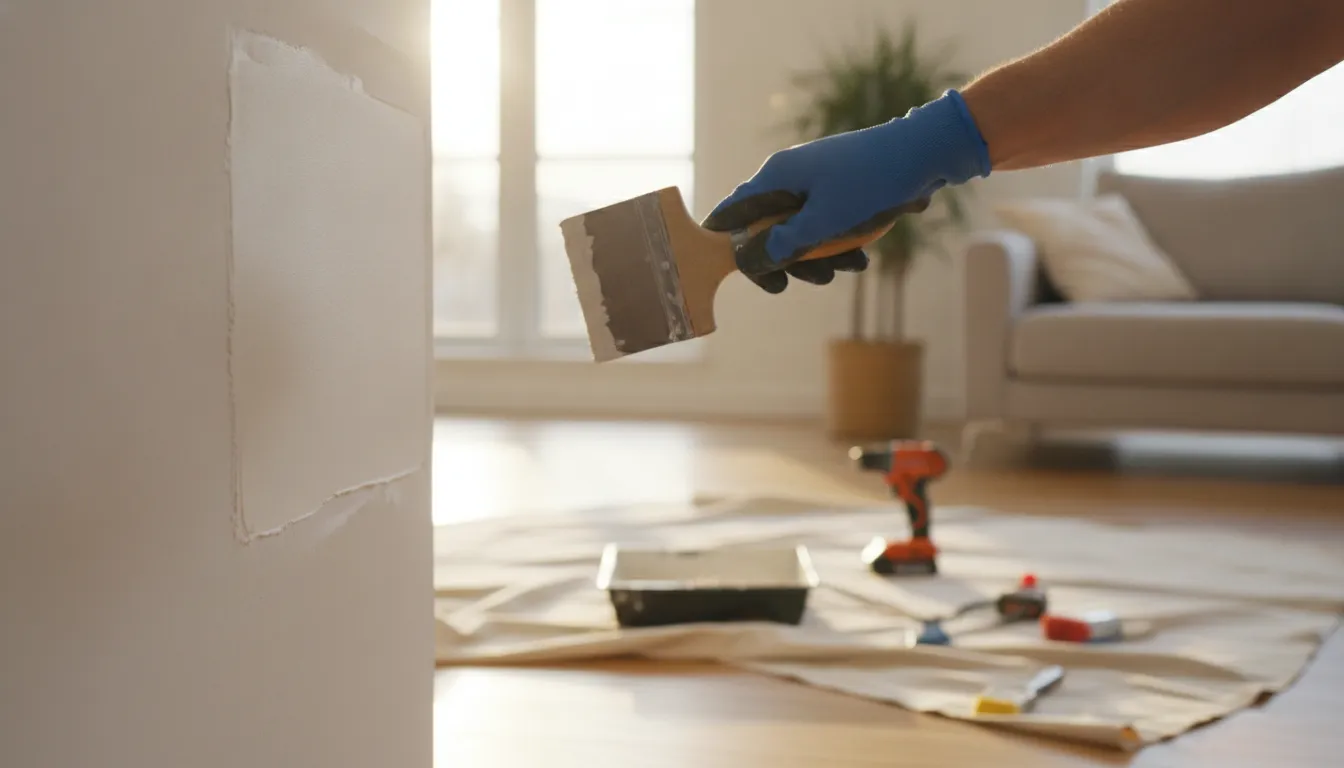
Small wall dents and nail pops will ruin a brand new paint job. Even the most expensive premium paint cannot hide holes, cracks, or water stains on your walls.
Drywall repair before painting is the single most vital prep step for any home project, as it keeps ugly cracks and dents from showing through your new paint. If you paint over damaged drywall, the shiny sheens in new wall paint will reflect room light off the uneven edges, making minor surface flaws stand out more. Properly patching, sanding, and priming these rough wall spots first creates a flat, smooth surface that allows your fresh paint to bond and dry evenly across the wall. This basic prep work ensures that all the repaired spots blend well with your existing wall texture, leaving you with a beautiful, clean, and durable new paint finish.
If you want to know how to get these great results on your own walls, we can help you with each step. Learning Why Drywall Repair Before Painting Gives You a Seamless Finish will help you plan your next project, and here’s how.
Why Drywall Repair Before Painting Gives You a Seamless Finish
When you paint over damaged walls, new paint does not hide the flaws. In fact, new paint sheens often make dents and cracks look worse. If you skip drywall repair before painting, these defects will show right through your topcoat and ruin your hard work. A fresh coat of paint needs a flat, stable surface to stick to.
What is drywall telegraphing?
Telegraphing happens when wall flaws cast tiny shadows under room lighting. Glossy or semi-gloss paints reflect more light, which makes these shadows stand out even more. Also, patchy spots can soak up paint faster than the rest of the wall and cause rough, glossy spots. Painters use expert prep steps to get a smooth finish on drywall repairs before the final paint goes on.
Common types of wall damage
To get a smooth wall, you must first know what kind of damage you have. Wall flaws come in many forms, and each needs a specific fix. Knowing these types helps you plan the right prep steps. Here are the most common issues you will find in local homes:
- Nail pops: These small, round bumps occur when drywall screws or nails pull away from the wood studs underneath.
- Hairline cracks: These thin lines often show up near doors, windows, or corners as a house naturally settles.
- Gouges and holes: These deep dents happen from moving heavy chairs, door handles, or everyday wear and tear.
- Water stains: These dark, unsightly spots are signs of past leaks that can lead to deeper structural issues.
Water stains are a major concern because moisture breeds mold. The Centers for Disease Control and Prevention (CDC) states that mold grows on drywall, paper, and ceiling tiles when water is present. So, you must find and stop the source of the leak first. Fixing the leak protects your home and keeps the mold from growing back.
Why professional painters fix minor drywall
You do not need to hire a separate crew for minor damage. As a rule, professional interior painters fix minor drywall repairs as a standard part of their prep work. They patch small holes, dents, and cracks before they start painting, using expert tools to make sure every patch is flat. This care makes your walls look great for years to come, giving you a high-quality finish without extra stress.
How Do You Fix Nail Pops Before Painting?
A nail pop is a common home wall problem. It looks like a small bump on your drywall. This blemish occurs when a drywall fastener pushes through the paper face of the wall. In Boise homes, wood shrinkage and shifts in air moisture often cause this movement.
These small shifts make wood studs shrink and pull away from the drywall sheet. This leaves a tiny gap behind the board. When you lean on the wall, the board slides back, and the nail head pops out. Doing this drywall repair before painting ensures a smooth wall.
Why you should fix nail pops first
You should not just paint over a nail pop. Fresh paint cannot hold the nail in place. Soon, the nail will pop out again and ruin your new paint job. Indeed, interior painters fix minor drywall repairs like nail pops as part of their standard prep.
The step-by-step fix
To do this job, you will need a few basic tools. You can buy these at any local hardware store in Boise. Here is what you should have on hand:
- A drill and some 1-1/4 inch drywall screws.
- A hammer and a steel nail set.
- A small putty knife and some joint compound.
- A fine sanding block or 120-grit sandpaper.
To fix a nail pop, you must secure the drywall sheet to the stud. First, drive a new drywall screw one inch above the popped nail. The screw head should sit just below the paper surface to form a small dimple. Do not tear the paper face, then gently tap the old nail deep into the stud.
Once you secure the wall, you must cover the dimples. Use a putty knife to spread a thin layer of joint compound over the area. Let the first coat dry fully. Some deep dimples may need a second thin coat of compound. Then, use 120-grit sandpaper to sand the patch until it is flat.
Drywall sanding and lead safety
Sanding drywall creates a lot of fine dust. This dust easily hurts your lungs. Always wear a high-quality mask when you sand. If your Boise home was built before 1978, you must take extra care.
Old paint layers can hold harmful lead. The Centers for Disease Control and Prevention warns that sanding older paint can create lead dust. This dust is a major source of lead risk for kids. If you suspect lead is present, let a pro handle the drywall repair before painting.
Patching Cracks and Holes in Drywall, Step by Step
Prep for the repair
When you plan to paint a room, you must start with a smooth surface. It is vital to patch and repair your drywall so that small holes do not show through the fresh coat. Any dents or cracks on the surface will catch the light and ruin your hard work.
To begin, you need to prep the edges of the damaged spot. Use a utility knife to scrape away loose plaster or paper from around the hole. This step creates a clean bevel, which helps the new joint compound stick to the wall.
Drywall repair steps
The size of the damage tells you which fix you should choose. Small cracks and dings need only a thin layer of compound. For larger holes, you must use the right tools to make sure the patch stays strong.
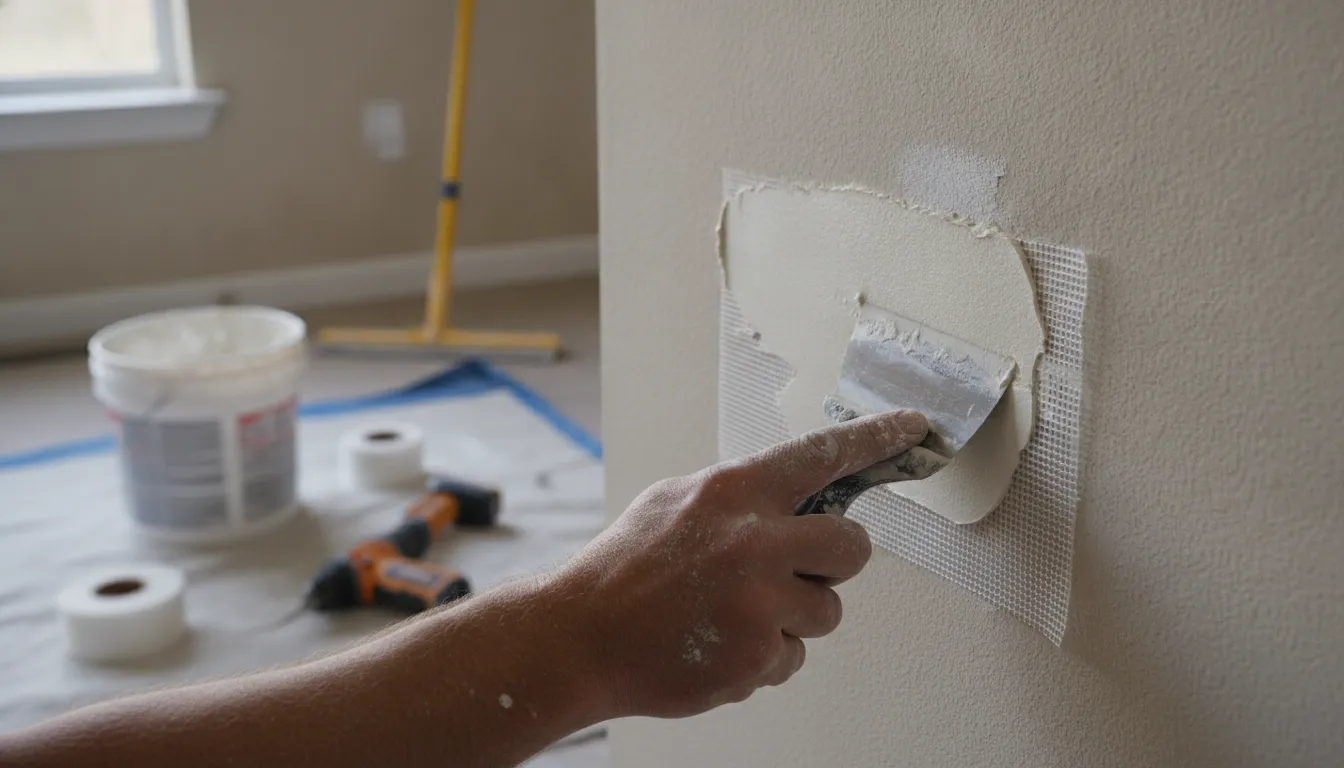
- Apply tape for hairline cracks. For hairline cracks, you can place a piece of fiberglass mesh tape over the damage. This stops the crack from growing and gives the joint compound a firm base to grip.
- Use mesh for small holes. If the hole is between one and eight inches wide, use a sticky mesh patch to cover it. This patch works well when covered with joint compound to bridge the empty space.
- Install backing for large damage. For holes that are eight inches or wider, you must cut a neat square around the damage. Next, screw wooden backing supports behind the wall, and secure a new piece of drywall to the wood.
- Spread the joint compound. Apply a thin layer of joint compound over the tape or patch with a putty knife. Spread the mud outward and feather the edges so the patch blends smoothly into the flat wall.
- Sand the patch smooth. Once the compound is dry, use a fine 120-grit sanding block to level the surface. Sand with light pressure in circles until the patched spot is flat and flush with the wall.
After you finish sanding, you must clean up the spot. Wipe the wall with a damp cloth to remove any fine dust. This step is needed because paint will not stick well to dusty drywall.
Safety tips for old paint
Before you start sanding, check the age of your home. If your house was built before 1978, the old paint may contain lead. The Centers for Disease Control and Prevention warns that old paint can cause lead harm. Chipping or peeling paint in homes built before 1978 is a major risk. Sanding these walls creates harmful lead dust, so always test for lead before you begin any drywall repair before painting.
How Do You Handle Water Stains Before Painting?
Water stains on your walls or ceiling are more than just ugly brown rings. They tell you that water is getting where it should not go. If you paint right over these spots, the stain will bleed through your new coat. You must follow the right steps of drywall repair before painting to make sure the work lasts.
Finding and fixing the moisture source
You must find where the water is coming from before you pick up a paint brush. Common culprits include a leaky roof, a bad pipe, or damp air. If you only paint over the stain, the water will soon return and ruin your new paint. To fix the issue, you must find and stop the leak.
Once you stop the leak, you must let the area dry because drywall acts like a sponge when wet. You can use a fan to speed up the drying process. Make sure the wall is dry all the way through before you begin repairing your drywall. This step is a key part of any solid drywall repair before painting project.
Cleaning mold on drywall
Wet drywall is a prime spot for mold to grow, which poses a real risk to your health. Mold can grow on paper, wood, and drywall. According to the Centers for Disease Control and Prevention, mold grows on drywall and other soft surfaces when moisture is present. You must clean the area right away.
But cleaning the surface is not enough if the moisture is still there. The CDC warns that you must clean up the mold and fix the moisture problem or the mold will come back. You can wash minor mold off with a mix of household bleach and water. If the mold has gone deep into the wall, you will need to cut out and replace that part of the drywall.
There is another safety risk when you work on old walls. If you live in a home built before 1978, you must watch out for old paint. Peeling or chipping paint in older homes can lead to lead exposure, which is very harmful to children. Be sure to check for lead before you scrape or sand any old paint coats.
Sanding, priming, and painting
Once the wall is clean and dry, you must prep the surface. Use fine sand blocks to smooth down any rough spots or peeling paint. If you need to patch small holes or cracks, let the joint compound dry first and then sand it flush. This step gives you a smooth base for your paint.
Next, you must apply a primer because plain paint will not hide water stains. The brown rings will seep through and show up again. You must use a strong, stain-blocking primer that seals the stain so it cannot bleed. Once the primer is dry, you can apply your top coats of paint for a clean finish.
Do You Need to Prime Drywall After Repairing It?
Yes, you must prime your drywall after you patch it. Dry joint compound is very porous and acts like a sponge. If you paint right over a fresh patch, the dry mud will drink up the liquid. This spot will then look shiny or dull, which spoils your final finish.
Why joint compound needs primer
Drywall mud is made to fill holes, but it is not meant to hold paint. When you do a drywall repair before painting, the wall will have both new and old textures. Bare paper and new mud drink up paint fast. If you skip primer, the topcoat will dry too quickly and fail to stick.
A good primer seals these thirsty zones so they stop drinking liquid. This thin coat forms a tight, even shield over the whole repair. When you paint over a primed patch, the topcoat stays on top where it belongs. This helps you ensure smooth walls through drywall repair because the paint can dry at a steady rate.
Preventing paint flashing
Flashing happens when some parts of a wall reflect light in odd ways. Unprimed patches will often look like shiny or flat spots. These marks stand out when light hits the wall from the side. Even if you apply three coats of fine paint, the patch can still show through.
Primer ensures that the wall has the same texture from corner to corner. It makes a flat surface. Without this base, you will waste both time and paint trying to hide the repair. A quick coat of primer saves you from having to paint the whole room again.
Stain-blocking primer for water damage
Water stains are a special problem that standard paint cannot hide. If you have a brown water spot on your ceiling or wall, the stain will bleed right through new paint. Even joint compound cannot block these stubborn stains. You need a strong stain-blocking primer to lock the dark spot inside the wall.
Before you prime, you must find the source of the water. If mold is growing on your drywall, you must clean it up and stop the leak. The Centers for Disease Control and Prevention (CDC) warns that you need to fix the moisture problem to keep mold from growing back. Once the area is clean and dry, use a primer that blocks mold and seals the drywall.
Why DIY Drywall Repair Can Fail After You Paint
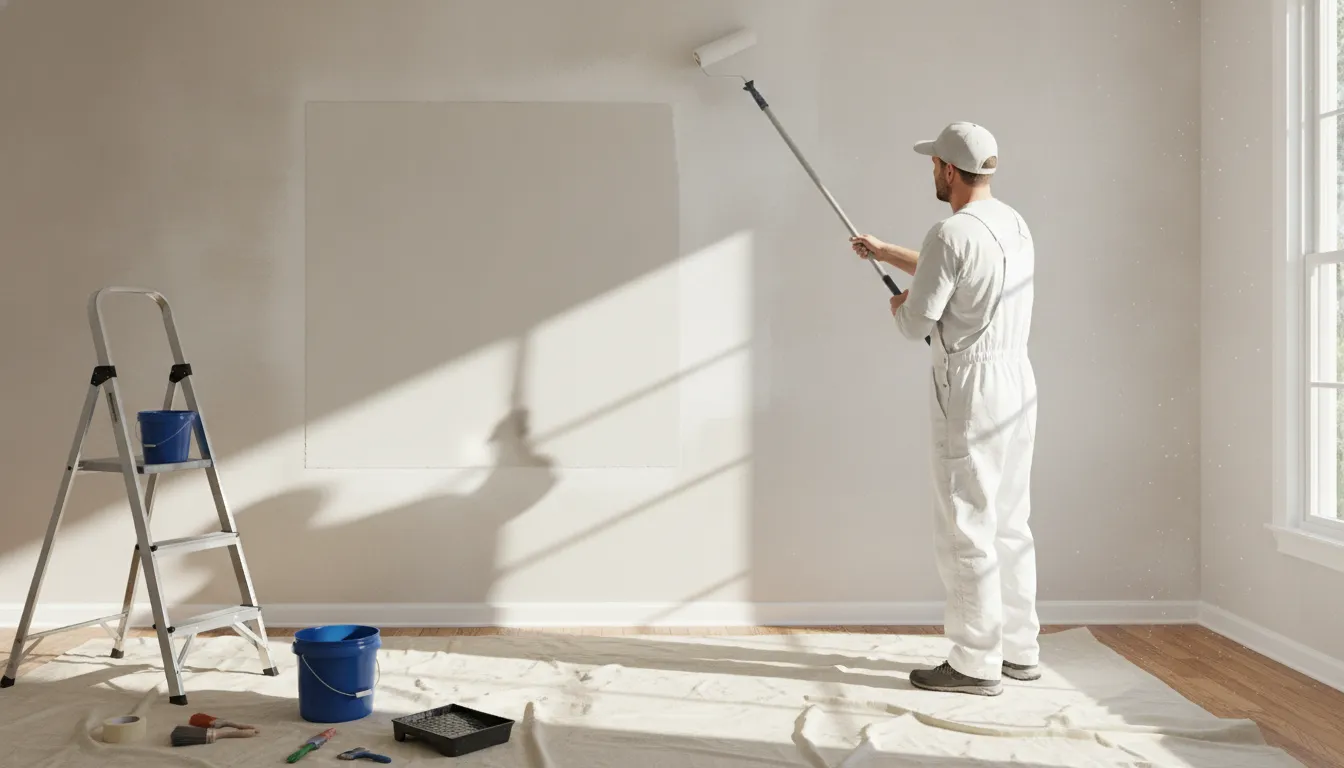
Many homeowners try to patch their own walls to save money. For very small nail holes, a quick DIY fix is often fine. But larger patches can fail and show through your new topcoat after you paint. To get a seamless finish, you must learn why these fixes fail.
Overfilled compound and shrinking
One common mistake is putting too much joint compound in a hole. Drywall mud shrinks as it dries, which often leaves a small dip in the wall. If you do not apply several thin coats, the patch will not be flat. The paint will pool in this low spot and highlight the flaw.
Poor bedding of drywall tape is another issue. If you do not press the tape deep into the wet compound, air gets trapped underneath. This creates bubbles or ridges along the seams. These bumps will telegraph through your topcoat and ruin your smooth wall surface.
Feathering is the art of spreading the drywall mud thin at the edges. If you do not feather the edges, you will leave a thick ridge around the patch. This ridge creates a shadow on the wall that is hard to hide. Expert painters know how to blend these edges into the wall so the patch disappears.
Aggressive sanding and safety
Sanding is a key step, but doing it too hard can cause big problems. Sanding too hard often tears the paper face of the drywall. It also leaves rough spots that soak up paint at a different rate than the wall. This causes flashing, where the patch looks dull or shiny under room light.
Sanding can also be dangerous if you work in an older house. The Centers for Disease Control and Prevention warns that chipping or peeling paint in homes built before 1978 can lead to lead exposure. Sanding these walls releases toxic dust into your home. When you perform a drywall repair before painting, safety prep is just as vital as a smooth finish.
High-sheen paint and flashing
Skipping primer is the fastest way to make a DIY repair fail. Joint compound is very porous, so it drinks up paint like a sponge. If you do not seal the mud first, your topcoat will dry too fast and look patchy. This happens most when you use high-sheen paints like semi-gloss or gloss.
High-sheen paints reflect a lot of light, which makes every small bump or dip stand out. A patch that looks flat in a dusty room can suddenly show up once a glossy coat goes on. To avoid these issues, you must ensure smooth walls through drywall repair by priming every single patch before you paint.
When to Hire a Professional for Drywall Prep
When you plan to paint your home or office, you must decide who will fix the walls first. Handling drywall repair before painting is a key step to get a smooth, clean look.
Many people do not know that professional painters can take care of simple prep work. As a routine part of preparation, painters fix minor drywall issues like popped nails, small cracks, and dents before they apply any paint. This professional prep is how local painters ensure a smooth and lasting finish on your walls.
Scale and safety limits
For small dings, a quick DIY patch might work. But larger issues need expert help. If you have big holes or water damage, it is best to hire a team. If you want to try some simple fixes first, you can read our guide on how to prepare a room for painting.
If your home in the Treasure Valley was built before 1978, you must be very careful. Drywall or old paint in these homes can have lead. Disturbing lead paint can cause dangerous exposure, as noted by the CDC lead guide. If you find mold on wet walls, you must fix the leak and clean the mold, as a simple cleanup will not stop it from coming back.
Benefits of expert prep
Hiring local pros like Paint Boise keeps your project simple. With over 40 years of work in Boise and the Treasure Valley, we know how to prep any wall. We use a clear 6-step process to get a perfect finish.
Our process includes all the drywall work and materials in one price. With our pay-when-satisfied guarantee, you pay zero upfront deposit. We also offer a 5-year warranty on our work. This means you do not have to worry about your walls after we leave.
| Project Feature | DIY Wall Repair | Professional Painting Team |
|---|---|---|
| Work Guarantee | No warranty if the patch cracks or fails. | Five-year warranty and a satisfaction guarantee. |
| Finish Quality | Patches often show through the new paint. | Smooth, flat walls with no visible seams. |
| Time and Labor | Takes hours or days of dusty work. | Done quickly with no dust or mess left behind. |
| Tools and Skill | Must buy specialty knives, pans, and mud. | Experienced crew with professional gear. |
| Large Damage | Hard to cut and hang new drywall sheets. | Can replace whole sheets and match texture. |
| Commercial Scale | Not feasible for offices or large spaces. | Large crews can handle any commercial project. |
If you want to save time and get the best results, hiring experts is the right choice. A local team can evaluate your space and give you a free estimate. This lets you relax while we do the work.
Frequently Asked Questions
Do I need to patch drywall before painting?
Yes, you must patch drywall damages before you apply paint. Small dents, cracks, and holes will show through the new paint and ruin the final look. Professional painters fix these minor issues as part of their standard prep work. According to Dayco Painting, fixing small holes and nail pops ensures a smooth wall surface. Doing this prep work prevents the old damage from showing through the new topcoat.
How do you repair holes in drywall before painting?
Your repair method depends on the size of the hole. For small holes up to eight inches, you should use a mesh patch and joint compound. Larger holes over eight inches need a new piece of drywall with backing support. This advice comes from R&R Magazine. Once the compound dries, sand the patch flat. Then, apply primer before you paint.
Do I need to prime drywall after repair?
Yes, you must prime all repaired drywall before you paint. Patching compounds absorb paint differently than the rest of the wall. If you skip primer, the repaired spots will look dull or shiny under the light. This is called flashing. Primer seals the patching compound so the topcoat of paint adheres well and looks uniform across the entire wall.
How do you fix water stains on drywall before painting?
First, you must find and stop the source of the water leak. If mold is growing on the drywall, you must clean it up and fix the moisture issue. The CDC warns that cleanup alone will not prevent mold from returning if the moisture remains. Once dry, apply a stain-blocking primer over the stain. This prevents the spot from bleeding through your new paint.
What is the best filler for drywall repair before painting?
The best filler depends on the size of the damage. For tiny nail holes and minor dents, a lightweight spackling compound is best because it dries quickly. For larger patches and joints, use a joint compound. Joint compound shrinks as it dries, so you may need to apply more than one coat. Sand the dry filler flat with 120-grit sandpaper before you paint.
Ready to Get a Free Painting Estimate for Your Boise Home Now?
If you do not fix drywall cracks, deep holes, and nail pops before painting, your final walls will look bumpy, rough, and highly uneven. Our local crew can prep your walls and paint your home quickly to save you from days of dusty, hard, and tiring DIY work. We also offer a five-year warranty and a pay-when-satisfied guarantee so you get beautiful, seamless walls today with no project risk at all.