
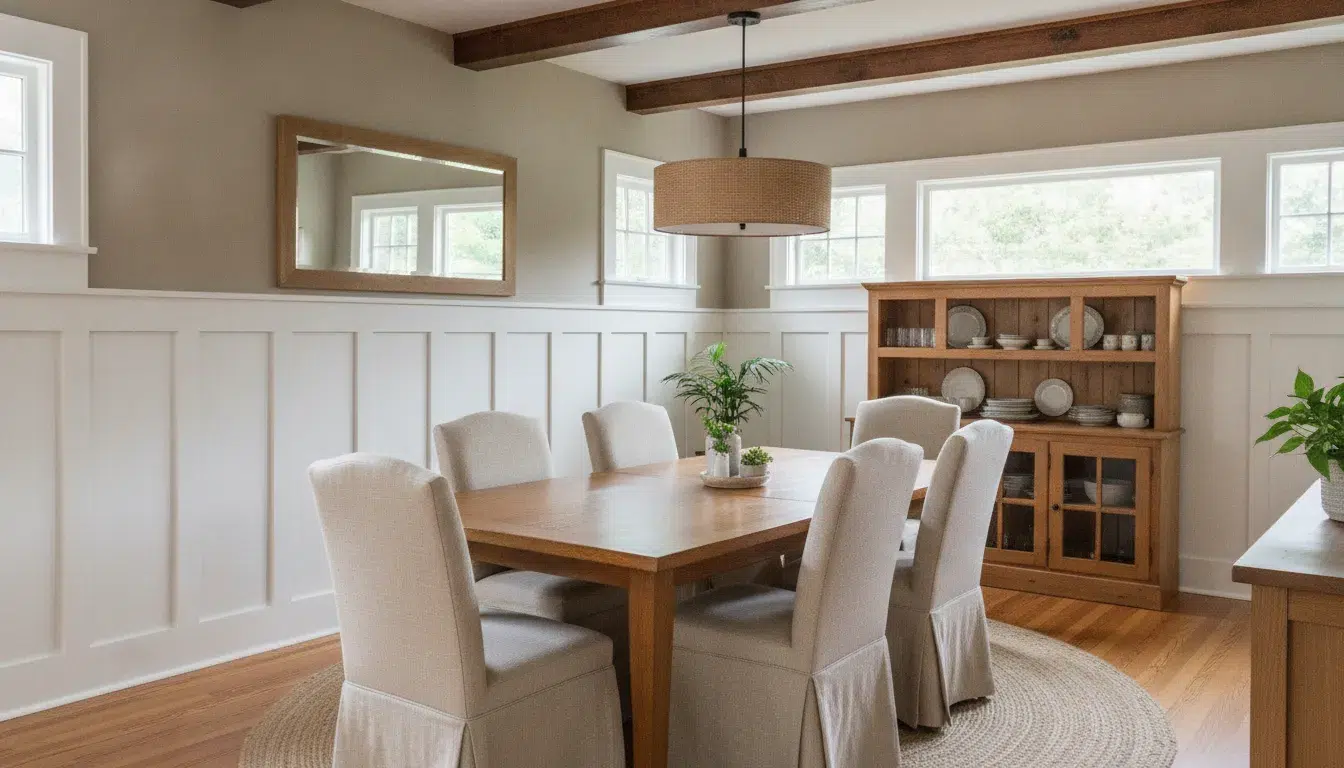
Wainscoting can make a Boise room feel more finished while protecting walls from everyday scuffs. The best result depends on details that are easy to overlook, including panel depth, chair-rail height, sheen, and the condition of the wood or MDF.
Talk with Paint Boise about your interior painting project
For a durable, polished finish, prepare the substrate carefully, seal porous edges, use a trim-friendly coating, and choose colors that suit the room’s natural light and proportions. This approach works for traditional raised panels, flat panel molding, and board-and-batten treatments.
How Does Painting Wainscoting Change a Boise Room?
Wainscoting is a decorative wall treatment that covers part of a wall, usually from the baseboard to a chair rail or another horizontal stopping point. Painting it can add structure, texture, and character to an entryway, dining room, hallway, mudroom, bedroom, or home office. It can also give the lower portion of a high-traffic wall an additional washable surface.
It is not a substitute for repairing damaged drywall, loose trim, or moisture problems. Resolve those conditions first so the new finish does not highlight an uneven transition or fail prematurely. In older Boise homes, inspect the existing baseboards, door casing, and window trim before choosing a new color. The panel treatment should support the room’s architecture rather than compete with every other border.
Choose the panel profile before choosing color
A chair rail is the horizontal trim piece that caps the treatment. It creates a visual boundary between the paneled lower wall and the painted wall above. Many installations place the rail roughly one-third of the way up the room, often around 30 to 36 inches from the floor. That is a starting point, not a fixed rule. Ceiling height, furniture, doors, and existing trim should guide the final proportion.
Raised panels project slightly outward and have molded or applied trim around a center panel. Their shadows suit dining rooms, formal entries, and homes with traditional architectural character. Flat panels, sometimes called recessed or slab-style panels, provide a simpler rhythm that can bridge traditional and contemporary design. Board-and-batten uses wide boards or a smooth wall with narrow vertical battens. Its vertical lines can make a bedroom, office, stair wall, or casual living space feel taller and more tailored.
For more ideas that combine wall color with architectural detail, review this guide to painting wainscoting and board-and-batten.
What Sheen Works Best When Painting Wainscoting?
Sheen affects how clearly the trim details read, how easily fingerprints clean up, and how visible small surface flaws become. The best finish depends on the panel profile, the condition of the surface, and how much contact the room receives. There is no single sheen that belongs on every wainscoting installation.
| Surface or situation | Practical direction | Reason |
|---|---|---|
| Raised rails, stiles, and molding | Satin or semi-gloss trim enamel | Highlights detail and supports routine cleaning. |
| Flat panels in a low-traffic room | Eggshell or satin | Creates a softer look while offering useful washability. |
| Same-color wall and panel design | Higher sheen on wainscoting | Adds depth without a strong color change. |
| Humid room | Coating selected for the substrate and room | Addresses the added risk of peeling in damp conditions. |
| Entryway or family room | Durable satin or semi-gloss system | Balances appearance with easier spot cleaning. |
Raised-panel wainscoting often benefits from satin or semi-gloss because a little reflectivity outlines the rails, stiles, and recessed areas. Satin gives a softer reflection. Semi-gloss creates more contrast and is generally easier to wipe clean. Eggshell can work on flat panels when a quieter, more modern appearance is the goal, but it may show scuffs sooner than a more durable trim finish.
Use a trim enamel intended for interior woodwork instead of assuming one universal product fits every surface. Product selection should account for raw wood, MDF, previously painted trim, the final color, and the room’s cleaning or moisture demands. If you need help coordinating panel and wall finishes, explore professional interior painting options.
How Should You Prep Wood, MDF, and Existing Trim?
Painting wainscoting starts with a sound surface. Wood, MDF, and previously painted trim absorb and hold coatings differently, so the preparation should follow the actual substrate. The same shortcut that works on a clean, previously painted panel can fail on a raw wood edge or porous MDF cut.
Raw wood preparation
Remove dust and residue, then inspect boards, rails, and molding for dents, nail holes, open joints, and rough edges. Fill nail holes with a paintable wood filler, let the repairs dry, and sand them flush. Lightly sand the surrounding wood to smooth raised fibers. Vacuum or wipe away all sanding dust before priming.
Raw wood also needs a primer suited to the species and final color. Proper priming helps reduce the chance of tannin bleed beneath light-colored paint, especially on woods that release more natural color. Follow the label directions and test compatibility in an inconspicuous spot when combining products.
Previously painted wainscoting
Wash away grease, hand oils, and general grime, then allow the surface to dry. Scrape loose or peeling paint and feather the edges of damaged areas. Fill dents and nail holes, sand the repairs, and inspect the joints where the panel meets the wall or chair rail. Glossy trim needs enough sanding to dull the sheen and improve mechanical adhesion. Remove residue before applying the primer recommended for the old finish.
If the surrounding wall is cracked or damaged, address it first with drywall repair before painting. A flawless trim coat cannot disguise an uneven wall transition.
MDF edge sealing
MDF has a uniform face, but its cut edges are more porous. Those edges can absorb finish unevenly, leaving fuzzy fibers or a visibly different sheen. Lightly sand the edges, smooth them with a compatible filler, and sand again after the filler dries. Seal the edges with a primer specified for MDF before applying finish paint. Avoid exposing MDF to substantial moisture, since the material can swell.
Finally, caulk narrow trim-to-wall gaps with a flexible, paintable caulk. Wipe the bead smooth before priming. This small step creates a cleaner transition and keeps a visible gap from distracting from the finished panels.
What Is the Cleanest Process for Crisp Chair-Rail Edges?
A reliable application sequence keeps paint from building up in recesses and helps the chair-rail line stay crisp. Work in thin, even coats and allow each product to dry according to its label. Rushing the next coat can soften edges, pull up fresh paint, or trap dust in the finish.
- Protect the room. Move furniture, cover floors, and protect adjacent walls, outlets, hardware, and flooring before opening a paint can.
- Clean and inspect. Wipe the chair rail, panels, baseboard, and surrounding wall. Inspect under normal light and from a low angle.
- Repair and caulk. Fill nail holes and dents, then apply a thin bead of flexible caulk where the rail meets the wall. Tool away excess.
- Sand and remove dust. Dull glossy surfaces, smooth repairs, and use a light touch on molded edges so the profile stays intact.
- Prime by substrate. Prime raw wood and seal MDF edges with products intended for those materials. Let the primer dry fully.
- Cut in detailed areas. Use an angled brush for corners, recesses, chair rails, and the line where two colors meet. Painter’s tape can help when its edge is pressed firmly and it is removed according to the paint instructions.
- Roll flat panels. A small roller works on broad, flat areas while a brush handles grooves and trim. Keep a wet edge to reduce lap marks.
- Inspect before returning the room to service. Check the rail line, panel recesses, repaired holes, and roller transitions in natural and artificial light. Correct small flaws before reinstalling hardware.
The right sequence matters in a Boise or Treasure Valley home because interruptions, dust, and changing indoor conditions can affect the finish. Give every coat enough time to dry and keep the work area reasonably ventilated. The goal is an even film, clean transitions, and details that look intentional instead of hurried.
Which Color Approach Fits Your Wainscoting Design?
Color can integrate wainscoting, emphasize its craftsmanship, or change how a room’s proportions feel. Start with the room’s natural light, size, flooring, furniture, and existing trim. Test samples on the actual wall and panel surface before committing. Boise daylight can shift the appearance of a color between morning and evening. And a north-facing hallway may make the same color feel cooler than it does in a sunny dining room.
Same color, different sheen
Painting the wall and wainscoting the same color creates a seamless effect. You can still distinguish the treatment by using eggshell or matte on the wall and satin or semi-gloss on the panels. The higher-sheen surface catches light along the rails and bevels, adding dimension without a second hue. This approach works well when door casing, baseboards, or stained wood already provide visual activity.
Tonal and two-tone combinations
A tonal scheme uses nearby colors, such as a pale neutral above the rail and a deeper version below it. It adds definition while keeping the transition comfortable. A richer panel color paired with a lighter wall can feel traditional. A lighter panel against a deeper wall can feel more contemporary. Coordinate the lower-wall color with cabinet undertones and backsplash materials when paneling appears in a kitchen. This kitchen wall painting guide can help connect those choices.
High contrast with practical limits
White or near-white wainscoting against a colored wall highlights the architectural pattern. Dark panels below a light wall create a grounded effect, but they can reveal uneven caulk lines and surface flaws more readily. Bathrooms and other damp areas need extra care. Select a suitable material and coating for the room, and do not rely on paint to solve a moisture source.
When Should You Hire an Interior Painter?
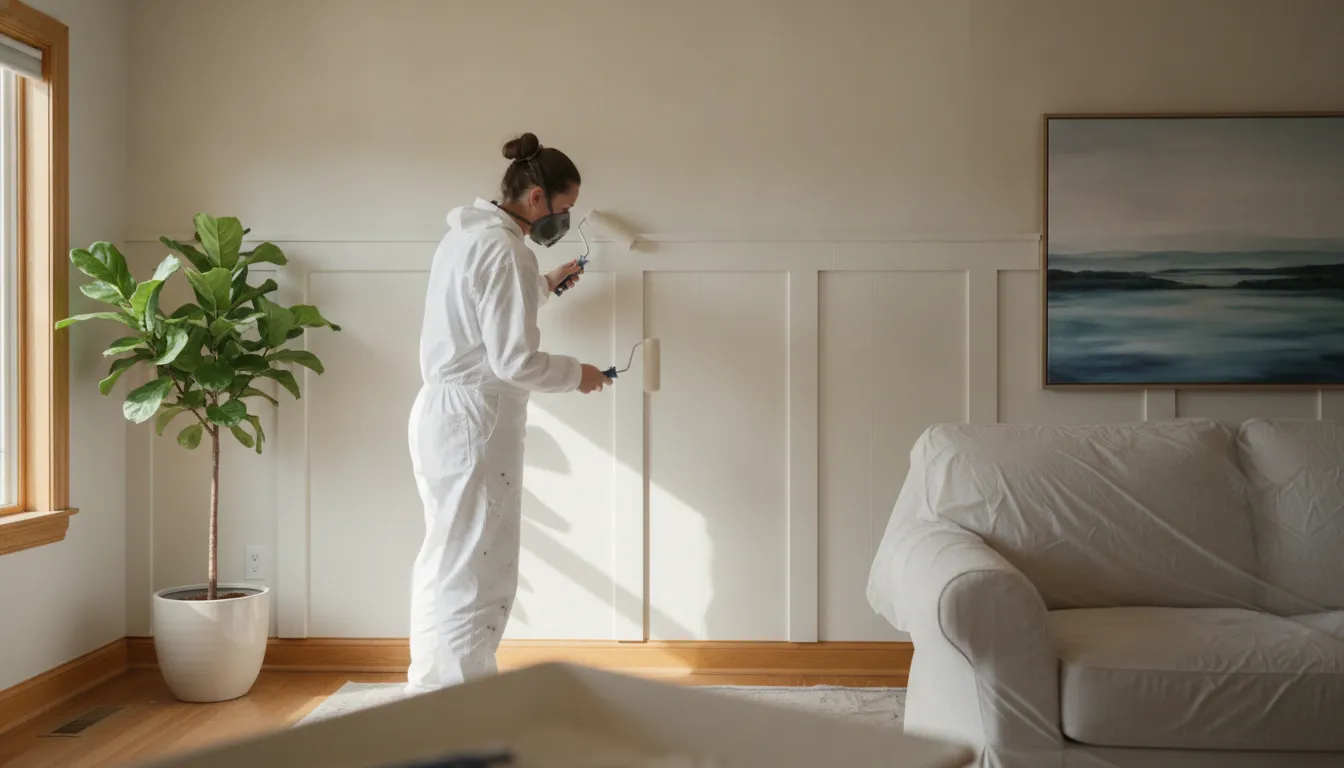
Painting wainscoting can be a manageable project when the treatment is small, sound, and easy to reach. A simple board-and-batten wall may only require careful cleaning, light sanding, substrate-appropriate primer, and steady brushwork. If you have time to protect the room and inspect the finish between coats, a straightforward project may be a good fit for DIY work.
The decision changes when the room has extensive repairs, intricate molding, multiple sheens, or a large number of connected panels. Raised profiles create more edges, grooves, and transitions than a standard wall. Uneven caulk, missed recesses, overloaded corners, and inconsistent coverage can remain visible as daylight changes.
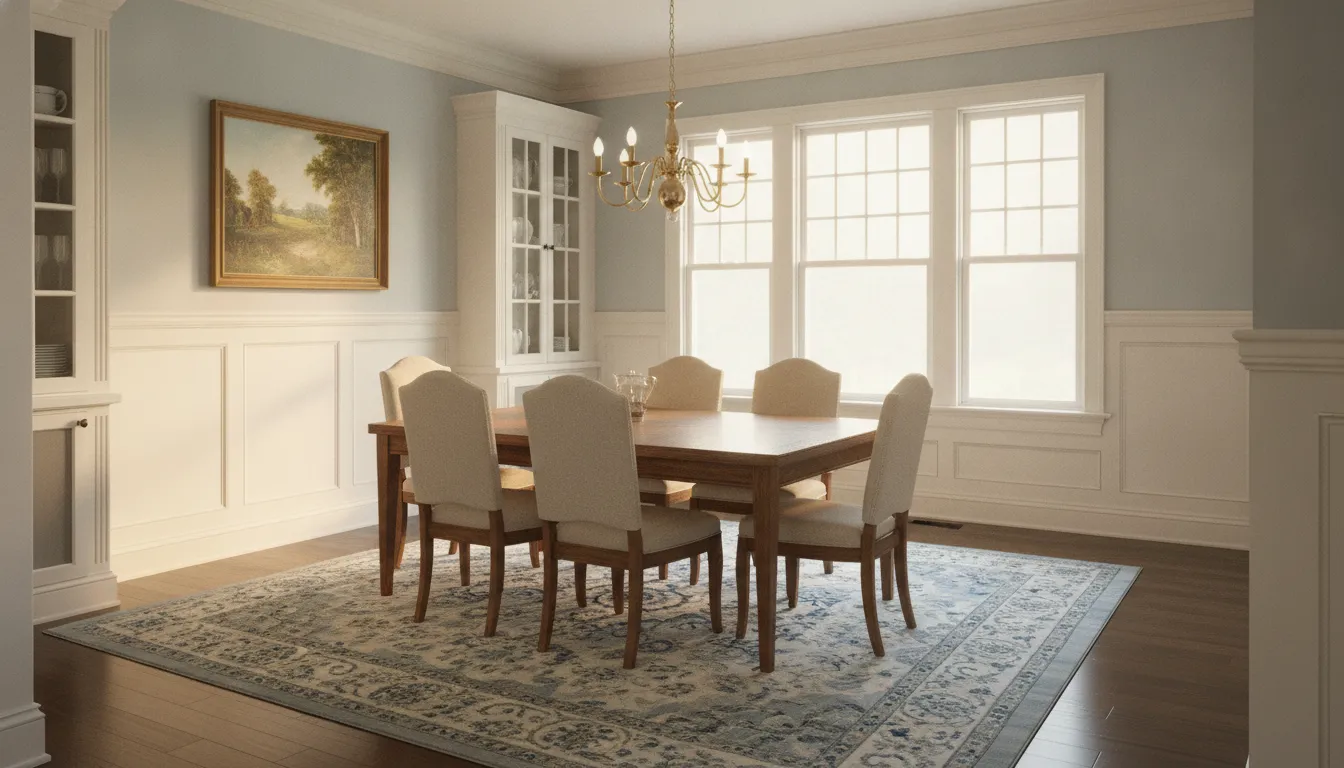
An experienced interior painter can help coordinate the trim sheen with the wall finish. Prepare raw wood or MDF correctly, and create a consistent line at the chair rail. Paint Boise provides interior painting guidance for Boise and Treasure Valley homeowners who want a polished result and clear communication about the work.
Request a free interior painting estimate from Paint Boise
Frequently Asked Questions
Is painting wainscoting a good idea?
Yes. A fresh coat can update the room, emphasize panel detail, and add a finished, washable surface in busy spaces such as entries and dining rooms. The result depends on cleaning, repairs, caulking, and careful application around recessed panels and chair rails.
What type of paint and sheen should you use on wainscoting?
Choose a quality trim enamel made for a durable interior finish. Satin is practical for many rooms, while semi-gloss highlights raised details and is easier to clean. Eggshell can create a softer look on flat panels. MDF needs careful edge sealing, and damp rooms need a coating selected for the substrate and conditions.
Do I need to prime wainscoting before painting?
Priming is recommended on raw wood, MDF, and other untreated surfaces because it helps create an even finish and supports adhesion. Primer can also help reduce tannin bleed under light colors. MDF edges are especially porous, so seal and smooth them before applying finish paint.
Should I use a brush or roller to paint wainscoting?
Use an angled brush for corners, recesses, chair rails, and detailed trim. A small roller works well on flat panels and helps maintain even coverage. Apply thin coats, keep a wet edge, and avoid allowing paint to build up in grooves.
Should the wainscoting match the wall?
Matching the wall creates a seamless effect, while contrast emphasizes the architecture. For subtle depth, use the same color in different sheens. Test samples beside the floor, furnishings, existing trim, and actual room lighting before selecting the final combination.
Ready to Refresh Your Wainscoting?
Thoughtful preparation and crisp trim work can help wainscoting, chair rails, and board-and-batten look intentional and polished. If you want help choosing colors, preparing the surface, or creating a consistent finish, Paint Boise can discuss your interior painting project and provide practical guidance.