
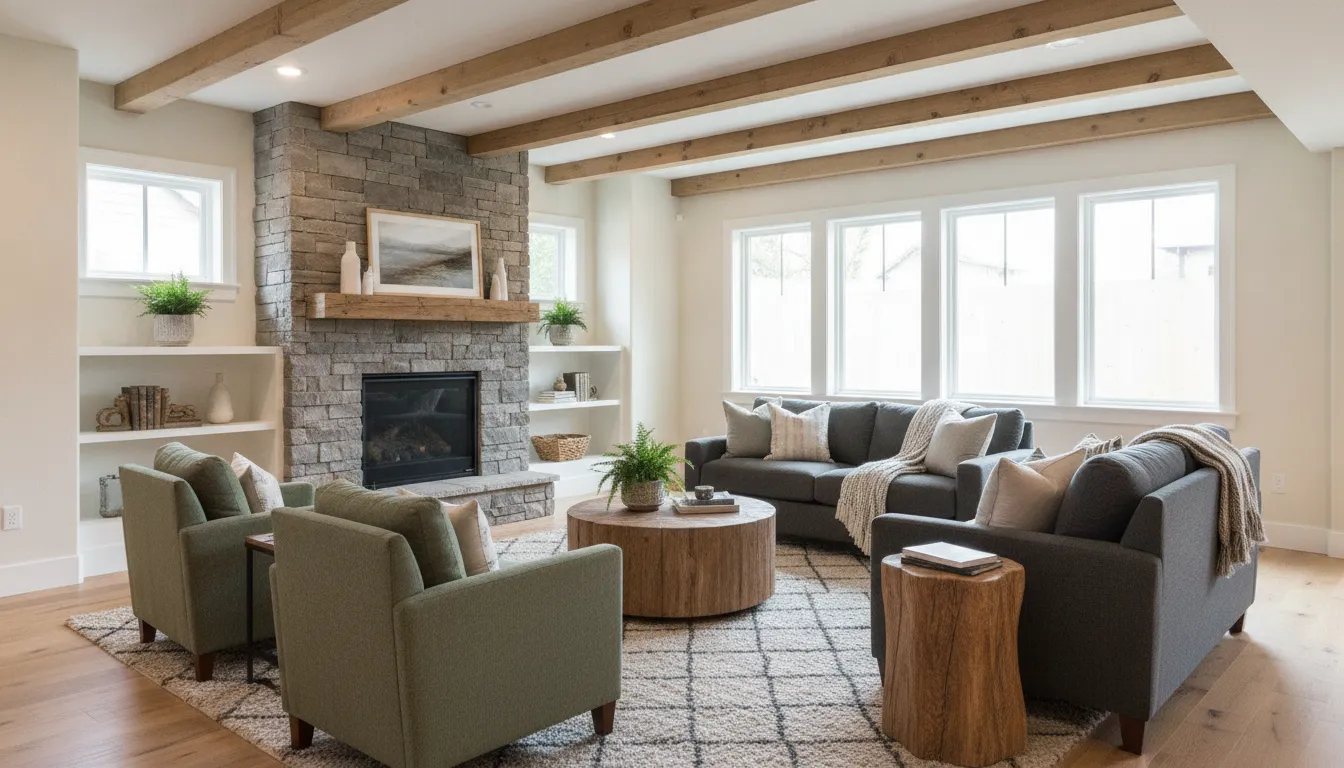
A finished basement can add comfortable living space, but its walls do not always behave like the drywall upstairs. Concrete can hold moisture, paneling may need different preparation, and limited airflow can affect how coatings bond. Painting a finished basement starts with evaluating the room, not simply choosing a color.
Get Your Free Basement Painting Quote
Painting a finished basement works best when moisture is controlled, each surface is prepared for its material, and the coating system matches the wall. Drywall, concrete, block, and paneling may need different primers and finishes. Active leaks, recurring dampness, and structural concerns should be addressed before painting begins.
This guide explains how to assess a Boise-area basement, choose a coating direction, prepare mixed surfaces, coordinate the ceiling and floor, and decide when professional help makes sense. The goal is a finish that looks intentional without asking paint to solve a building problem.
How Does Painting a Finished Basement Start With Moisture?
The first step in painting a finished basement is a moisture check. Look for active leaks, damp patches, condensation, peeling coatings, soft drywall, musty conditions, and white powdery deposits called efflorescence. Paint can improve appearance, but it cannot repair water entry, hydrostatic pressure, plumbing leaks, or excessive humidity.
Before choosing a color or scheduling a painting day, inspect the walls, floor perimeter, corners, window wells, and areas around utility penetrations. A basement can feel dry during one visit while showing condensation or dampness during another season. Recurring discoloration, bubbling, or peeling deserves investigation instead of another coat.
Use a practical go or no-go inspection
On concrete or block, check for loose material, cracks, damp areas, and efflorescence. The National Park Service recommends checking masonry for excessive moisture and efflorescence before beginning a painting project. Its guidance on moisture and masonry surfaces supports treating the condition of the wall as a prerequisite to coating.
If water is actively entering, pause the painting plan and identify the source. Depending on the finding, the next step may involve a plumber, drainage professional, foundation specialist, or mold professional. Do not use paint as a substitute for waterproofing, structural repair, or mold remediation.
Consider humidity and airflow
A below-grade room also needs a plan for airflow during cleaning, priming, and application. Ventilation can reduce trapped humidity and help a coating perform more consistently, but it does not make every damp basement ready for paint. Condensation on cool surfaces, persistent odors, or slow drying are signals to investigate further.
The EPA mold cleanup guidance emphasizes addressing moisture rather than covering affected areas. If a wall has an active condition, resolve the cause and confirm that the surface is sound before moving into cosmetic work.
Which Coating Works for Each Basement Wall Surface?
The right basement coating depends on the substrate, existing finish, moisture exposure, and intended use of the room. Finished drywall usually needs interior wall preparation and compatible primer where repairs or stains exist. Concrete and block call for masonry-appropriate products, while wood paneling needs attention to gloss, seams, and movement.
Many finished basements combine several materials. A walk-out basement may have painted drywall in the living area, concrete near a utility space, and wood or composite paneling around a stairway. Treating every surface as ordinary drywall can lead to poor adhesion, uneven texture, or a finish that highlights repairs.
| Surface | Preparation priorities | Coating direction |
|---|---|---|
| Finished drywall | Clean the surface, repair dents and joints, smooth rough edges, and spot-prime repairs or stains. | Use an interior wall coating with a compatible primer where the surface or prior finish requires it. |
| Concrete or block | Check for moisture, efflorescence, cracks, and loose material. Active water entry must be addressed first. | Select a coating system designed for masonry instead of treating the wall like drywall. See this guide to choosing masonry paints. |
| Wood or panel walls | Clean residue, lightly abrade glossy areas, secure loose panels, and repair damaged seams. | Use a primer compatible with the substrate and existing finish, followed by an interior coating suited to the room. |
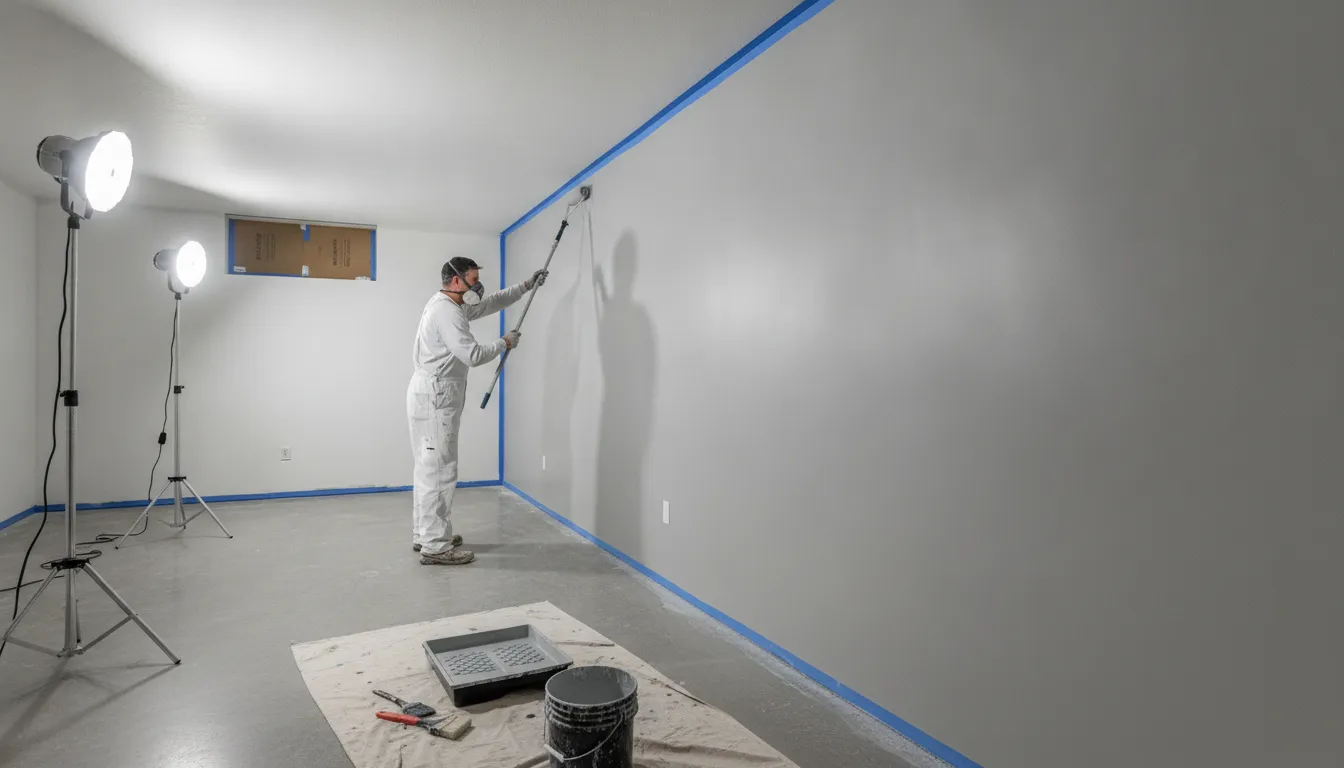
Drywall may need only light abrasion and spot priming when it is clean and sound. Glossy surfaces, stains, unknown prior coatings, and extensive repairs require a more deliberate plan. Paneling can also telegraph grooves and seams through a new finish if preparation stops at a quick wash.
Test the proposed primer and finish in an inconspicuous area when the wall material or existing coating is uncertain. Check adhesion, color, sheen, and texture under the basement’s actual lighting. A small test can prevent a mismatch when several substrates meet in one room.
How Do You Prepare for Painting a Finished Basement?
Preparing a finished basement means protecting the room, checking moisture, cleaning each substrate, repairing stable defects, smoothing loose material, priming as needed, and testing the coating. The sequence matters because paint should not hide dampness, unstable surfaces, or incompatible layers that could fail after application.
- Clear and protect the work area. Move furniture and stored items outside the work zone when possible. Cover remaining belongings, stairs, floors, trim, outlets, and fixtures. Basement dust can travel into storage areas, so protect nearby items as well.
- Inspect for moisture before cleaning. Look for leaks, damp patches, peeling paint, musty conditions, and efflorescence. Do not paint over active water entry or assume a coating will correct hydrostatic pressure.
- Clean each surface appropriately. Remove dust, cobwebs, grease, chalky residue, and loose dirt. Remove surface efflorescence rather than sealing it beneath a coating. If mold is present, follow recognized cleanup guidance and bring in the right specialist.
- Repair stable surface damage. Fill small, stable imperfections with a compatible material. Cracks that widen, recur, show displacement, or accompany moisture need evaluation before cosmetic repair.
- Sand and remove loose material. Feather rough transitions around scraped paint and remove sanding dust. If the history of an older coating is uncertain, avoid aggressive disturbance and seek appropriate guidance.
- Prime for the substrate and finish. Choose a primer that is compatible with the wall material and selected coating. A moisture-resistant primer can support durability, but it is not mold remediation or a fix for leaks.
- Test before committing. Apply the proposed system to a small, hidden area when materials vary. Evaluate adhesion, coverage, color, and appearance after the product’s stated set time.
Preparation is also the point to decide whether a task belongs inside the painting scope. Cosmetic patching and coating are different from foundation work, drainage correction, plumbing repair, or mold cleanup. Separating those jobs protects the final finish and prevents a homeowner from expecting paint to perform a repairer’s role.
What Should Boise Homeowners Know About Basement Materials?
Boise and Treasure Valley basements can vary from fully finished drywall rooms to walk-out spaces that combine drywall, concrete, brick, and paneling. Seasonal dampness, limited daylight, and airflow all influence the project. Inspect the actual room, then choose preparation, color, sheen, and timing around its surfaces.
Seasonal conditions can change how a basement feels. During wetter periods, notice musty odors, condensation, damp-feeling surfaces, or areas that dry slowly. During dry periods, the room may seem comfortable even though a hidden issue remains. These observations help guide an assessment, but they do not replace correcting active water entry.
Match the finish to the surface and light
Color and sheen affect how a below-grade room feels. A lighter, balanced palette can help a basement with small windows feel more open, while a walk-out space may support a deeper accent where daylight is stronger. Test samples in the room because installed lights and limited daylight can change the appearance.
For many basement living areas, eggshell or satin is a practical starting point for walls. Satin can help where occasional cleaning is expected, while eggshell can provide a quieter look. Trim and doors may stand apart with satin or semi-gloss. The right choice depends on the condition of the surface and how much attention you want the sheen to draw to repairs.
Plan around the room’s use
A basement used as a family room, guest suite, office, playroom, or workout space may need a different balance of cleanability, color, and disruption planning. Protect pathways and stored belongings, and consider how the household will use the space while coatings set. A straightforward interior project often takes several days, while mixed materials and extensive preparation can require more time.
Paint Boise’s interior painting service covers preparation and finish planning for interior spaces. A color consultation can also help coordinate walls with existing flooring, cabinetry, trim, and lighting rather than choosing each color in isolation.
Talk With Paint Boise About Your Basement Project
How Should You Coordinate the Ceiling, Trim, and Floor?
A finished basement feels complete when the ceiling, walls, trim, and floor are planned as one system. Complete overhead work before wall painting when possible, protect the floor during preparation, and use color and sheen to create separation. Let each surface reach its appropriate condition before replacing furniture.
Complete ceiling work first
Ceiling work generally comes before walls because sanding, patching, access work, and drips can damage a fresh wall finish. If the basement has exposed utilities or a special ceiling treatment, decide how those elements fit the plan before closing in the walls.
A lighter ceiling can help a lower or darker basement feel more open. White is not the only option, but the ceiling is often lighter than the walls unless the design calls for a more dramatic effect. Test the color under the room’s actual fixtures and daylight.
Use sheen to define trim
Trim and doors can use a different sheen from the walls to create a clean visual boundary. Satin or semi-gloss may make these details easier to wipe down, but higher sheen can highlight uneven repairs. Repair quality and the desired appearance should guide the decision.
Protect and coordinate the floor
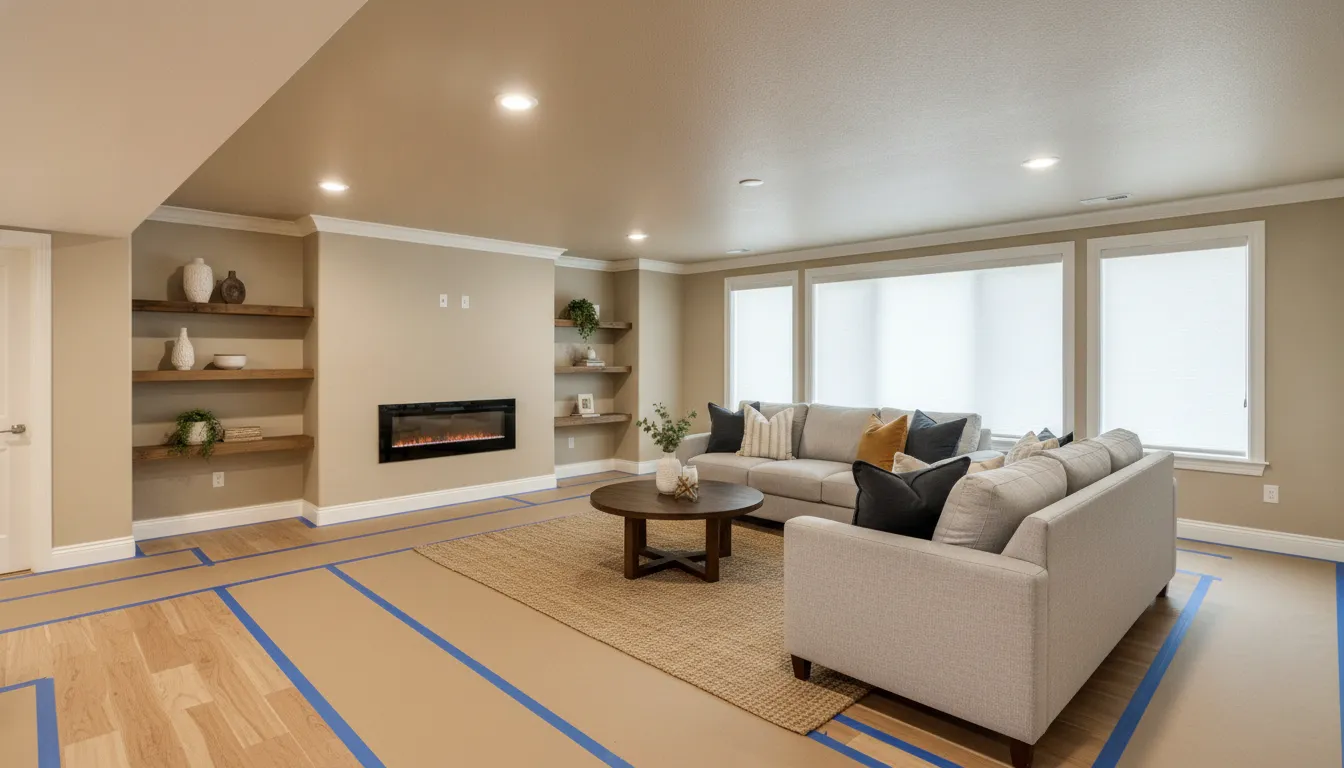
Install floor protection before sanding, patching, and painting, even if the floor may be replaced later. Cover walking paths securely and protect edges while trim is coated. Coordinate the finished floor with wall and trim undertones instead of matching every surface exactly.
Follow the product label and the painter’s recommendations for drying and cure time. Do not assume a room is ready for heavy use simply because the surface feels dry. Careful timing reduces marks, scuffs, and premature contact with a finish that is still setting.
When Does Professional Basement Painting Make Sense?
Professional basement painting makes sense when a room combines multiple substrates, extensive repairs, difficult access, tall ceilings, stored belongings, or uncertainty about moisture and existing coatings. A professional can organize preparation and application while identifying conditions that belong with a waterproofing, plumbing, foundation, or mold specialist.
A basement may look like one room, but the project can involve drywall, concrete, brick, paneling, ceilings, trim, stairs, and flooring protection. Each transition creates an opportunity for uneven coverage or an incompatible coating if the preparation plan is too general.
Consider professional help when walls need substantial patching, sanding, or priming; when furniture and stored items make access difficult; or when the room must remain orderly during work. It is also useful when you cannot tell whether a mark is an old stain or evidence of an ongoing moisture problem.
Paint Boise follows a six-step service process:
- Free quote and assessment: Review the room, surfaces, existing coatings, and project scope.
- Color consultation: Consider the room’s lighting, finishes, and intended use.
- Property preparation: Protect furniture, floors, fixtures, and nearby areas.
- Surface preparation: Clean, repair, sand, and prime as the surfaces require.
- Paint application and cleanup: Apply the selected system with attention to coverage and transitions.
- Final walkthrough: Review the finished work and address appropriate touch-ups.
For related preparation ideas, see the guide to repainting over old paint. Paint Boise also explains its service guarantee and offers financing information for property owners reviewing project options.
Request Your Free Basement Painting Quote Before You Start
Frequently Asked Questions
Is it okay to paint basement concrete block walls?
Yes, concrete block can be painted when it is sound, clean, and sufficiently dry. Check for excessive moisture and efflorescence first, then choose a masonry-compatible coating. Repair loose or failing areas before application, and address active water entry separately.
Can I paint basement walls if I have a moisture problem?
Not until the source and severity of the moisture are addressed. Painting over damp or leaking walls can lead to peeling and can conceal a condition that needs waterproofing, drainage work, mold assessment, or another specialist. Ventilation may help humidity, but paint does not stop water entry.
What is the best paint for concrete basement walls?
The right product depends on wall condition, moisture exposure, and intended use. A masonry-compatible coating is generally more appropriate than standard wall paint for concrete or block. A professional assessment can help distinguish a decorative finish from a product selected for a moisture-related condition.
Do I need to prime my basement walls before painting?
Often, yes, but the primer should match the substrate and coating system. Clean the wall, remove loose material, complete repairs, and allow it to dry before priming. A moisture-resistant primer can support durability, but it cannot replace correcting leaks or active moisture.
How many coats of paint are needed for basement walls?
There is no universal number. Coverage depends on the existing color, porosity, repairs, primer, and selected product. Two coats may be appropriate for an even appearance, but follow the product instructions and evaluate coverage after each coat rather than promising a fixed result.
Ready to Refresh Your Finished Basement?
A careful assessment and surface preparation can help you choose the right approach for drywall, concrete, paneling, ceilings, and floors. Paint Boise can review your finished basement and help plan the next steps for your project.
Learn more about house painting services or contact the team to discuss your basement’s surfaces and scope.