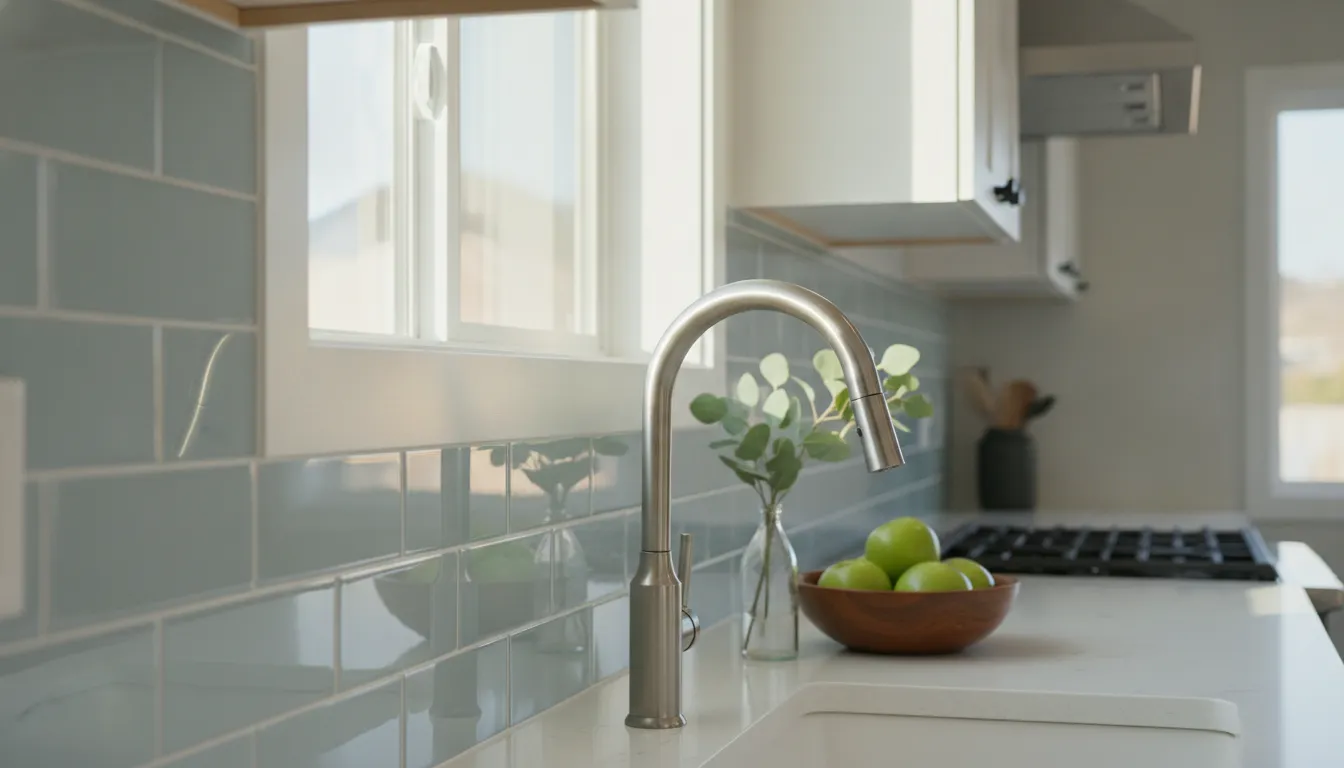
A kitchen backsplash can make a room feel dated even when the cabinets and layout still work well. For Boise-area homeowners who want a practical refresh without removing tile, painting may offer a lower-disruption alternative to replacement. The result depends less on the color than on the condition of the surface, the preparation, and the coating selected for a warm, humid kitchen environment.
Talk with Paint Boise about your kitchen refresh
Yes, you can paint kitchen backsplash tile when the tile is sound, firmly attached, and properly prepared. Repair cracks or broken areas first, remove grease, use a quality bonding primer, and choose a durable coating that can handle moisture and temperature changes. If the backsplash is extensively damaged or loose, replacement may be the more reliable choice.
Before choosing supplies or a finish, take an honest look at the tile, grout, and areas around the stove and sink. That surface check will tell you whether paint is a sensible budget-minded update or whether the project needs a different solution.
Can You Paint a Kitchen Backsplash? Start With the Surface
In many kitchens, painting an existing backsplash is a practical alternative to removing and replacing tile. It can work well when the backsplash is firmly attached, reasonably flat, and structurally sound. Ceramic or porcelain tile with a stable surface is often a better candidate than a backsplash that is already failing. The goal is not to conceal damage. Paint changes the appearance of a sound surface, but it cannot correct movement, water intrusion, or loose installation.
Check the tile, grout, and joints first
Run your hand over the backsplash and inspect it in good light. Cracked or broken tiles should be repaired or replaced before any coating is applied. Paint tends to emphasize surface irregularities rather than hide them, so covering a damaged tile can make the finished wall look uneven. The same principle applies to loose tiles, hollow-sounding areas, crumbling grout, and open joints. Those conditions point to a repair or retile decision, not a simple color update.
Grout also affects the result. If you want one continuous color across tile and grout, the grout must be clean and completely dry. Moisture left in the joints can contribute to bubbling or peeling. Alternatively, keeping the grout lines visible can preserve the tile pattern, but it requires careful work around every joint. Either approach depends on a stable, well-prepared surface.
Consider heat, moisture, and location
A backsplash behind a sink may face frequent splashes and cleaning. The area behind a range can also experience heat, humidity, grease, and repeated temperature changes. These conditions make surface preparation and coating selection more important than they would be on a typical kitchen wall. A backsplash may be a reasonable painting project when the surface is intact and the coating can be protected during curing. Severely stained, continuously damp, or heavily damaged areas may be better candidates for replacement.
Older homes require an additional safety check. Homes built in the United States before 1978 are likely to contain some lead-based paint, and disturbing that paint can create hazardous dust or chips. Before sanding, scraping, or otherwise disturbing painted surfaces in a pre-1978 home, consider a lead risk assessment and follow appropriate lead-safe practices. The CDC lead-paint guidance explains why this step matters.
When the tile is sound, the grout is stable, and moisture problems are addressed, painting can deliver a useful kitchen refresh. When the substrate is moving or deteriorating, replacement is usually the more dependable boundary.
What Paint and Primer Work Best on Backsplash Tile?
The coating system matters more than the color when you paint kitchen backsplash tile. Tile is often smooth, glazed, and exposed to cooking residue, splashes, and temperature changes. Start with a quality bonding primer, then choose a finish designed for the surface and the kitchen conditions. Thorough cleaning and high-quality primer are central to adhesion, while light sanding can help primer grip glossy tile. Choosing the right interior paint also means checking the product’s intended use instead of assuming that any leftover wall paint will work.
| Option | Best use | What to know |
|---|---|---|
| Bonding primer | First coat on clean, sound tile | Designed to improve adhesion on slick surfaces. Follow the label for compatible tile, grout, and topcoat products. |
| Specialty tile or epoxy coating | Areas needing a harder, moisture-resistant finish | Epoxy-based coatings can provide strong durability for a backsplash, but application, ventilation, recoat, and cure requirements vary by product. |
| Semi-gloss or high-gloss sheen | Surfaces that need regular wipe-downs | These sheens generally resist stains and clean more easily than matte finishes. Gloss can also make surface flaws more visible. |
| Ordinary wall paint | Usually not the first choice for backsplash tile | Standard wall paint may not provide the adhesion, moisture resistance, or durability needed near a sink or stove unless the full product system specifically permits it. |
Pay particular attention to the area behind or beside a stove. Heat and humidity call for a coating designed to handle moisture and temperature changes, not simply a color that coordinates with the kitchen. Product labels should confirm compatibility with glazed ceramic or porcelain tile, the primer, the intended topcoat, and the heat and moisture exposure. When the label is unclear, test the system on a small, inconspicuous area before coating the full backsplash.
A specialty coating does not eliminate preparation. Degrease thoroughly, allow the tile to dry completely, and avoid applying a thick layer that can remain soft or show roller marks. Plan for the longer cure time common with backsplash coatings, and do not clean the surface until the label’s cure guidance has been met. Afterward, use nonabrasive cleaning methods to protect the finish.
How to Prep a Backsplash Before Painting
Preparation is usually the longest part of a backsplash painting project. Tile collects cooking oils, dust, and residue, while its smooth surface gives primer very little to grip. Rushing past those conditions can lead to bubbling, peeling, or an uneven finish. Before you paint, work through this sequence carefully:
- Protect the surrounding area. Remove outlet covers when practical, switch off power before working around outlets, and cover the counters, sink, stove, and nearby cabinets. Use painter’s tape to create clean boundaries along walls and trim. Keeping the work area protected prevents sanding dust and primer from becoming a second cleanup project.
- Degrease the backsplash thoroughly. Use a suitable kitchen degreaser to remove oil film, food splatter, soap residue, and cleaner buildup. Pay close attention to the area behind the range and the lower edge near the counter. Degreasing is not just cosmetic. It helps the bonding primer adhere properly, which is central to a durable finish. Rinse away cleaner residue as directed by the product and let the surface dry.
- Repair damage before coating anything. Replace or repair cracked and broken tiles, fill chips where appropriate, and address loose grout or failing caulk. Paint can make surface irregularities more noticeable rather than hiding them. If the grout will be painted, it must be clean and completely dry first, or moisture can contribute to bubbling and peeling.
- Lightly sand glossy surfaces. Use fine sandpaper or an appropriate sanding pad to dull the sheen on glossy tile. The goal is to create a little texture for the primer, not to aggressively remove the tile’s finish or damage the grout. Wear suitable eye and respiratory protection, especially when working overhead or in a confined kitchen.
- Clean away every trace of dust. Vacuum or wipe the backsplash and surrounding surfaces with a clean, slightly damp cloth. Feel the tile once it dries. Any remaining powder can interfere with adhesion and leave unwanted texture under the coating. Give corners, grout lines, and the counter-to-backsplash joint extra attention.
- Test the bonding primer in a small area. Apply the primer to an inconspicuous tile and check how it spreads and adheres after it has set according to the product directions. This small test can reveal compatibility problems before they affect the entire backsplash. A quality bonding primer matters more here than simply choosing a favorite wall-paint color.
- Ventilate before and during the work. Open windows when possible and use the kitchen exhaust fan, particularly if the primer or coating has strong fumes. Keep people and pets away from the work area, and follow the product’s safety directions. Homes built before 1978 may require a lead-paint risk assessment before renovation work disturbs painted surfaces. The CDC outlines lead-paint precautions at its lead safety guidance.
For a broader room-by-room checklist, review this practical home painting preparation guide. The same habits apply here, but backsplash work demands extra attention to grease, glossy tile, grout, and the moisture-prone space behind the cooking area.
How Do You Paint a Tile Backsplash?
Once the tile is clean, sound, and properly primed, the application itself is controlled rather than complicated. The goal is to build a smooth coating without flooding grout lines, trapping moisture, or rushing between coats. Work in manageable sections so you can keep a wet edge and maintain a consistent finish across the kitchen.
- Divide the backsplash into manageable sections. Plan a starting point and work across the wall in areas you can finish without losing track of where you applied primer or paint. Protect countertops, outlets, cabinets, and nearby appliances. Keep the room ventilated, particularly when the product label calls for open windows or exhaust fans.
- Apply the first coat sparingly. Use a high-density foam roller where the tile face is broad and smooth. A foam cover can minimize visible brush marks and leave a more even appearance, but it is not the right tool for every product or texture. Follow the coating manufacturer’s application guidance, and use a quality brush to work carefully into corners, grout lines, and tight edges without leaving heavy ridges.
- Handle grout and edges with control. Decide whether you want the grout to blend with the tile or remain visually defined. If you are coating grout, it needs to be clean and completely dry. Keep paint from pooling in joints, around outlets, or along the countertop seam. Thin, even coverage is more reliable than trying to fill uneven areas with one heavy pass.
- Respect the label’s drying and recoat instructions. Do not judge readiness by touch alone or assume every tile coating has the same recoat window. Temperature, humidity, ventilation, and the specific primer or paint all affect the schedule. Applying several thin coats generally produces a smoother, more professional-looking result than one thick coat.
- Inspect the surface before the final coat. Look at the backsplash from different angles and under the kitchen’s normal lighting. Check for missed grout, thin spots, roller texture, drips, and paint on adjacent surfaces. Correct small defects only as the product instructions allow, then apply the next thin coat evenly. A patient inspection is especially useful on glossy tile, which can reveal flaws after the finish dries.
- Allow the backsplash to cure fully before cleaning. Dry to the touch does not necessarily mean fully hardened. A painted backsplash may need a few days to a week before it is ready for routine cleaning, depending on the coating and conditions. Until the label’s cure guidance is satisfied, avoid scrubbing, standing water, and placing objects against the surface. After curing, use gentle cleaning methods and avoid abrasive products that can scratch the finish.
This sequence gives a kitchen backsplash painting project the best chance of a clean, durable finish while leaving room for the product manufacturer’s instructions to control details that vary by coating.
Will a Painted Backsplash Hold Up to Kitchen Use?
A painted backsplash can handle normal kitchen life when the surface is prepared correctly and the coating is chosen for moisture, temperature changes, and regular cleaning. It is not an indestructible substitute for glazed tile, though. Cooking splashes, repeated wiping, steam, and heat around a range place more stress on the finish than a typical painted wall.
Product selection matters most in the high-use zones. A durable specialty tile coating or epoxy-based system can provide a moisture-resistant finish that stands up better to cleaning than ordinary wall paint. Semi-gloss or high-gloss finishes are generally easier to wipe down and more resistant to kitchen stains than matte finishes. The surface still needs a thorough degreasing and a quality bonding primer underneath. Without that foundation, even an expensive topcoat can peel or chip.

Give the finish time to cure
Dry to the touch does not mean fully cured. Allow a painted backsplash at least a few days, and potentially up to a week, before cleaning it. Follow the coating manufacturer’s instructions, keep water and cooking splatter to a minimum during that period, and avoid placing objects against the surface. Rushing this stage can leave the finish vulnerable before it reaches its intended hardness.
Clean gently and expect occasional touch-ups
Once cured, use a damp, soft cloth for routine cleanup. A mild cleaner may be appropriate if the product instructions allow it, but abrasive pads, scouring powders, and harsh scrubbers can scratch the finish. Wipe splashes reasonably soon instead of allowing grease to build up. Small nicks near a sink or cooking area may eventually need a carefully matched touch-up. That is normal maintenance, not a reason to promise a fixed lifespan.
Professional help makes sense when tiles are cracked, grout stays damp, the surface has recurring peeling, or the backsplash sits directly behind a high-heat cooking setup. A painter can assess adhesion, surface condition, ventilation, and coating suitability before more material is applied. Paint Boise provides professional interior painting guidance for homeowners across Boise and the Treasure Valley, including help deciding whether painting is appropriate or replacement is the better long-term choice.
Paint or Retile: Which Kitchen Update Makes Sense?
Painting an existing backsplash can be a practical refresh when the tile is firmly attached, reasonably flat, and free from serious damage. It changes color and finish without removing the old surface, hauling away debris, or rebuilding the wall behind it. Retiling is the stronger choice when the backsplash has failed as a surface, not simply aged cosmetically.
| Decision factor | Repainting the backsplash | Retiling or replacing |
|---|---|---|
| Surface condition | Best for sound tile with stable grout, minor cosmetic wear, and no active moisture problem. | Safer when tiles are cracked, loose, missing, badly uneven, or showing water damage behind them. |
| Design flexibility | Useful for updating color and coordinating the existing layout with new cabinets or walls. | Offers more freedom to change tile size, pattern, texture, grout lines, and the overall layout. |
| Disruption | Usually involves focused cleaning, preparation, coating, and curing with less demolition. | Requires removal, surface repair, installation, grouting, and cleanup, so the kitchen may be disrupted longer. |
| Desired longevity | A sensible cosmetic update when you accept that high-splash and high-heat areas need careful maintenance. | Better for a long-term material change or a renovation where the existing backsplash is at the end of its useful life. |
| Budget scope | Typically keeps the scope focused on preparation and coating rather than demolition and new materials. | Expands the scope to removal, substrate work, tile, setting materials, grout, and installation labor. |
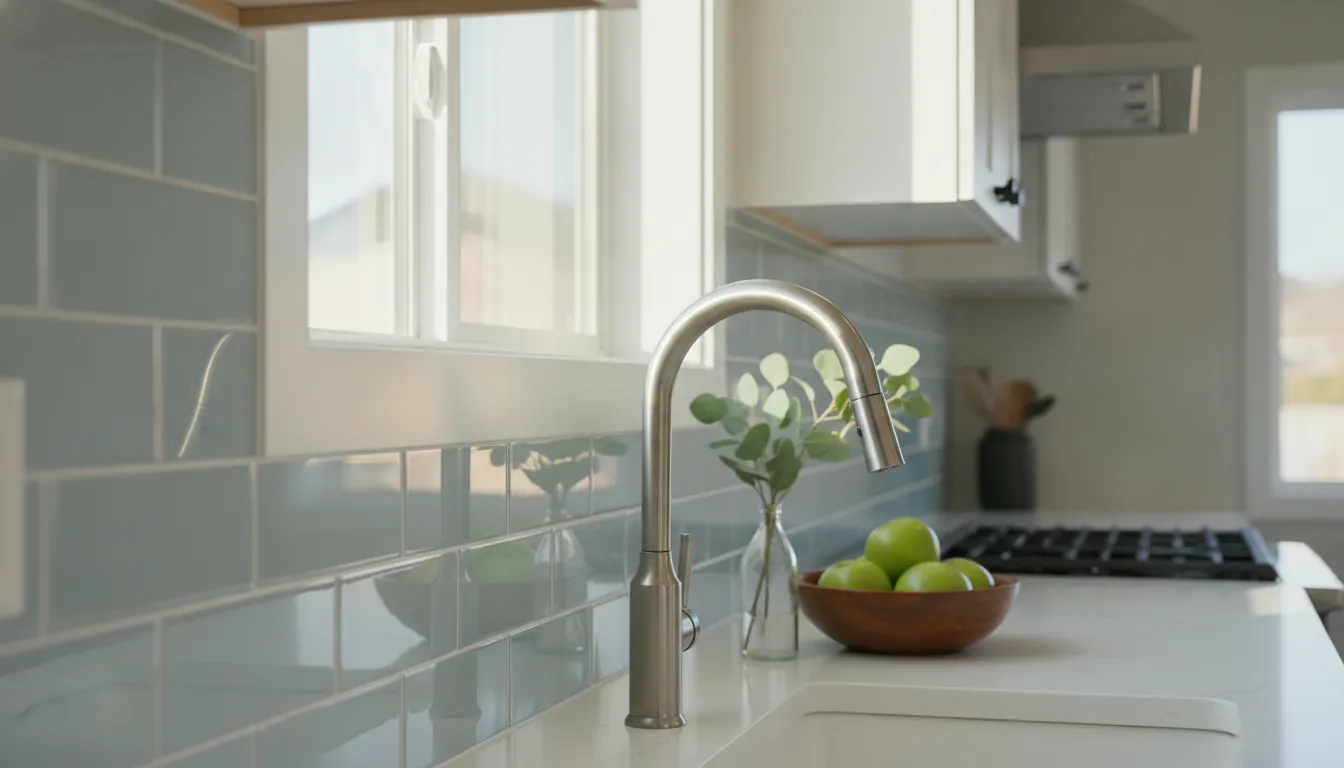
Replacement is usually more sensible if water is getting behind the tile, grout is crumbling throughout the installation, or the wall moves when you press on it. Paint cannot correct loose tile, a failing substrate, or an underlying leak. Cracks and broken pieces should also be repaired before any coating is considered, since paint can make irregularities more noticeable. In older homes, get appropriate lead-safety guidance before disturbing painted surfaces.
Request a free estimate for your kitchen painting project
Paint is a reasonable refresh when the layout still works, the tile is structurally sound, and your main goal is a cleaner color relationship. A carefully prepared coating can help an older backsplash coordinate with proper kitchen wall preparation and a new cabinet color. If you are planning both updates, review options for refreshing your kitchen cabinets as part of the same design decision.
Think of the choice as condition first, appearance second. If the backsplash needs construction work, replacement addresses the cause. If it needs a controlled visual update, painting may deliver the change with a narrower, less disruptive scope.
Frequently Asked Questions
Can you paint any kitchen backsplash tile?
Many sound, firmly attached tile backsplashes can be painted, especially when the surface is cleaned, lightly scuffed, and prepared with a bonding primer. Repair cracked or broken tiles first, because paint can make those irregularities more noticeable. Loose tile, recurring moisture damage, or failing grout may make replacement the better long-term choice.
What kind of paint should you use on a painted backsplash?
Choose a coating intended for tile or other demanding surfaces, along with a quality bonding primer. Around a stove, the finish should be able to handle kitchen moisture, temperature changes, and regular cleaning. Semi-gloss or high-gloss finishes are usually more practical than matte because they resist stains and wipe down more easily.
How long should a painted backsplash cure before cleaning?
Allow the finish to cure for a few days to a week before cleaning, depending on the products and conditions. Do not judge readiness by whether the surface feels dry to the touch. Once cured, use a damp cloth and avoid abrasive cleaners, which can scratch or damage the finish.
Is painting a backsplash safe in an older Boise home?
If your home was built before 1978, take lead precautions before disturbing painted surfaces. Older homes are more likely to contain lead-based paint, and renovation work can create hazardous dust or chips. The CDC recommends a risk assessment to evaluate possible lead hazards and determine appropriate next steps.
When should I replace the backsplash instead of painting it?
Replacement may be wiser when tiles are extensively cracked, loose, or water-damaged, or when you need a major layout change. Painting is better suited to a stable backsplash that needs a visual refresh without the disruption of removing tile. A professional can assess the surface and help you compare the practical scope of both options.
Ready to Refresh Your Kitchen?
A painted backsplash can be a practical way to update your kitchen when the existing tile is sound and properly prepared. If you are weighing paint against replacement, Paint Boise can help you think through the surface, finish, and project scope. To talk with the team about your backsplash or request a free estimate for professional interior painting, contact Paint Boise.