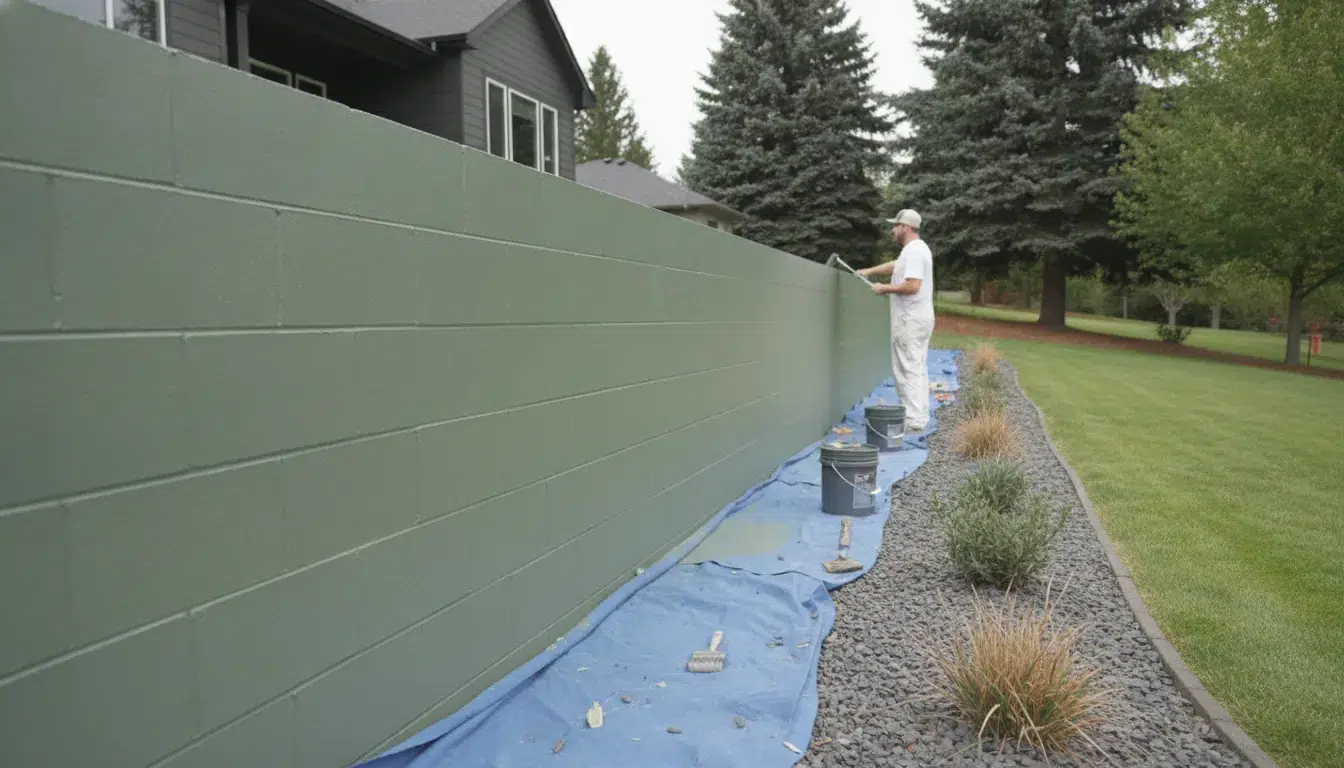
A concrete or block wall can look ready for paint while still holding moisture, loose material, or small repairs that will shorten the life of the finish. A dependable result starts with diagnosis, not a roller: identify where water is coming from, evaluate the wall’s condition. Repair defects, clean the surface, and then match the primer and coating to the masonry and exposure.
Request a concrete wall painting assessment from Paint Boise
Learning how to paint a concrete wall means following a surface-first workflow: check for persistent moisture, address cracks and failed areas. Clean and prepare the masonry, apply a compatible masonry primer, and use a coating according to its label. Moisture control matters because liquid water and condensation can undermine finishes; the EPA recommends managing both as part of a durable building approach.
That sequence applies whether you are refreshing a basement wall, improving an exterior elevation, or coordinating work across a managed property. Before choosing paint, take a close look at the wall and its environment so the coating is not asked to hide an unresolved problem.
How to Paint a Concrete Wall Safely and Smoothly
Before choosing a color or opening a paint can, inspect what the wall is telling you. Concrete and concrete block are porous materials, so a coating can fail when water enters from outside, moves through the assembly, or collects as condensation on the surface. The U.S. Environmental Protection Agency identifies three useful moisture-control principles: control liquid water, manage condensation, and use moisture-tolerant materials. These principles should guide the project before surface preparation begins.
Look for the source, not just the stain
Start by tracing visible discoloration, damp areas, or recurring wet spots. Check nearby gutters, downspouts, grading, plumbing, window and door openings, and exterior joints. On an interior wall, compare the affected area with room humidity and ventilation patterns. A cool wall in a humid space may show condensation even when there is no plumbing or exterior leak. The EPA’s moisture-control guidance treats liquid water and condensation as different problems, and the repair approach should account for that difference.
Do not assume that a fresh coat will solve the underlying issue. If the source remains active, paint may blister, peel, or lose adhesion. A wall that feels damp, repeatedly develops dark marks, or has a musty condition deserves further assessment before coating. Avoid inventing a universal moisture number or cure schedule. The appropriate evaluation and product requirements depend on the wall, exposure, existing finish, and coating system.
Assess the surface condition
Examine the entire wall in good light. Efflorescence, a powdery white deposit, can indicate that moisture has moved through masonry and carried salts to the surface. Peeling or bubbling paint suggests a bond or moisture problem that must be addressed before repainting. Map cracks rather than covering them immediately. Note whether they are isolated or widespread, whether adjacent masonry is damaged, and whether water appears near them.
Also check for chalking, loose material, holes, failed patching, grease, dust, and previous coatings with uncertain compatibility. These conditions affect how the wall should be cleaned and repaired. Property managers should document affected rooms, tenant or occupant concerns, and any exterior source so the repair plan can be coordinated with access and scheduling.
Know when to pause
Pause the project when moisture persists, the source is unclear, cracks are extensive, peeling covers a broad area, or the wall has a history of recurring damage. An assessment can help separate a simple repaint from a masonry, drainage, ventilation, or building-maintenance issue. Product selection should follow the substrate and exposure, not a one-size-fits-all recommendation.
Once the wall is reasonably understood, move into preparation: protect adjacent areas, remove unsound material. Clean the surface using a method suited to its condition, address repairs, and establish a sound, clean surface for primer and paint.
Prepare the Wall for Primer and Paint
-
Protect the surrounding area
Move furniture, vehicles, planters, and other movable items away from the wall. Cover anything that must remain nearby, and protect adjacent trim, windows, doors, fixtures, landscaping, and finished surfaces. On a commercial property, include walkways, equipment, and tenant areas in the work plan. Good preparation protects the site as well as the wall and makes it easier to keep a clean, controlled work area.
-
Choose a cleaning method that fits the wall
Remove dirt, dust, chalky residue, grease, and other surface contamination before coating. Cleaning should match the wall’s condition, construction, and surrounding areas rather than follow one automatic recipe. Academic concrete-coating guidance identifies preparation families such as detergent cleaning, low-pressure water cleaning, power-tool cleaning, and other mechanical methods. ASTM D4258 addresses cleaning concrete for coating, while ASTM D4261 addresses cleaning concrete masonry units for coating. For practical guidance on how to clean the wall before painting, consider the surface’s age, existing coating, joints, nearby openings, and how much water the assembly can safely tolerate.
Use enough cleaning to remove contaminants without damaging sound concrete, mortar joints, or an existing finish that is staying in place. Rinse when the selected cleaning product requires it, and manage runoff responsibly. Do not move to priming while cleaner, loosened debris, or residue remains on the wall.
-
Remove loose or failing coating
Inspect the entire wall for peeling, blistering, flaking, powdery areas, weak edges, and paint that releases easily. Scrape or use an appropriate mechanical preparation method to remove material that cannot provide a stable base. Feather abrupt edges where practical so the repaired area does not create a sharp ridge through the new finish. If the existing coating is widespread, poorly bonded, or incompatible with the planned system, pause and get a more complete assessment before continuing.
-
Repair cracks, holes, and damaged spots
Fill suitable cracks and holes with a repair material designed for the substrate and the intended exposure. Address damaged mortar joints or masonry defects before covering them. Follow the repair product’s instructions for application, drying, and readiness for coating. Do not invent a universal cure time: the correct wait depends on the material, wall conditions, and manufacturer directions. Repairs should become sound and suitable for the primer or paint before the next step.
-
Confirm the wall is clean and dry
Make a final inspection in good light. The wall should be free of loose debris, cleaning residue, dust, and visibly wet areas. Check corners, joints, repaired spots, and textured sections where contamination can remain hidden. Persistent dampness or an unclear water source is a reason to stop and investigate rather than seal in the problem. Once the surface is sound, clean, and dry according to the product requirements, review when masonry primer is needed for the next stage of the workflow.
Which Paint and Primer Work on Concrete Walls?
The best system for a concrete wall depends on whether it is inside or outside. How much moisture it encounters, and whether the surface is sound, chalky, patched, or previously painted. Primer is not simply an extra coat of paint. A masonry primer can help create a more consistent base and support adhesion, but it must be compatible with the wall and the finish coat. The goal is a matched system, not a single universally correct product.
Before choosing a color or sheen, choose paint for masonry based on the substrate, exposure, and the manufacturer’s preparation requirements. ICRI guidance likewise treats concrete surface preparation as part of selecting and specifying a coating system, rather than as a separate afterthought.
| Wall condition or exposure | What to evaluate | Typical system consideration |
|---|---|---|
| Interior, dry, sound concrete | Adhesion, chalking, repairs, and existing coating | Use a compatible masonry primer where the label or surface condition calls for it, followed by a coating approved for interior masonry. |
| Exterior wall exposed to weather | Rain, seasonal movement, condensation, and water entry | Favor a system selected for exterior masonry and the actual exposure. Breathability and water management matter more than choosing by color alone. |
| Stucco or similar porous masonry | Surface texture, repairs, moisture movement, and flexibility needs | Paint Boise’s stucco guidance gives acrylic latex as an example for flexibility, durability, and breathability. It is an example for stucco, not a universal prescription for every concrete wall. See breathable exterior coatings for related service context. |
| Vertical masonry suited to a mineral finish | Whether the surface and appearance are appropriate for a breathable finish | Limewash is a separate breathable option for vertical masonry, including suitable concrete surfaces. It is not a floor coating, especially where traffic and abrasion are major concerns. |
Breathable versus film-forming coatings
A breathable finish can be important when a wall needs to manage moisture movement. A film-forming coating may be appropriate in other conditions, but it should not be used to conceal an active water problem. The EPA’s moisture-control principles emphasize controlling liquid water, managing condensation, and using moisture-tolerant materials. If dampness persists or its source is unclear, pause the coating decision and investigate the building condition first.
Let the label define the system
Read the primer and finish-coat data sheets together. Product instructions identify surface preparation, drying time, coverage, cleanup, mixing, and environmental requirements. Do not assume that two products will bond well merely because both are marketed for masonry. Follow the manufacturer’s system instructions, and have the wall assessed when old coatings, repairs, efflorescence, or moisture make compatibility uncertain.
Apply the Coating in Controlled Passes
Once the concrete or block wall is clean, repaired, and primed as needed, application should be deliberate rather than rushed. Start by reading the product label and technical data sheet for the specific coating. The label should identify approved surface preparation, mixing or reduction instructions, expected coverage, cleanup, and drying or recoat timing. Those details are part of the coating system, not optional suggestions. Follow the manufacturer’s requirements for storage and application, including environmental conditions, before opening the container.
Check both the wall and the surrounding air before you begin. Do not apply the material when the surface or ambient temperature falls outside the product’s stated range, or when relative humidity exceeds its limit. Avoid guessing based on a generic rule for all masonry coatings. In Boise and the Treasure Valley, changing weather can affect an exterior wall during the same workday. So plan enough time for the coating to dry under the conditions listed by the manufacturer.
Gather tools that match the product and the texture of the wall. A brush is useful for cutting in around corners, penetrations, trim, and other edges. A roller with the appropriate nap can cover broad, relatively even areas, while a compatible sprayer may be efficient on a large wall when overspray can be controlled. Block walls need extra attention at mortar joints, recesses, and irregular faces. Work the coating into those transitions without leaving heavy ridges or dry gaps.
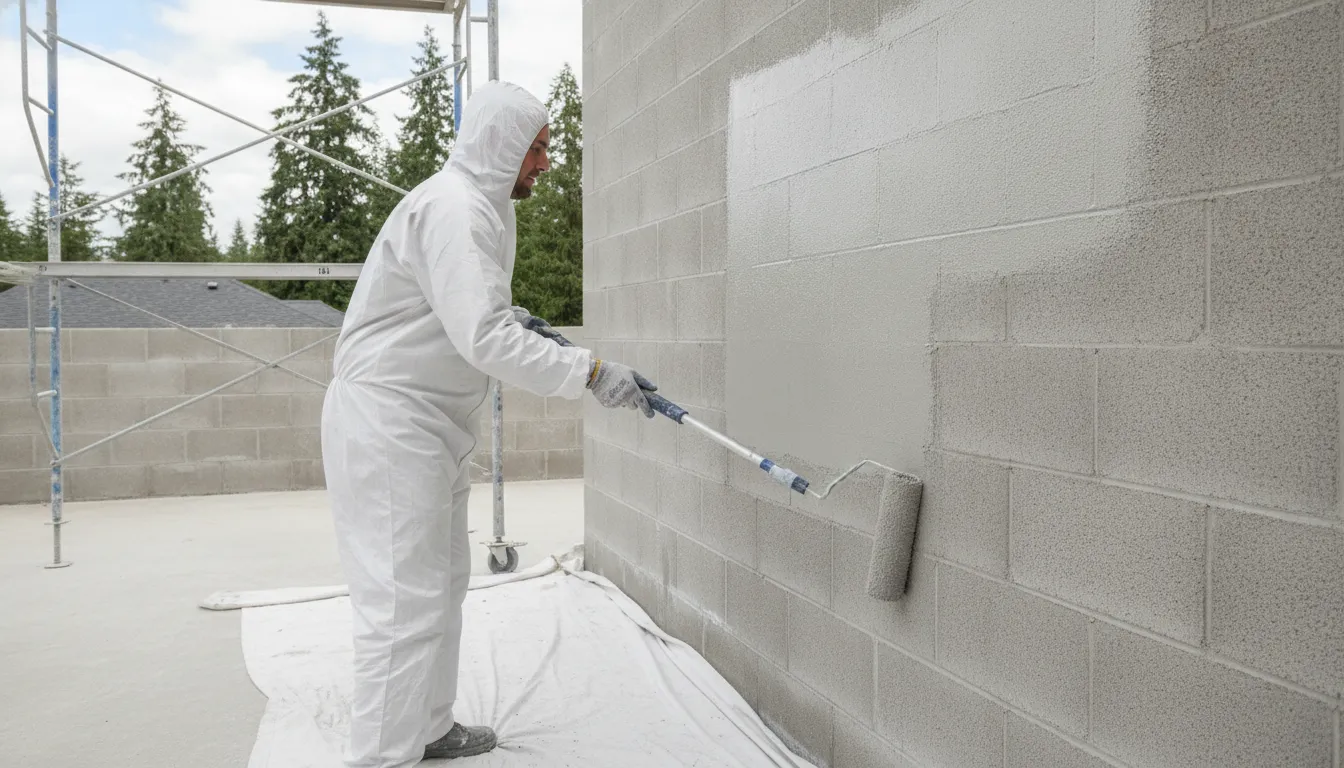
Apply manageable sections and keep a wet edge where the label permits. Use consistent passes instead of repeatedly reworking areas that have started to set. Watch the coverage rate: spreading a product too thin can leave uneven color and weak spots, while excessive buildup can interfere with drying or create visible texture. If the coating calls for more than one coat, allow the first coat to dry for the label’s stated period before recoating. Dry-to-touch is not automatically the same as ready-to-recoat, especially when humidity, shade, or a textured substrate slows the process.
After the final pass, inspect the wall in changing light if possible. Look for pinholes, missed mortar joints, thin coverage, runs, lap marks, and areas where the original surface still shows through. Concrete-coating guidance identifies installation-quality inspection and pinhole classification as important parts of the work. Correct defects using the product’s approved repair or touch-up method, rather than adding an unrelated material. A careful final inspection helps confirm that the coating is continuous and that the finished wall is ready for its intended exposure.
When Should You Hire a Professional to Paint a Concrete Wall?
Painting a concrete wall can be manageable when the surface is sound, accessible, and free from ongoing moisture. A professional assessment becomes more valuable when the wall has problems that paint alone cannot solve. Or when the project requires equipment, coordination, and product selection beyond a typical weekend job.
Persistent moisture or widespread repairs
Stop and investigate if the wall stays damp, develops recurring efflorescence, or shows peeling soon after cleaning. Moisture may be entering through a crack, foundation area, plumbing issue, poor drainage, or condensation. If the source is unclear, painting over it can conceal the problem without solving it. A professional can help distinguish a coating failure from a substrate or water-management issue and recommend the next assessment.
Professional help is also sensible when repairs are widespread. Numerous cracks, holes, spalled areas, failing mortar joints, or large sections of loose coating require a consistent preparation plan. The wall may need cleaning, patching, spot removal, and primer in a sequence that varies by substrate and exposure. Product choices should follow the wall’s condition and the coating manufacturer’s instructions, not a one-size-fits-all recipe.
Height, access, and commercial scheduling
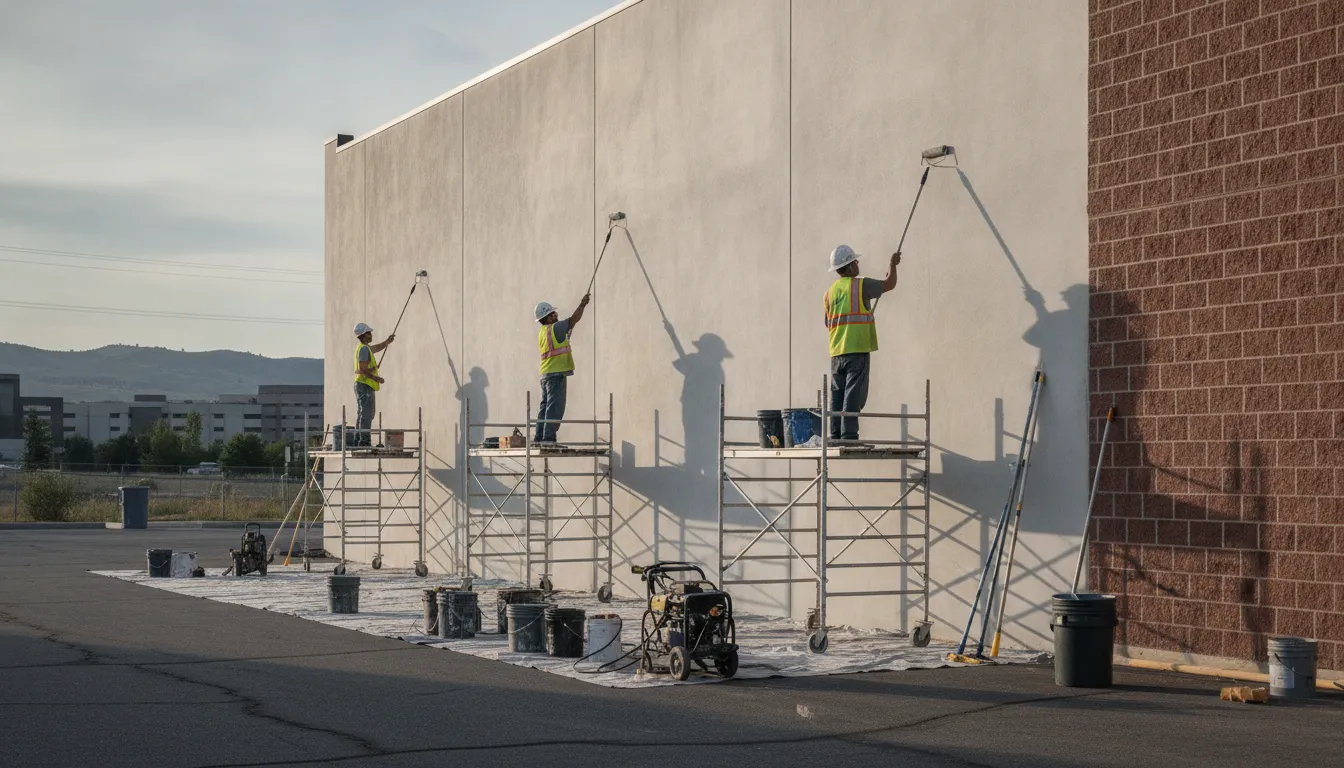
Consider hiring a crew when the wall is tall, difficult to reach, or located above stairs, landscaping, equipment, or occupied areas. Safe access and careful protection can matter as much as the rolling and brushing. Large warehouse, retail, apartment, or industrial walls also benefit from a defined work plan, consistent application, and inspection across the entire surface. For property managers, commercial painting for property managers can include coordination around tenants, employees, deliveries, and daily operations.
When Boise weather affects the plan
Exterior work in Boise and the Treasure Valley is seasonally weather-dependent. A professional can help plan around changing conditions, protect adjacent property, and follow the selected product’s requirements for temperature, humidity, drying, and recoat timing. That planning is especially useful when a project has a narrow access window or must be completed with minimal disruption.
Whether you are a homeowner or managing a commercial property, an on-site review can clarify what preparation, access, and coating approach the wall actually needs.
Request a painting assessment from Paint Boise
Frequently Asked Questions
Can I paint directly on a concrete wall?
Usually, no. Start by checking the wall for moisture, peeling material, cracks, holes, dirt, and powdery residue. Clean the surface, complete repairs, and allow the repaired areas to meet the coating manufacturer’s requirements. A masonry primer may then improve adhesion and help create a more consistent base. If moisture continues or its source is unclear, address that problem before painting. The EPA identifies controlling liquid water, managing condensation, and choosing moisture-tolerant materials as core moisture-control principles: EPA moisture-control guidance.
What kind of paint will stick to concrete?
A coating designed for the specific masonry substrate and exposure is the safest starting point. Product selection should account for whether the wall is interior or exterior, smooth or block, previously coated, and exposed to recurring moisture or heavy wear. Use the matching primer when the product system calls for one, and follow the label for preparation, coverage, drying, and application.
What is the best paint to use on concrete walls?
There is no single best paint for every concrete wall. A surface-appropriate masonry coating may be suitable for one project, while a breathable finish or another system may better fit a different wall and exposure. Acrylic latex is one example used in masonry-related work, but it should not be treated as a universal prescription. Compare the product’s intended use with the wall’s condition and the manufacturer’s instructions.
Do concrete walls need primer before painting?
Often, primer is helpful after cleaning and repairs, especially when the surface is porous, patched, chalky, or difficult to coat evenly. The right primer depends on the substrate and the finish coating. For a large wall, persistent moisture, widespread repairs, or uncertain compatibility with old paint, an on-site assessment can prevent adhesion and durability problems.
Get a Concrete Wall Painting Assessment
A careful assessment can help identify moisture concerns, surface repairs, and a coating approach suited to your wall before work begins. To discuss your project and request a free estimate, contact Paint Boise or call (208) 254-6615.