
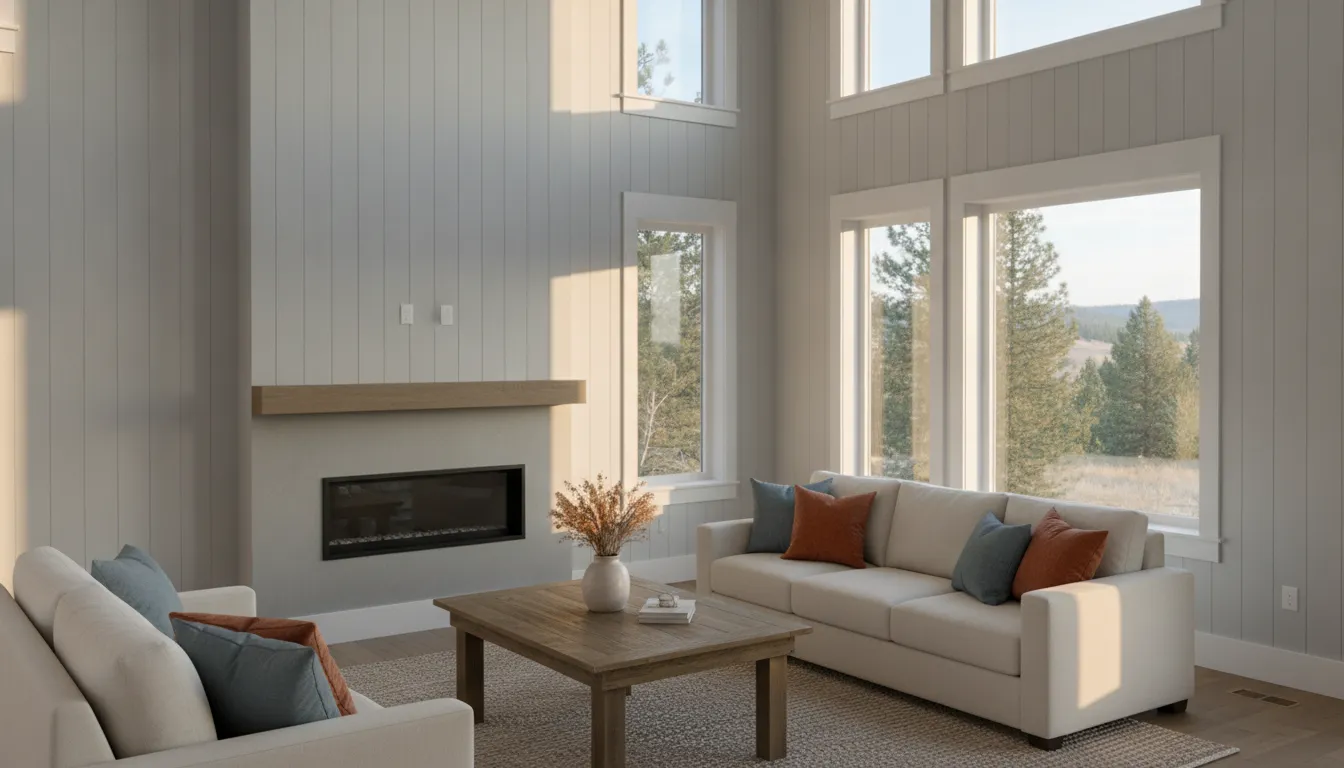
Wood paneling can make a Boise room feel warm and distinctive, but its age, finish, and condition should guide the next step. Some walls are good candidates for a new color, while others need stain, repairs, or replacement before any coating is considered.
Request a free quote for your wood paneling project
Yes, painting wood paneling is often possible when the boards are stable, dry, and properly prepared. Cleaning removes residue that can interfere with adhesion, and light sanding helps create a duller surface for the primer and paint to grip, according to Benjamin Moore’s paneling guidance.
The smartest approach is to assess the wall before choosing a color or buying supplies. A close look at the panel material, seams, moisture exposure, damage, and existing finish can reveal whether a straightforward refresh makes sense. It can also show whether the project needs a different solution. Start by evaluating the surface itself and the problems paint cannot fix.
Can You Paint Wood Paneling? Start With a Surface Assessment
Painting wood paneling can refresh a dark or dated room, but the right approach depends on what is under the existing finish. Before choosing a color, identify the paneling and inspect its condition from floor to ceiling.
Identify the panel type
Solid wood, wood veneer, and faux or laminate panels can look similar at a glance but do not always respond to preparation in the same way. Look at an exposed edge, an outlet opening, or a damaged area if one is available. Real wood may show a natural grain and changing board patterns. Veneer has a thin wood surface over another material, while faux paneling usually has a printed or embossed grain.
This distinction matters because aggressive sanding can damage a veneer. A slick laminate may also need especially careful cleaning and a compatible bonding primer.
Also decide whether you want to keep the grooves. Painting can preserve the paneling’s vertical rhythm, or the grooves can be filled if you want a smoother wall appearance. The choice affects the repair work and the final character of the room. For a related example of evaluating wood and MDF surfaces, see these painting wainscoting prep tips.
Check condition before coating
Run your hand over the surface and look for loose boards, lifted veneer, open seams, deep cracks, soft spots, rot, swelling, or pronounced warping. Check areas near windows, exterior walls, plumbing, bathrooms, and basement walls for staining or signs of moisture. Peeling paint, discoloration, musty odor, or recurring swelling can point to a leak, condensation, or another underlying problem. Paint may hide a symptom briefly, but it will not correct active moisture intrusion, rot, unstable boards, or structural damage. Find and address the cause before treating the finish.
Older, heavily worn paneling may need repairs or partial replacement rather than a simple coating. If the boards move when pressed, the veneer is separating, or the substrate feels soft, pause before sanding and get an assessment. Homes built before 1978 also require lead-paint precautions: the EPA warns that renovation, repair, or painting can create dangerous lead dust when lead-based paint is present. Treat the project accordingly unless appropriate testing shows otherwise.
Once the substrate is sound and dry, continue with when to use paint primer. A careful assessment keeps painting wood paneling from becoming a cosmetic fix for a building or moisture problem.
How to Prepare Wood Paneling for Paint
-
Protect the room and check the surface
Move furniture away from the walls, cover remaining items with durable sheeting, and protect the floor before opening a can of paint. Use barriers to keep dust in the immediate work area, especially if you will sand or scrape. EPA guidance also recommends ventilation that exhausts air from the work area during remodeling. Before coating anything, look for loose boards, active moisture, soft areas, major warping, or damage beyond the finish. Paint can refresh a sound surface. It will not correct a leak, rot, structural movement, or unstable paneling. Address the underlying cause first. If the home was built before 1978, treat existing paint as potentially lead-containing unless an inspection shows otherwise. Sanding or disturbing that surface can create dangerous lead dust, so consult a qualified lead-safe professional before proceeding. Learn how to prepare your home for painting before you begin.
-
Clean away residue
Wash the paneling with a suitable cleaner to remove dust, grease, grime, and residue from previous cleaning products. These contaminants can interfere with adhesion on veneer or hardwood paneling. Work from the top down, change dirty water or cloths as needed, and allow the surface to dry fully. Pay extra attention to areas near a stove, fireplace, entryway, or frequently touched trim. Cleaning is not a cosmetic step; it gives the primer a cleaner, more predictable surface.
-
Degloss or lightly sand where appropriate
After cleaning, assess the existing sheen. A glossy finish may need deglossing or a light sanding so the surface is dull rather than slick. The goal is not to remove all of the wood or flatten every groove. A light pass can create enough texture to support adhesion, while fine sandpaper, such as 220 grit, can smooth isolated drips or uneven areas. Sanding is not automatically required for every paneling product or condition, so follow the coating manufacturer’s directions and use appropriate dust-control practices. Never dry-sand a surface that may contain lead paint without a lead-safe plan.
-
Fill only the defects you want to hide
Fill nail holes, cracks, and damaged spots with a compatible patching compound, then let the material dry before sanding it smooth. Decide whether the paneling’s grooves are part of the finished design. If you want to preserve the traditional paneled look, leave sound grooves intact. If you want a smoother wall appearance, filling grooves requires more material and additional preparation. Severe deterioration, recurring cracks, or movement deserves an evaluation rather than a quick cosmetic patch. For related decisions, review these painting wainscoting prep tips.
-
Remove dust before priming
Vacuum sanding dust from the paneling, edges, grooves, and floor, then wipe the surface with a clean, lightly damp cloth if appropriate for the substrate. Let it dry before applying primer. Dust left behind can show through the finish or weaken the bond. Once the surface is clean and sound, compare your product instructions with this guide to when to use paint primer, then test the system in a small, inconspicuous area before committing to the whole room.
Which Primer and Paint Work Best on Paneling?
Primer choice depends on what the paneling needs to do before the finish coat goes on. Clean, sound paneling may mainly need help with adhesion, while dark wood, knots, water marks, or patched areas may need stain control as well. Since panel types and conditions vary, test the complete system on a small, inconspicuous area before committing to the room.
| Surface or goal | More suitable approach | What to check |
|---|---|---|
| Slick, sealed, or lightly glossy paneling | Use a bonding-oriented primer after thorough cleaning and appropriate deglossing. | Does the test patch dry firmly without peeling or easy scratching? |
| Dark wood, knots, stains, or repaired areas | Use a stain-blocking primer where bleed-through is a concern. A second primer coat may help even out spackled and original surfaces. | Does the primer hide discoloration and create an even base for the topcoat? |
| Grooved paneling | Keep the grooves visible for texture, or fill them with joint compound or spackling for a smoother wall effect. | Are the filled grooves dry, smooth, and blended before painting? |
| Frequently touched interior walls | Consider a washable-feeling eggshell or satin wall finish, selected for the room and substrate. | Does the sheen suit the lighting, wall texture, and expected cleaning or wear? |
| Trim, doors, and paneling details | Use a coordinated trim finish, often satin or semi-gloss, rather than treating every surface identically. | Will the contrast support the room without emphasizing uneven repairs? |
Bonding primer and stain-blocking primer solve different problems. Bonding primer is intended to improve the relationship between the prepared surface and the topcoat. Stain-blocking primer is useful when discoloration, knots, or dark material could show through. Priming is generally recommended when painting over wood paneling, but the product should match the panel’s existing finish and condition. Avoid assuming that one product or one coat will work equally well on veneer, hardwood, and composite panels.
The grooves also affect the paint decision. Leaving them visible preserves the paneling’s rhythm, but grooves can collect shadows and make uneven application more noticeable. Filling them moves the project toward a smooth-wall appearance and adds drying, sanding, and inspection between coats. Either direction can work when it matches the room’s style and the condition of the boards.
For Boise interiors, eggshell or satin may be practical starting points for walls because they balance appearance with everyday wear, while trim may call for a different sheen. Review the full guide to choosing the right paint sheen before selecting color and finish. If the paneling needs extensive preparation, professional interior painting can include surface preparation, protection, application, and a final touch-up review.
Always let the test area dry fully before judging color, sheen, adhesion, and whether stains or wood grain remain visible. That small check can reveal whether the paneling needs another primer coat, a different finish plan, or repairs before painting wood paneling throughout the room.
How to Paint Wood Paneling With a Consistent Application Sequence
Once the paneling is clean, repaired, and properly primed, the application order matters. A steady sequence helps keep brush marks from drying into visible edges and gives each coat time to bond before the next one begins. Work in manageable sections, keep a wet edge when possible, and follow the paint manufacturer’s drying guidance rather than rushing the finish.
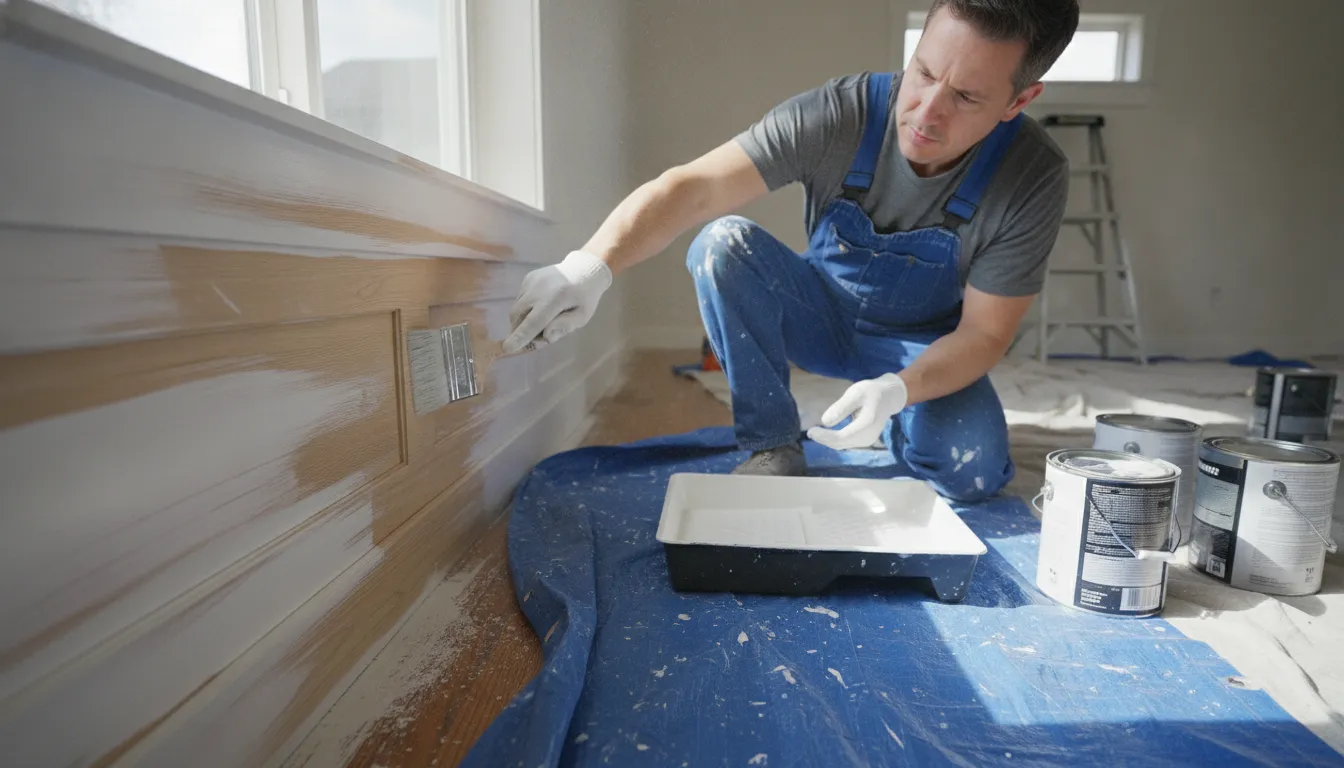
- Cut in the edges first. Use a quality brush along corners, ceiling lines, baseboards, door casings, and other edges. Keep the application controlled instead of loading paint heavily into the joints. Cutting in before rolling lets you blend those edges while the surrounding paint is still workable.
- Brush the grooves and seams. Paneling grooves need deliberate coverage because a roller may not reach their full depth. Work the brush along each groove, feathering excess paint onto the adjacent board. If the grooves were filled for a smooth-wall look, watch for pinholes or uneven areas that become more visible as the coating levels.
- Roll the flat faces. Apply paint to the broad, flat sections with a suitable roller, using even passes and moderate pressure. Blend the rolled area into the brushed edges before they dry. Avoid repeatedly working paint that has begun to set, since overworking can create uneven texture.
- Move from top to bottom. Complete the upper portion before progressing downward. This approach makes it easier to catch drips and keep them from drying below finished areas. Check the paneling from several angles as you work, especially where grooves meet the rolled flats.
- Let the first coat dry fully. Do not judge coverage or start recoating while the surface is still tacky. Dark paneling or a lighter topcoat may need additional coverage, depending on how well the primer has hidden the grain and underlying color.
- Apply the second coat. Once the first coat is fully dry, repeat the same cut-in, groove, and rolling sequence. A second coat commonly helps produce a more even, spot-free appearance. Keep the application consistent so the sheen does not vary between brushed and rolled areas.
- Finish the trim and clean up. Paint trim after the wall coating has settled enough to protect clean lines, then remove tape carefully according to the product directions. Clean brushes and rollers promptly, remove drips, and allow the new finish to cure before placing furniture or decor against the paneling.
Paint, Stain, or Replace? How to Choose
Painting wood paneling is often a practical way to update a room, but it is not the right answer for every wall. Start with the panel’s condition, then decide whether you want to hide the wood character or keep it visible. The right choice depends on more than color. Consider the natural grain, the amount of room light, expected wear, moisture exposure, and whether the boards still feel stable.
| Option | Best fit | Important considerations |
|---|---|---|
| Paint | Sound, dry paneling when you want a lighter, more uniform appearance | Choose whether to keep the grooves or fill them for a smoother wall. Cleaning, repairs, sanding, and primer still matter, especially where the existing surface is glossy, stained, or uneven. |
| Stain or clear finish | Stable wood with grain and texture worth preserving | This approach keeps the paneling’s character visible. Test a small area first, because the existing wood tone and the room’s natural light affect the final appearance. |
| Repair, then finish | Paneling with limited holes, cracks, loose trim, or isolated wear | Correct the defect and its cause before coating. Moisture, leaks, impact, or structural movement can damage a new finish again if they are left unresolved. |
| Replace | Rotten, persistently damp, severely warped, or unstable boards | Paint cannot restore structural stability or solve active moisture. Have the underlying problem assessed before deciding on new paneling or another wall surface. |
For a painted result, think about how the room will be used. High-touch areas and busy hallways may call for a finish that is easier to clean, while a low-traffic room gives you more flexibility. Dark paneling can also make a dim room feel heavier, although the best color depends on the room’s windows, furnishings, and overall design. If the wall is wainscoting rather than full-height paneling, these painting wainscoting prep tips can help you evaluate the trim, grooves, and adjacent surfaces together.
Before choosing sheen or color, review this guide to choose the right paint sheen. Most importantly, be candid about condition. Rot, active moisture, severe warping, and boards that move under light pressure are reasons to pause painting and investigate further. A sound surface can be transformed. An unstable one needs a repair plan first.
Boise Home Considerations for a Durable Interior Result
In Boise and across the Treasure Valley, wood paneling can appear in older homes, cabins, finished basements, and remodeled living spaces. A durable result starts with the room and the substrate, not just the color. Consider how much natural light the paneling receives, how often the room is used, and whether the surface has been exposed to moisture, impacts, or years of cleaning. Paint Boise serves Boise, Meridian, Eagle, Nampa, Caldwell, Star, Kuna, and Middleton, so a local assessment can account for the property’s age, layout, and specific panel condition.
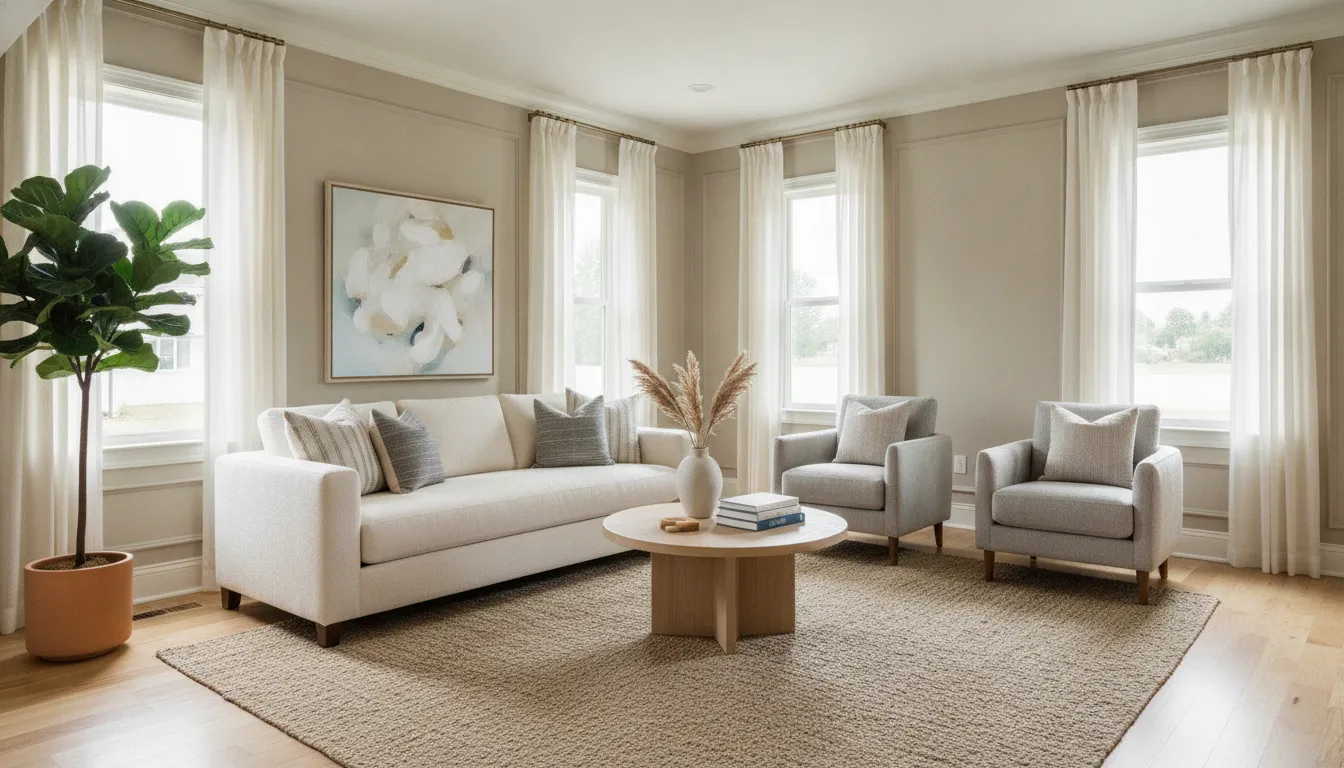
Evaluate light, wear, and panel condition
Room light affects how the grain, grooves, and selected sheen will read throughout the day. Dark paneling in a low-light room may need a carefully tested color and thorough priming, while a bright room can make surface flaws more visible. High-use hallways, family rooms, and entry areas also deserve attention to scuffs, dents, loose sections, and previous patching. Painting can refresh a sound surface, but it cannot correct active moisture, rot, unstable boards, or severe warping. In a basement, check for dampness, leaks, condensation, or musty areas before coating anything. Moisture control is an important part of protecting the finished result.
Plan the scope and communication before work begins
Be clear about whether the goal is to preserve the paneling’s grooves. Create a smoother appearance, repaint trim at the same time, or evaluate sections for repair or replacement. Panel type and condition can change the preparation, materials, and project scope, so a walkthrough is more useful than assuming every wall can follow the same process. Paint Boise’s interior process includes assessment, color consultation, property preparation, surface preparation, application, cleanup, and a final walkthrough with touch-ups. Their professional interior painting service includes surface preparation and furniture protection. For a broader project involving several rooms, review the available house painting services and confirm the work area, finish expectations, repairs, and cleanup plan in advance.
Frequently Asked Questions
Can I just paint over wood paneling?
Usually, no. Start by checking the paneling for moisture, loose boards, peeling finish, deep damage, or residue. Clean the surface, repair defects, lightly degloss it, remove dust, and use a primer suited to the substrate. If the paneling is swollen, unstable, or affected by an unresolved leak, painting alone will not correct the underlying problem.
What kind of paint can I use on wood paneling?
Choose an interior paint appropriate for the room and the prepared surface. Water-based latex or acrylic paint is commonly used for walls, with eggshell or satin as practical sheen options. A waterborne alkyd can be considered when you want a harder, furniture-like finish. Test a small area first, especially when covering dark wood or an unfamiliar existing finish.
Can you paint over 70s wood paneling?
Yes, older paneling can often be painted when it is sound, clean, and dry. Its age does not remove the need for inspection and careful preparation. If the home was built before 1978, assume existing paint may contain lead unless testing shows otherwise. The EPA recommends lead-safe practices and a certified contractor for qualifying renovation work: EPA lead-safe renovation guidance.
Do you have to prime paneling before you paint it?
Priming is recommended for most wood-paneling projects because it helps the topcoat adhere and can reduce the appearance of stains. Knots, and differences between patched areas and the panel surface. Use a bonding or stain-blocking primer as appropriate, allow it to dry according to the product directions, then evaluate whether another coat is needed before painting.
Ready to Plan Your Wood Paneling Project?
A careful assessment can help clarify whether your paneling is a good candidate for paint, stain, targeted repairs, or replacement. It also gives you a practical plan for prep, finish selection, and the work involved in your Boise or Treasure Valley home. Share what you are seeing, including any damaged, loose, or moisture-affected areas, so the next step starts with the right information.