
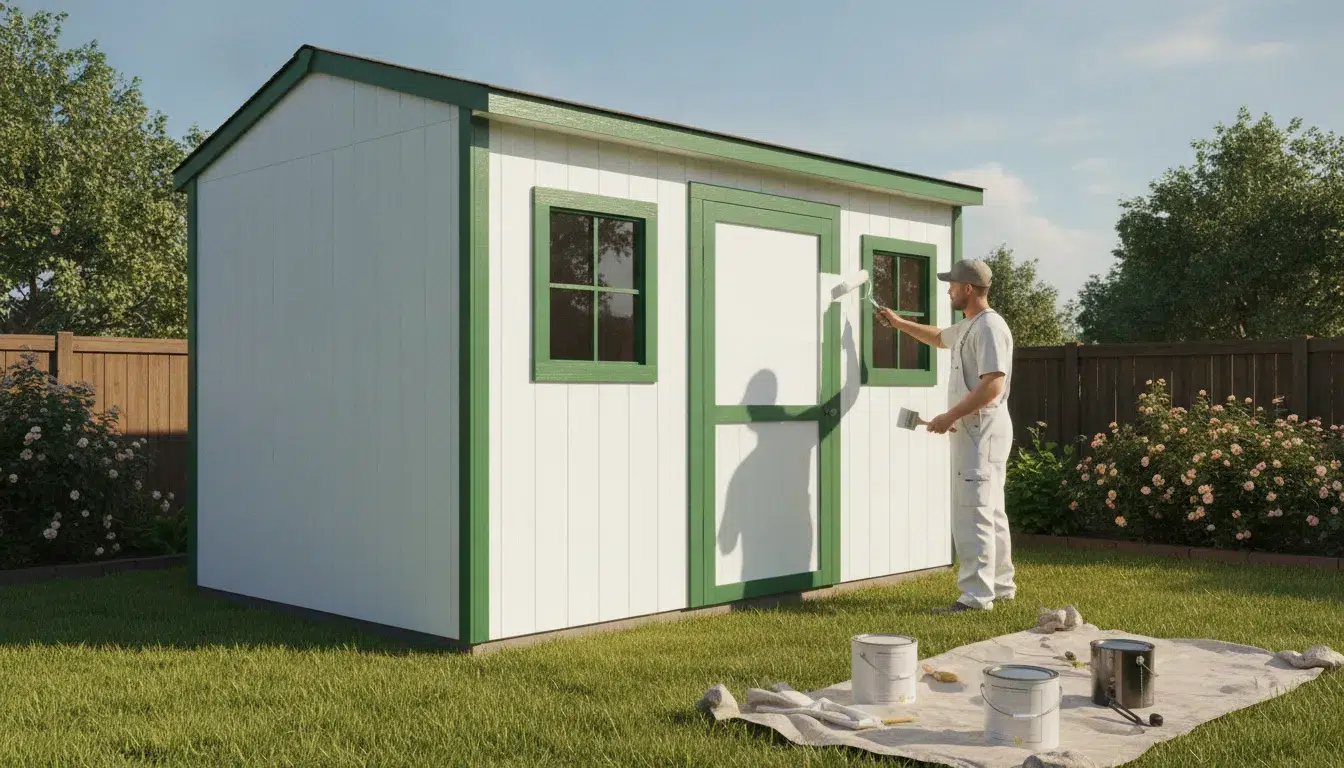
A backyard shed can take just as much weather abuse as your home, especially under Treasure Valley sun, summer heat, and winter freeze-thaw cycles. Peeling edges, cracked boards, and faded siding are not merely cosmetic problems. They can allow moisture to reach the wood and shorten the life of the structure.
Painting a shed with thorough cleaning, repairs, primer where needed. And premium weather-resistant acrylic latex paint helps protect the structure while giving your yard a cleaner, more finished appearance. Plan the work for spring through fall, when daytime temperatures stay above 40 degrees Fahrenheit and nights remain above freezing.
The right approach depends on whether you are coating bare wood, stable old paint, metal siding, or a playset with different safety considerations. Before choosing a color or opening a paint can, it helps to understand how a durable coating protects your investment and improves the way the entire property looks.
Get a free estimate for your shed or backyard structure today.
Why Painting a Shed Protects Your Investment and Boosts Curb Appeal
A shed adds useful storage and workspace, but its exterior takes the same weather exposure as any other outdoor structure. In the Treasure Valley, intense summer sun, wind-driven rain, snow, and freeze-thaw cycles can gradually wear down unprotected wood. A sound paint system gives the siding, trim, doors. And exposed edges a more durable barrier while making the shed look like an intentional part of your property instead of an aging outbuilding.
Paint also gives you a practical maintenance schedule. When properly applied to a suitable wood substrate, exterior paint can have a service life of up to 10 years, according to Purdue Extension guidance. That is not a promise that every shed will go a decade without attention. The result depends on the wood, preparation, moisture conditions, product, exposure, and ongoing care. It does show why thorough prep and quality application matter more than simply adding a quick coat over weathered boards.
Paint helps keep moisture from becoming structural damage
Water is one of the biggest threats to an exterior wood shed. Rain and dew wet the outside, while moisture inside the structure can also move outward through the walls. A well-maintained coating helps limit that exposure, but it should work alongside sound construction and regular inspections. Check the roof, walls, windows, and doors for gaps or failed seals, then address those problems before painting. Guidance from the University of Minnesota Extension specifically recommends sealing these areas to keep water out.
Pay special attention to board ends, corners, and other exposed edges. Paint failure often starts there because water reaches vulnerable wood more easily. A consistent maintenance routine, including cleaning and timely touch-ups, can extend the life of the coating and help prevent a small peeling area from becoming widespread decay. If the shed has persistent dampness, blistering, or poor ventilation, painting alone will not solve the underlying issue.
A refreshed shed improves the whole yard
Protection is the long-term benefit, but appearance is often what homeowners notice first. A freshly painted shed can coordinate with the house, fence, deck, or garden beds and make the backyard feel more finished. Repainting is often worth considering when the structure is still sound but the finish is faded. Chalky, peeling, or visibly out of step with the rest of the property.
South- and west-facing walls usually deteriorate fastest because they receive the greatest combination of sunshine and rain. Those elevations may need closer inspection and more frequent touch-ups than shaded sides. If you are comparing coatings for exterior wood, review our guide to paint vs stain for exterior wood. For larger repairs, difficult access, or a finish that needs to hold up across every exposed surface, expert exterior painting can help you get the prep, product selection, and application right the first time.
The Best Exterior Paint for Painting a Shed in the Treasure Valley
For most wood sheds in Boise and the surrounding Treasure Valley, a premium, weather-resistant acrylic-latex exterior paint is the strongest all-around choice. It offers practical protection against sun, rain, and seasonal temperature changes while giving the structure a clean, finished appearance. Choose a product specifically labeled for exterior use, and follow its temperature and drying guidance. In general, Paint Boise recommends painting when daytime temperatures are at least 40 degrees Fahrenheit and nighttime temperatures remain above freezing.
Paint selection matters, but moisture control matters just as much. Purdue Extension identifies moisture as the most common cause of premature paint failure on wood surfaces. Water can enter through unsealed end grain, damaged siding, roof edges, or poorly protected openings. Highly porous paints are especially vulnerable to moisture penetration, so avoid choosing a coating based only on its initial price or color. A quality exterior acrylic-latex product, applied over a sound and properly prepared surface, creates a more dependable protective layer.
Match the coating to the shed material
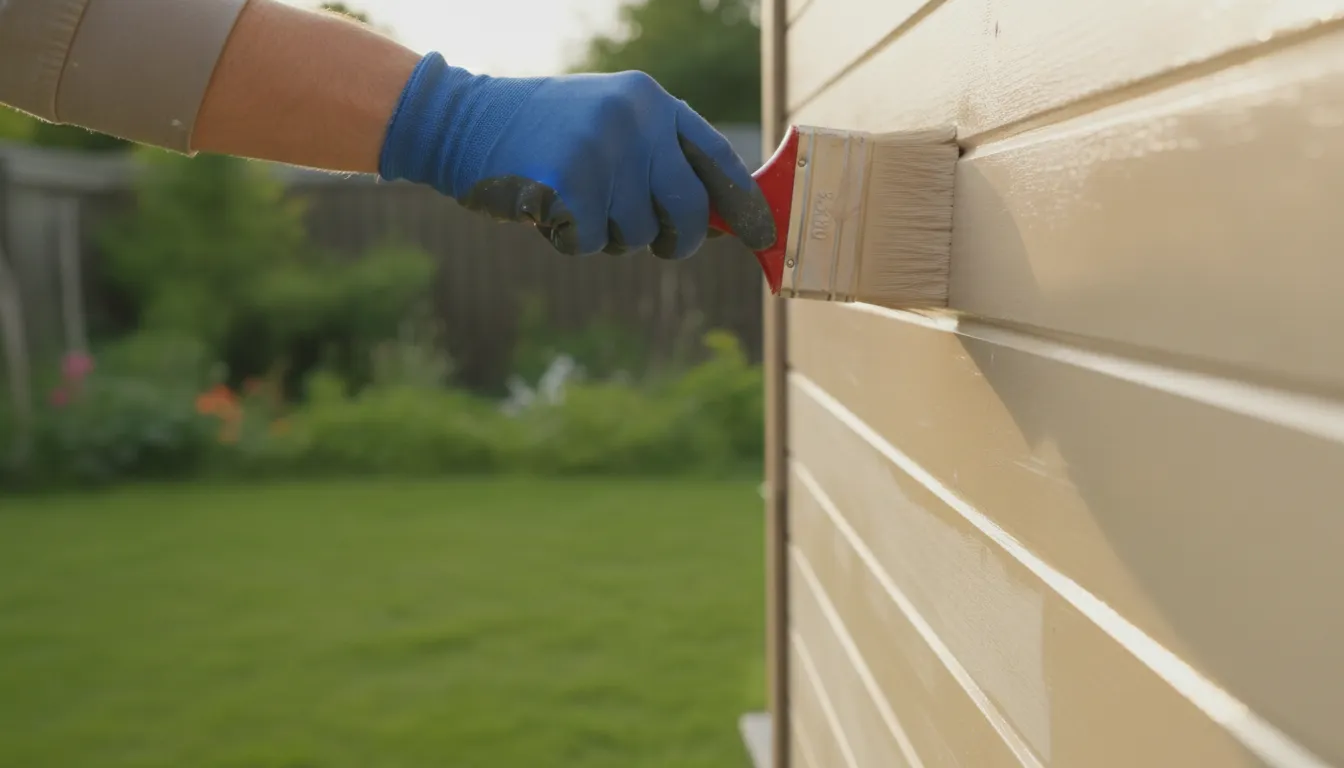
Wood sheds typically benefit from acrylic-latex exterior paint after damaged areas are repaired and raw or weathered wood is primed. Pay extra attention to board ends, corners, and other edges because those areas receive more exposure and often show failure first. On older or especially weathered wood, a compatible exterior primer can help seal the surface and improve the finish coat’s adhesion.
Metal sheds need a coating system designed to bond to metal. Remove loose rust and peeling coating, clean away dirt and residue, and use a rust-inhibiting metal primer where appropriate before applying an exterior metal-rated paint. For a closer look at surface-specific preparation and products, see our guide to painting a metal shed.
Vinyl sheds are different. Standard paint may not adhere well or may absorb too much heat, particularly in darker colors. Use a manufacturer-approved exterior coating made for vinyl and stay within the recommended color range. When the material is uncertain, check the shed manufacturer’s guidance before painting.
Plan on more than one coat
One thin coat may look acceptable at first, yet multiple coats improve coverage and durability when each coat is applied to a properly prepared, dry surface. Do not rush the recoat window. Allowing the paint to dry as directed helps prevent uneven sheen, soft film, and premature peeling. Also inspect the roof, door, and wall joints for routes that allow water inside. A durable paint job cannot compensate for an active leak or persistent interior condensation.
In the Treasure Valley’s bright summers and freezing winters. The best paint is the one paired with careful preparation, moisture management, and enough coverage to protect every exposed surface.
Surface Preparation: Bare Wood vs. Previously Painted Siding
The starting condition of a shed determines how much preparation the new coating needs. Bare wood is absorbent and vulnerable to weather, while previously painted siding may offer a sound base if the existing coating is stable. In either case, skipping preparation is a shortcut to early paint failure. Purdue Extension identifies moisture, high porosity, flat-grained wood, and applying a new coat without properly preparing the old surface as common contributors to failure: learn more about exterior wood paint performance.
| Prep step | Bare wood | Previously painted siding |
|---|---|---|
| Inspect | Check for weathering, rot, excessive moisture, flat grain, and open board ends. Address structural or moisture problems before coating. | Look for peeling, blistering, chalking, cracks, and loose edges. Identify areas where the old coating is no longer bonded. |
| Clean | Remove dirt, dust, mildew, and surface debris so primer can bond to clean wood. Let the surface dry fully. | Wash away dirt, chalk, and residue. Painting over old paint is reasonable only when the existing surface is stable and clean. |
| Sand and repair | Sand rough fibers and weathered areas until the surface is reasonably even. Feather exposed transitions and smooth damaged wood. | Scrape loose paint, sand glossy areas, and feather the edges of remaining coating. Do not leave a sharp ridge around repairs. |
| Prime | Apply primer across raw and weathered wood, with careful coverage on end grain, joints, and exposed edges. Primer is essential for this substrate. | Spot-prime repairs and bare patches, or prime the full surface when the old coating is heavily weathered or inconsistent. See our guide to priming your shed. |
| Finish checks | Confirm that the primer has sealed porous areas before applying finish paint. Pay special attention to board ends and edges. | Check that repaired areas are level and the remaining paint is firmly attached. Apply finish coats only after the surface is clean and dry. |
Why edges and ends deserve extra attention
Paint normally fails around the ends and edges of boards first because those areas receive more exposure to water. Inspect the lower siding edges, corners, trim joints, and exposed end grain rather than treating them as minor details. A consistent primer and finish coat on these points helps close pathways where moisture can enter.
Cleaning and sanding also take a substantial share of the project time, even when the shed appears small. That effort removes contaminants and creates a surface the coating can grip. After painting, regular inspection and repainting are still part of ownership. A finish is a protective layer, not a permanent repair for leaks, damp wood, or failing siding.
How Boise’s Freeze-Thaw Cycles Affect Your Outdoor Coatings
Boise’s outdoor structures take a beating from two very different seasons. Summer sun heats siding, trim, and doors, while winter brings freezing temperatures, thawing moisture, and repeated movement in wood and coatings. That cycle can turn a small crack or weak paint edge into peeling, blistering, or exposed wood if the surface is not prepared and protected correctly.
Moisture is the most common cause of premature paint failure on wood, according to Purdue Extension. Rain and dew wet the outside of a shed, but moisture can also move outward from inside the structure where it is easy to miss. As temperatures shift, that moisture can expand, contract, and push against the paint film. Painting over a damp or poorly ventilated surface may hide the problem briefly without solving it.
Why moisture and ventilation matter
Look beyond the visible wall before painting a shed. Check the roof, door, windows, seams, and the area where the walls meet the ground. Overhangs, sound gutters, and properly sealed openings help keep water from reaching the siding. Inside the shed, persistent condensation or damp stored materials can raise moisture levels. Without adequate ventilation, accumulated moisture may contribute to mold growth and paint blistering, as explained by University of Minnesota Extension.
A moisture problem deserves correction before primer or paint. Depending on the shed’s construction and condition, a high-moisture structure may need a specialized paint or treatment rather than a standard coating. Sealing every surface too aggressively can also trap moisture inside, so the right system should protect the exterior while allowing the assembly to dry appropriately.
Sun exposure creates uneven wear
Not every side of a shed ages at the same rate. South- and west-facing walls typically receive the strongest combination of sunshine and rain, so their color can fade and their coating can deteriorate sooner than shaded elevations. Inspect those faces carefully for chalking, hairline cracks, exposed end grain, and failing caulk. Board edges and ends are common starting points for paint failure because they receive more direct water exposure.
Paint Boise plans around Boise’s weather rather than forcing a calendar date. The best painting window generally has daytime temperatures above 40 degrees Fahrenheit and nighttime temperatures that remain above freezing. Applying premium, weather-resistant exterior paint during a stable dry period gives the coating a better chance to cure before the next temperature swing. For a structure exposed to intense sun or repeated wetting, thorough prep and extra attention to the south and west faces can make the finish more durable. See our expert exterior painting service for help selecting a climate-appropriate approach.
Take extra care with older structures
If a shed or outbuilding was built before 1978, assume its older paint may contain lead until it has been assessed. Peeling or cracked lead paint can create hazardous chips and dust, according to the CDC. Avoid dry sanding or disturbing the coating casually. A professional can recommend safer containment, preparation, and disposal practices before repainting.
The goal is not simply a fresh color. It is a coating system that manages moisture, tolerates seasonal movement, and protects the structure through Boise’s hottest and coldest conditions.
How to Paint a Shed Step by Step
A durable shed finish comes from disciplined preparation as much as from the paint itself. Set aside a clear weather window, move items away from the walls, and protect nearby plants, paving, and stored equipment before you begin. In the Treasure Valley, avoid painting when surfaces are damp or when temperatures will drop below the product’s minimum overnight requirement. Work methodically, allowing each coat to dry before adding the next.
-
Clean the shed thoroughly
Remove dirt, cobwebs, loose debris, and chalky residue from the siding, trim, doors, and eaves. A pressure washer can make quick work of broad exterior surfaces. But use moderate pressure and keep the spray moving so you do not gouge wood or force water behind siding. For a smaller shed, mild detergent, a stiff brush, and a garden hose may be enough. Rinse away residue and let the structure dry completely before continuing. Cleaning and sanding represent a meaningful share of the project time, so do not treat this step as optional.
-
Sand, scrape, and repair the surface
Scrape away peeling paint and sand rough transitions until the surface is stable and reasonably smooth. Feather the edges of remaining paint rather than leaving a hard ridge that will show through the new finish. Replace damaged boards, fill small holes, and address open joints or gaps with an appropriate exterior caulk. Pay special attention to board ends and edges because those areas are more exposed to water and commonly show failure first. If the shed was built before 1978 and old paint is peeling or producing dust, pause and follow lead-safe renovation practices instead of dry-sanding casually.
-
Prime raw or weathered wood
Apply an exterior primer to bare patches, exposed wood, repaired areas, and heavily weathered siding. Primer is essential on raw or weathered wood because it helps create a consistent surface for the finish coats and improves adhesion. Follow the label for coverage, drying time, and recoat conditions. Do not rush this stage. Paint applied over inadequately prepared or unprimed wood can fail early, especially when moisture moves through the structure.
-
Apply multiple coats of exterior paint
Use a quality exterior paint formulated for the shed’s siding material and local exposure. A roller is efficient on large, flat areas, while a brush gives you control along edges, corners, grooves, and around openings. Apply three even coats rather than trying to hide the substrate with one heavy pass. Keep a wet edge, avoid overworking paint as it begins to set, and respect the manufacturer’s drying time between coats. This approach improves both coverage and durability. An image of the correct technique is shown below.

-
Paint the trim and detail areas
Once the main siding has cured enough to protect its edges, brush the trim around doors, windows, corners, fascia, and other detail work. A smaller angled brush helps you keep lines neat without flooding adjacent siding. Trim often needs careful attention because it catches water and receives frequent contact around doors. Check the finish from several angles and touch up holidays, drips, or thin spots before packing away your tools.
-
Finish the hinges, latches, and hardware
Clean hardware, remove light rust where appropriate, and use a compatible metal primer or paint system if the product calls for it. Paint hinges, latches, handles, and visible fasteners carefully, keeping moving parts free from excess coating. A typical shed project can be completed in about two days. With roughly five hours of active work, although repairs, drying conditions, and multiple coats can extend the schedule.
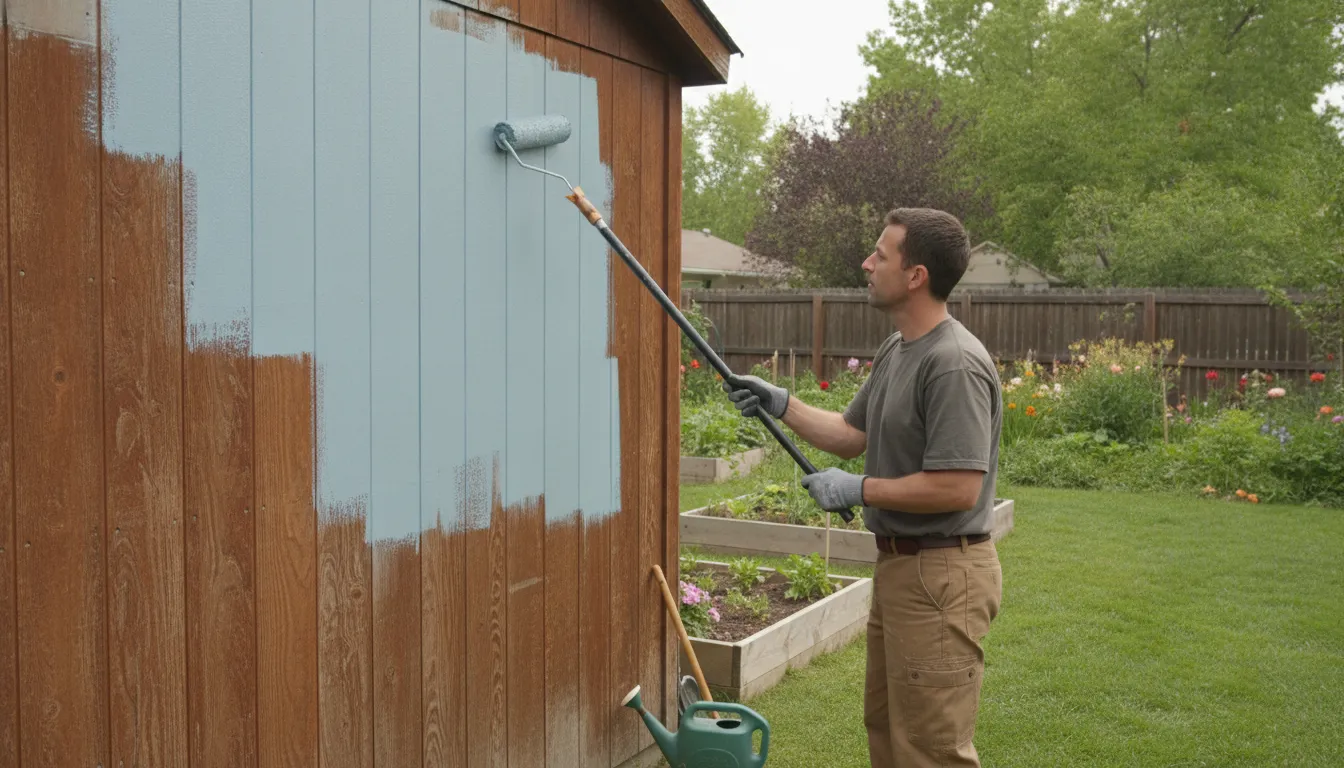
After the final coat dries, inspect the shed in daylight and confirm that doors open freely, water-shedding details remain clear, and no bare edges were missed. Consistent cleaning and small touch-ups will help preserve the finish between full repaints.
When to Hire a Professional Exterior Painter in the Treasure Valley
Painting a shed, detached garage, or backyard playset can look like a manageable weekend project. The real decision is whether the finished coating will continue protecting the structure after Boise sun, summer heat, moisture, and winter freeze-thaw cycles take their toll. For smaller outdoor structures, professional exterior painting is often the durable upgrade rather than an unnecessary expense.
The difference begins before the first gallon of paint is opened. Paint Boise treats sheds and other outdoor structures with the same care as a home’s exterior. That means power washing, repairing damaged areas, allowing surfaces to dry, and addressing weak edges, cracks, or peeling coatings. Poor preparation is one of the fastest ways to create early paint failure. New paint may look smooth at first, but it can crack, peel, or contribute to water damage when it is applied over dirt, moisture, or unstable material.
DIY painting versus professional preparation
A homeowner can certainly clean and paint a sound shed. DIY work makes the most sense when the siding is stable, the surface is accessible. The weather window is dependable, and there is enough time to complete every preparation step. Rushing because rain is approaching or skipping repairs to finish in a single day can shorten the coating’s useful life.
Professionals bring a more consistent process to the work. They can identify moisture-related damage, prepare porous or weathered wood, and determine where primer and additional coats are needed. That matters because properly applied exterior paint can last up to 10 years, while inadequate preparation can cause failure much sooner. Premium weather-resistant acrylic-latex materials also give the structure a better defense against Treasure Valley conditions than an interior product or a poorly matched coating.
When the weather window is difficult to manage
Exterior painting requires more than a warm afternoon. Paint Boise schedules this type of work from spring through fall when daytime temperatures are above 40 degrees Fahrenheit and nighttime temperatures remain above freezing. The surface must also be clean and dry. Managing that window is harder when a homeowner has limited weekends, several structures to paint, or a shed that needs repair before coating.
Hiring a professional can help coordinate preparation, drying time, primer, and finish coats instead of leaving the project exposed between stages. It is especially useful when south- or west-facing surfaces receive intense sun and weather. Or when a garage, shed, or playset has already developed peeling, staining, or soft wood.
Why Paint Boise is a lower-risk choice
Paint Boise brings more than 40 years of experience to exterior work across the Treasure Valley. The company uses a thorough preparation process and premium weather-resistant acrylic-latex materials. With the goal of completing the work correctly rather than simply making the structure look fresh for one season. Exterior work includes a 5-year warranty, and the no-deposit, pay-when-satisfied guarantee gives homeowners added confidence before the project begins.
If the structure needs more than a simple touch-up, compare the long-term result, weather management, and preparation quality before choosing the DIY route. Learn more about expert exterior painting or request a free estimate to determine the right scope for your shed, garage, or playset.
Request your free estimate and protect your outdoor structure.
Frequently Asked Questions
What kind of paint do you use on a shed?
For most outdoor wood sheds, use a premium, weather-resistant acrylic-latex exterior paint. It should be compatible with the existing coating and suited to changing moisture conditions. Bare or heavily weathered wood also needs an exterior primer before painting. Multiple finish coats improve coverage and durability, especially on south- and west-facing walls that receive stronger sun and weather exposure.
Can you paint over old paint on a shed?
Yes, if the old paint is firmly attached, clean, and free of widespread peeling, chalking, or moisture damage. Wash the surface, allow it to dry completely, scrape loose areas, and sand rough edges so the new coating has a sound surface. Prime exposed wood and repaired areas before applying the finish paint.
Should you use a roller or brush to paint a shed?
Use the tool that matches the surface. A roller covers broad, flat siding efficiently, while a brush works better for corners, trim, board edges, and detailed areas. Many projects use both. Spraying can be efficient on suitable surfaces, but it requires careful masking and back-brushing when needed to work paint into the texture.
Is it worth painting a shed?
Painting can be worthwhile when the structure is sound and the siding is still repairable. A properly prepared coating helps limit weather exposure, refreshes the appearance, and can postpone more expensive siding or structural repairs. If the wood is soft, persistently damp, or significantly deteriorated, address those conditions before treating paint as the solution.
How often should you repaint a shed?
There is no single schedule because exposure, paint quality, preparation, and material all matter. Inspect the shed each spring for fading, cracking, peeling, open board ends, and moisture problems. Repaint when the coating no longer protects the surface, rather than waiting for widespread failure. Boise sun, summer heat, and winter freeze-thaw cycles can make exposed faces need attention sooner.
Ready to Get Started on Your Backyard Structure?
A well-prepared, professionally painted shed, detached garage, or playset can better handle Treasure Valley weather while keeping your property looking cared for. If you want help choosing the right coating and planning the prep, Paint Boise can review your project and recommend a practical next step.
Call (208) 254-6615 or get a free estimate to start your project.