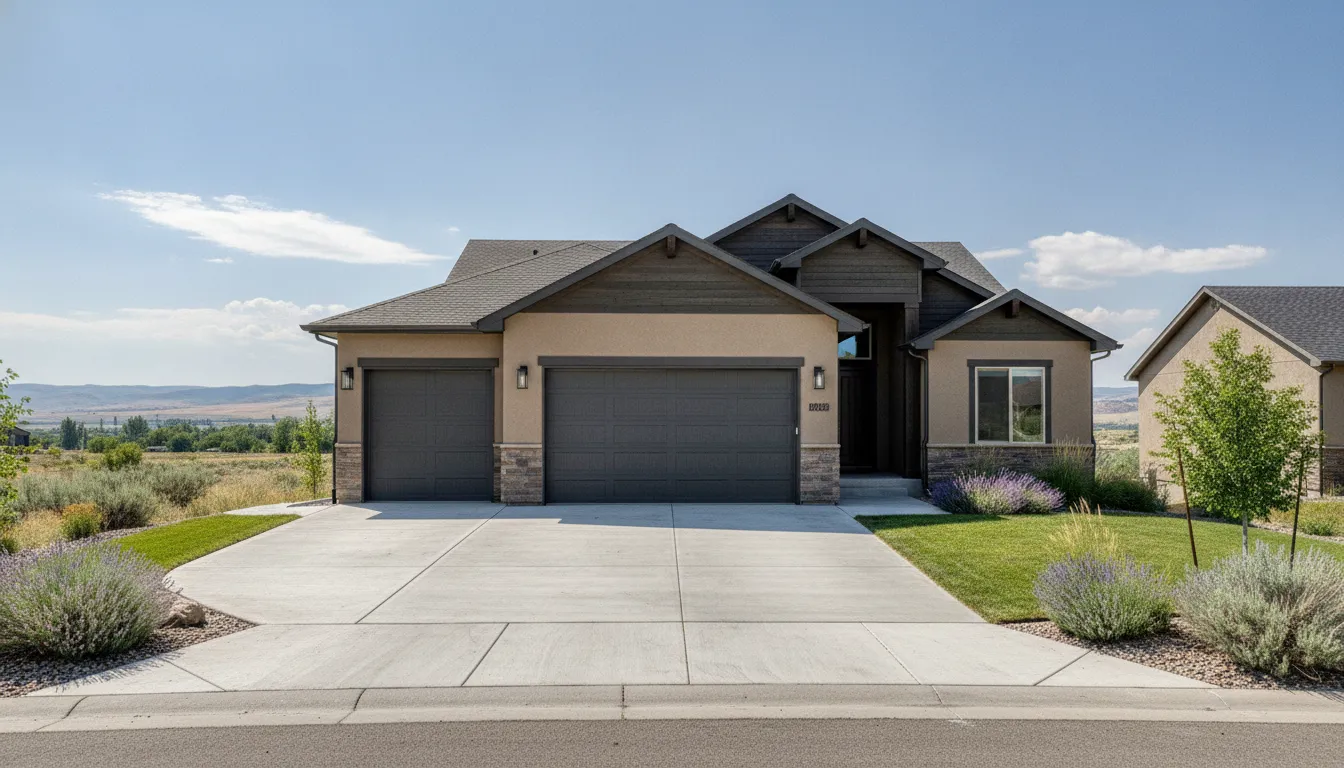
A garage door takes daily exposure to Boise sun, temperature swings, dust, and moisture. Painting garage door surfaces successfully requires more than a quick color change. The existing coating, door material, and application-day weather all affect the result.
Ready to refresh your garage door? Request a free estimate from Paint Boise.
Yes, painting a garage door can improve curb appeal and help protect the surface when you clean it thoroughly. Remove loose coating, use an exterior-rated paint system, and allow each layer to dry properly. Acrylic exterior paint is often practical because it can flex as temperatures change. But the right primer and topcoat depend on whether the door is steel, aluminum, wood, fiberglass, or composite. Paint Boise is a Boise-area painting contractor that can assess the surface and explain the preparation needed before work begins.
Treat the door as a working exterior system rather than a flat wall. Protect seals and hardware, keep paint out of moving joints, and plan around temperature, humidity, and direct sun. The sections below explain how to choose materials, prepare the surface, avoid runs, and decide when professional help makes sense.
What Materials Work Best for Painting a Garage Door?
The right paint system starts with the door material, not with a favorite color. Steel and aluminum doors need products intended for exterior metal surfaces. Wood and fiberglass or composite doors may require different preparation and primer decisions. Before buying supplies, identify the substrate, inspect its existing coating, and check the product label for compatibility and exterior use.
Steel and aluminum doors
For a steel garage door, choose paint rated for exterior metal. This supports bonding and helps address rust risk on exposed or damaged areas. Aluminum does not rust like steel, but it still needs a clean, sound surface and a compatible coating system. Address bare spots, repaired areas, and corrosion before applying the finish coat. Use an exterior primer where the old coating has been removed or the surface has been patched. Follow the product instructions to determine whether you need a metal-specific primer, a bonding primer, or another system.
Wood garage doors
Wood moves as its moisture content changes, so surface condition matters as much as paint selection. Look for peeling areas, open joints, dents, and weathered fibers. Remove unsound paint, repair appropriate defects, and let the door dry fully before priming or painting. A quality exterior primer creates a more uniform base, especially where bare wood is exposed. For related exterior wood preparation ideas, review these steps for preparing a painted shed, then adapt them to the door panels, seals, and moving sections.
Fiberglass and composite surfaces
Fiberglass and composite doors may have smooth or lightly textured faces. Clean the existing finish and lightly scuff-sand where appropriate so the new coating has a suitable surface to grip. Do not assume that a product designed for wood or metal is automatically right for composite material. Use the substrate and existing-finish instructions on the label. If compatibility is uncertain, test the proposed system in a small, inconspicuous area first.
Paint, sheen, and application tools
For many exterior doors, acrylic latex exterior paint is a practical option because it can remain flexible as temperatures change. That flexibility does not replace proper preparation or correct application. Choose sheen based on the appearance and maintenance tradeoffs you can accept. A higher sheen may be easier to clean but can highlight dents, patches, and brush marks. A lower or satin sheen can reduce glare and provide a softer appearance.
Match the roller nap to the panel texture. Smoother panels generally call for a lower-nap roller, while textured panels need a nap that can reach their profile. Use a quality synthetic angled brush for edges, corners, narrow panel details, and areas near hardware. If the material or condition makes the coating system difficult to select, Paint Boise can help through its professional exterior painting service.
How Should You Prepare a Garage Door Before Painting?
A clean, stable surface does more for the final result than an extra coat of paint. Work with the door in a controlled position, keep the area clear, and avoid interfering with springs, cables, rollers, or other tension-loaded components. If the door is damaged, unusually heavy, difficult to operate, or connected to equipment you are not comfortable isolating, stop and bring in a professional.
- Inspect the door and identify its material. Look for peeling paint, rust, dents, deep scratches, bare spots, failed caulk, and loose or damaged seals. Also check whether the door opens and closes normally. Painting is not a substitute for repairing a door that binds, sags, or operates unsafely.
- Disconnect power before working near the opener. Unplug or isolate the opener according to the manufacturer’s instructions before cleaning, sanding, or masking around it. Do not remove springs, cables, brackets, or other tensioned hardware as part of a painting project. Keep fingers, tools, and loose clothing away from hinges, rollers, and panel seams.
- Wash away dirt and residue. Clean away dust, road film, cobwebs, and grime so they do not interfere with adhesion. Use a suitable cleaner and follow its label directions. Work carefully around seals, windows, and hardware. When using paint removers or spray equipment, provide adequate ventilation and follow the product’s protective instructions.
- Remove loose paint and rust. Scrape away peeling or blistered paint and feather rough edges. On metal, use a wire brush or similar tool to remove surface rust without gouging the underlying material. If the existing paint is very old or its contents are unknown, get professional guidance before creating dust or aggressively removing it.
- Repair dents and scratches. Fill small dents or deep scratches with a patching material appropriate for the substrate. Let the repair cure according to the product directions, then smooth it until it sits level with the surrounding surface. Do not cover active rust, damp wood, or a failing seal and expect paint to correct the problem.
- Scuff-sand smooth areas. Lightly sand glossy surfaces with fine-grit paper to create a better mechanical bond. Scuff rather than aggressively grind the door, then remove sanding dust. This step is especially useful on smooth panels with an intact old finish. Sherwin-Williams recommends light sanding to promote adhesion.
- Mask what should not be painted. Use painter’s tape and protective material around windows, handles, hinges, tracks, weather seals, trim, sensors, and adjacent siding. Keep paint out of panel seams and moving hardware. Place a drop cloth beneath the door, but make sure it cannot become a trip hazard.
- Allow the surface to dry completely. Do not rush from washing or patching into priming. Moisture left on or in the door can contribute to poor adhesion, bubbling, or an uneven finish. Check shaded areas and repairs by touch, then follow the patch and coating manufacturer’s drying instructions.
- Prime bare or repaired areas where needed. Apply a primer compatible with the door material and chosen topcoat. Concentrate on bare metal, repaired patches, and other areas that need uniform coverage. Allow primer to dry fully, then inspect the surface once more before painting.
How Do You Paint a Garage Door Without Runs or Drips?
A clean application depends less on speed than on controlling how much paint reaches each panel. Work in manageable sections, keep the coating thin, and watch the seams while the paint is workable. If weather changes the drying time, allow extra time between coats instead of trying to cover the door in one pass.
- Choose a workable painting window. Follow the selected paint manufacturer’s temperature guidance, which commonly places exterior application around 50 F to 90 F. Avoid direct sun when possible because it can dry paint too quickly and leave an uneven finish. High humidity can slow drying, so plan around a dry period and do not coat a damp door.
- Protect the driveway and moving parts. Place a drop cloth beneath the door and mask windows, handles, hinges, and other hardware. Keep paint away from rollers, tracks, springs, weather seals, and joints between sections. Paint buildup can interfere with operation and make future maintenance harder.
- Start with the uppermost panel you can reach safely. Use a stable work position rather than stretching from a ladder or leaning over the door. Treat each section as its own work area. Begin with recessed details and edges, then move across the broader face. Cut around windows and decorative inserts instead of flooding their corners with a roller.
- Cut in edges with a synthetic angled brush. Load only enough paint to maintain a wet edge, then brush out excess before it gathers at a seam. Direct strokes toward the center of the panel. Do not leave a thick bead along the bottom edge, where gravity can turn excess paint into a visible drip.
- Roll the panel with the correct nap. Select a nap that matches the panel texture. Apply paint in overlapping passes without repeatedly working an area after it begins to tack. A light, even coat is easier to level than a heavily loaded roller.
- Inspect every seam before moving on. Look along vertical and horizontal joints after each panel. Use a nearly dry brush to lift a run and feather the edge while the coating is wet. Wipe paint from hardware or seals immediately with the appropriate cleanup material. Do not operate the door until the coating has dried according to the product instructions.
- Build coverage with several light coats. Multiple thin coats are less likely to run or sag than one thick coat. Let each coat dry fully, then check for holidays, brush marks, or thin spots before adding the next. For broader project planning, review these Boise painting timelines, then add time for panel detail and weather delays.
- Skip spraying when conditions are not controlled. Spraying can create a smooth finish, but it increases overspray risk around siding, vehicles, windows, landscaping, and the driveway. It also requires suitable equipment, masking, ventilation, and confident spray control. Brushing and rolling are slower, but they offer more control for a single garage door and its moving parts.
What Finish Works Best After Painting a Garage Door in Boise?
Boise garage doors experience more than ordinary outdoor wear. A south- or west-facing door can heat quickly in direct sun, then face cold nights and seasonal freeze-thaw cycles. The finish needs to move with the door rather than becoming brittle, and the application schedule needs to give each coat enough time to dry.
For many painted garage doors, a quality acrylic latex exterior coating is a practical starting point. Acrylic exterior paints are valued for flexibility as temperatures change, which can help the coating accommodate normal expansion and contraction. The right product still depends on the door material, existing coating, and manufacturer’s directions. Metal doors need paint rated for exterior metal so the coating bonds appropriately and supports rust protection.
| Option | Consideration |
|---|---|
| Acrylic latex | Flexible exterior coating for many substrates |
| Satin | Lower glare with a balanced appearance |
| Higher sheen | Easier cleaning, but surface flaws may show |
Sheen is a visual decision. It is not a durability guarantee by itself. Higher reflectivity can draw attention to dents, patching, or brush marks. Careful preparation and even application matter more than selecting a finish by name alone.
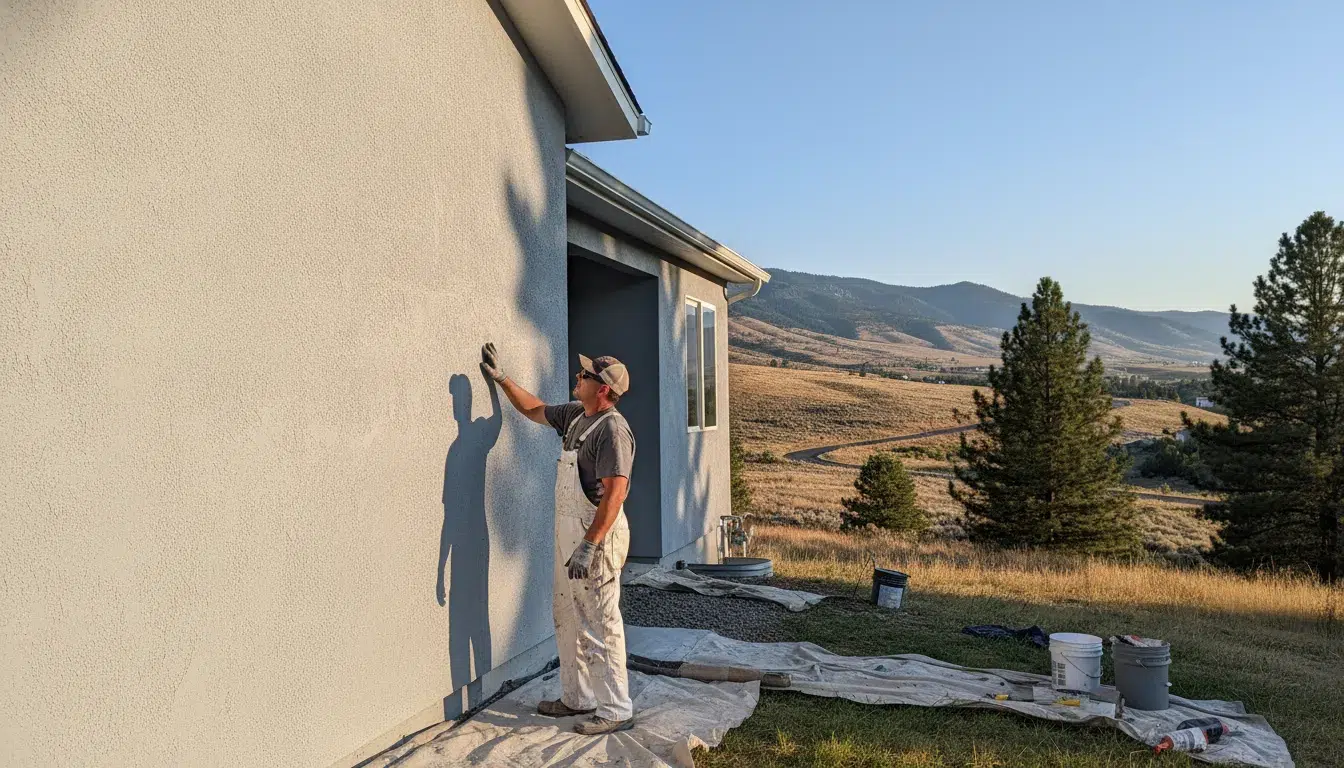
Color deserves similar consideration. Darker colors can absorb more solar heat, which may make a sun-facing door especially challenging during warm weather. That does not make every dark color unsuitable, but it makes the product’s technical guidance and the door’s exposure important factors. A color that looks balanced in a shaded sample may appear different on a full door in afternoon sun.
Plan the work around the weather rather than forcing a convenient date. The label for the selected product controls, even when common exterior guidance suggests a range around 50 F to 90 F. Avoid painting in direct sunlight because rapid drying can contribute to uneven application and brush marks. High humidity can delay drying and affect the finish. The door should be fully dry before primer or paint is applied, and each coat should dry according to the product instructions.
A shaded, dry window with stable temperatures gives the coating a better chance to level and cure consistently. Inspect the finish periodically after completion, particularly on sun-exposed edges and areas near seals, so small wear spots can be addressed before peeling spreads.
When Should You Repaint or Hire a Professional?
A garage door does not always need a full repaint at the first sign of wear. Inspect the finish in good daylight. Faded color, small chips, chalking, and isolated scuffs may be manageable with careful preparation and touch-up work. Regular inspection helps you catch weak spots before they develop into widespread peeling.
Peeling paint, exposed metal, and rust are stronger reasons to slow down and assess the job before opening a paint can. Loose paint should be removed rather than covered, and rust needs to be addressed without damaging the underlying door. Small dents or deep scratches may need appropriate filler before the surface can be primed. If a seal is cracked, brittle, or pulling away, painting over it will not solve the underlying problem.
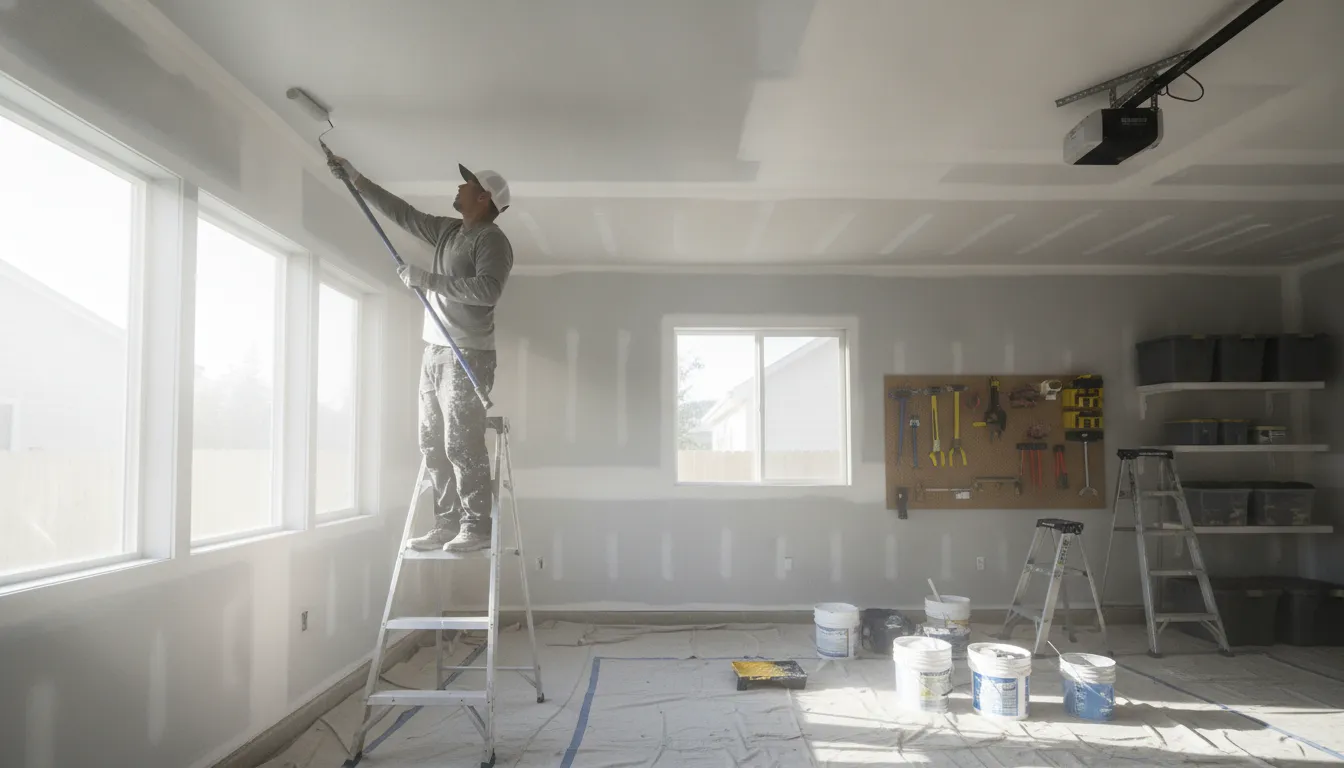
DIY painting can make sense when the door is in sound condition, easy to reach, and simple to prepare. The decision changes when the door has multiple panels, decorative windows, intricate trim, or a difficult surface. Working around hinges, handles, weather seals, and moving sections requires patience. A ladder adds risk when you are also trying to maintain consistent coverage. Spray equipment creates overspray and requires adequate ventilation.
Hiring a professional is usually worthwhile when preparation is the largest part of the job. Paint Boise begins with a surface assessment, then plans the cleaning, scraping, rust treatment, repairs, masking, and priming needed for the door. The team also accounts for direct sun, humidity, and the manufacturer’s temperature guidance rather than forcing the work into an unsuitable weather window. See the exterior painting service to learn more.
Before work begins, ask what condition the existing coating is in and which repairs are included. Ask how seals and hardware will be protected, and what needs to happen before the door is used again. Paint Boise serves homeowners throughout Boise and the Treasure Valley with estimates and project communication designed to keep the decision straightforward.
Whether you handle a minor refresh yourself or bring in a professional for extensive preparation, the goal is a clean, sound surface. The finish should complement the home without interfering with the door’s operation.
Frequently Asked Questions
How do you paint a garage door?
Start by cleaning the door, removing loose paint, and allowing the surface to dry completely. Lightly scuff smooth areas, repair small imperfections, and mask windows, handles, hinges, and seals. Apply compatible exterior primer where needed, then use an exterior topcoat in several light coats. Keep paint out of seams and moving hardware.
Can you paint a garage door yourself?
Yes, a homeowner can handle the work when the door is in sound condition. The surface is accessible, and the project can be completed without disturbing springs, cables, or other tensioned parts. Hire a professional when the door is damaged, difficult to reach, heavily rusted, or requires extensive preparation or spraying.
What type of paint should I use on a garage door?
Use an exterior-rated coating that is compatible with the door material and existing finish. Acrylic latex exterior paint is often a practical option for many doors because it can remain flexible as temperatures change. Metal doors need a system rated for exterior metal, and the label should guide primer selection.
Do I need to prime my garage door before painting?
Primer is especially useful on bare metal, repaired patches, exposed wood, and areas where the old coating has been removed. It can create a more uniform base and support adhesion. Choose a primer compatible with both the substrate and the finish coat, then follow the manufacturer’s drying instructions.
How long does it take to paint a garage door?
The painting itself may take a day, but the complete project can take longer when cleaning, scraping, repairs, primer, multiple finish coats, and weather delays are included. Drying time depends on the product, temperature, humidity, and the door’s exposure. Do not operate the door until the coating has dried as directed.
Want a professional garage door painting assessment? Contact Paint Boise for a free estimate.