
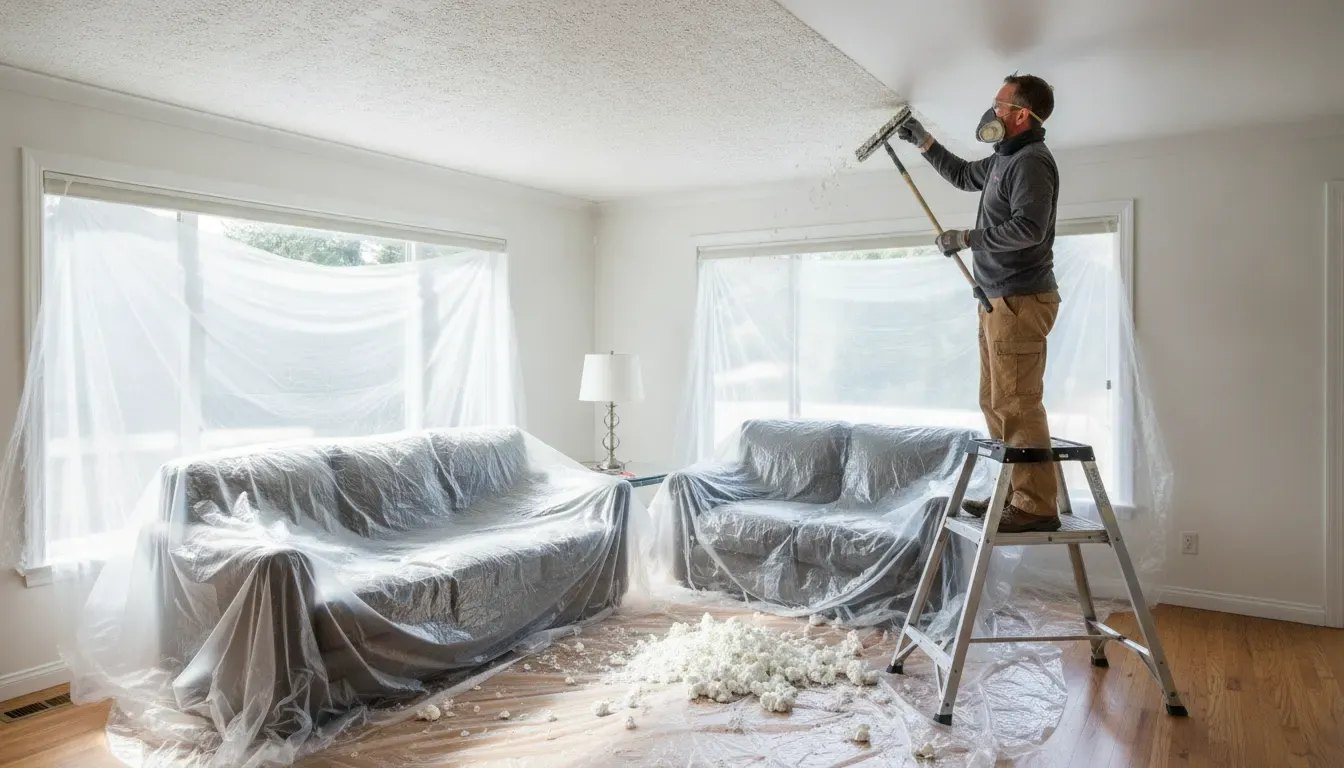
Learning how to remove popcorn ceiling texture is mostly a preparation and surface-repair project, not just a scraping job. With the right safety check, room protection, tools, and finishing plan, a Boise homeowner can work in controlled sections and turn a dated ceiling into a clean surface ready for primer and paint.
Request a free quote for ceiling removal and refinishing in Boise
Before you start: decide whether the ceiling can be disturbed
Before removing any texture, confirm that the project is appropriate for DIY work. Popcorn and acoustic ceiling finishes can look similar whether or not they contain asbestos, so appearance alone is not a safety test. If the material is damaged, if you are unsure of its history, or if the work will scrape, sand, drill, or otherwise disturb it, stop and get guidance from a qualified asbestos professional before proceeding.
The US Environmental Protection Agency advises homeowners not to disturb suspect material and recommends trained, accredited professionals for sampling and removal. Read the EPA guidance on protecting your family from asbestos exposure for the complete safety framework. This article explains a cosmetic removal workflow after the material has been cleared for the planned work. It is not an asbestos inspection or abatement guide.
What do you need to remove popcorn ceiling texture?
A successful removal job uses simple tools, but each one has a purpose. Gather everything before you begin so you are not walking through a protected work area with wet debris on the floor.
- Plastic sheeting for floors, walls, doors, furniture, and light fixtures.
- Painter’s tape and, where needed, masking paper for clean edges.
- A hand pump sprayer or spray bottle that produces a light mist.
- A wide plastic drywall knife or ceiling scraper with a manageable edge.
- A small putty knife for corners and tight areas.
- A bucket or lined container for damp ceiling debris.
- Joint compound or skim-coat material for shallow repairs.
- Drywall sanding tools and a sanding sponge for edges.
- Stain-blocking or drywall primer, depending on the ceiling condition.
- Flat ceiling paint, a roller, an extension pole, and an edging brush.
- Safety glasses, work gloves, a dust mask for ordinary cleanup, and stable access equipment.
Use a stable platform that lets you keep both feet secure and avoid overreaching. A step ladder is not a substitute for a scaffold or platform when the ceiling is large or high. Keep the room ventilated without blowing debris through the house, and turn off ceiling fans before beginning.
How do you prepare a room for popcorn ceiling removal?
Room protection is the first visible sign of a controlled project. Removing ceiling texture creates damp, crumbly debris that can travel farther than expected. Move small furniture out of the room, cover anything that remains, and create a sealed work zone before spraying the ceiling.
- Remove light shades, vent covers, wall decorations, and other items that could collect debris. Turn off power before removing or masking anything connected to electricity.
- Cover the entire floor with plastic sheeting, then add a second layer or heavy drop cloth where you will stand and scrape.
- Cover furniture and seal doorways or open transitions with plastic. Protect trim and wall corners with painter’s tape.
- Protect recessed lights, smoke detectors, vents, and ceiling fans according to safe electrical and ventilation practices. Do not trap heat around an energized light.
- Plan where wet debris will go. A lined bucket or disposable pan near the work area is easier to manage than carrying loose material across the room.
- Test a small, inconspicuous section with a light mist only after the safety clearance is complete. The test shows how readily the texture releases and whether the surface underneath needs extra care.
How do you wet and scrape popcorn ceiling texture?
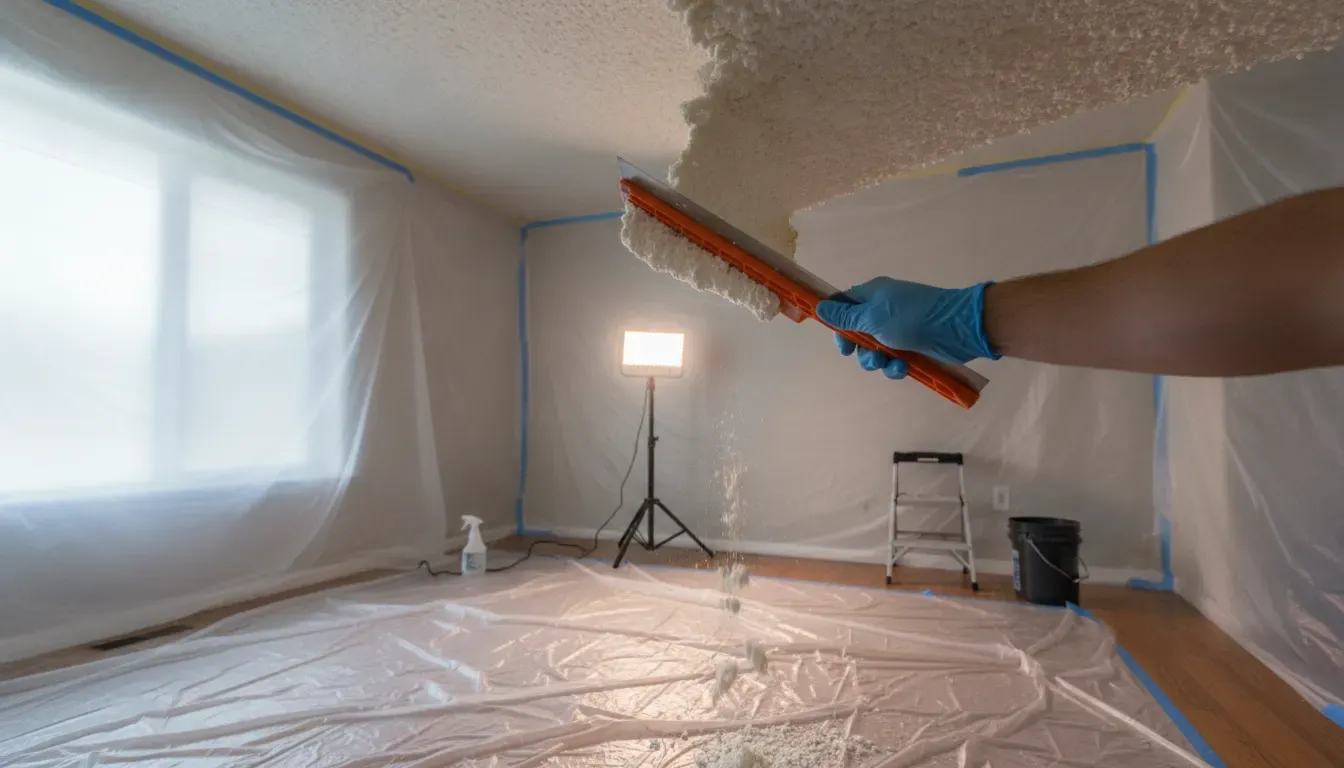
Work in small sections rather than soaking the entire ceiling. A light, even mist gives the texture time to soften while keeping the drywall below from becoming saturated. Start with a manageable area, wait briefly, and test the edge with the scraper. The correct amount of moisture lets the texture lift with steady pressure instead of forcing the blade into the ceiling.
- Spray a section about 3 to 4 feet wide with a light mist. Do not aim for dripping wet drywall.
- Let the water sit for a few minutes, then test the texture with a plastic scraper. Add a little moisture if it is still hard, but avoid flooding the area.
- Hold the scraper at a shallow angle and push with controlled pressure. Keep the edge moving in the same direction where possible.
- Catch the softened material on the protected floor or in your lined container. Do not let large wet clumps dry in place.
- Use a smaller knife around corners, vents, trim, and fixtures. Slow down at transitions so you do not gouge the drywall.
- Move to the next section only after the current area is reasonably clear. Re-mist small stubborn spots instead of increasing pressure.
Painted texture may not soften as easily because the coating can resist water. Do not compensate by digging harder. A painted ceiling may need a different removal approach, and aggressive scraping can damage drywall paper or create a larger repair job. If the surface does not release with controlled testing, pause and reassess the scope.
How do you repair the ceiling after scraping?
Removing the popcorn texture exposes the ceiling that was underneath it. Expect to see shallow ridges, seams, fastener marks, paper tears, or old patches. A smooth final finish depends more on correcting these imperfections than on the scraping itself.
1. Let the surface dry and inspect it
Give the ceiling time to dry before applying compound. Look across the surface from several angles with a bright work light. Mark obvious dents, loose paper, cracks, and high spots. Remove only loose material that is safe to address, and avoid turning a minor imperfection into a large gouge.
2. Make small repairs
Use the appropriate joint compound for shallow divots and seams. Apply thin coats instead of one thick layer. Feather each edge beyond the repair so the transition is gradual. For torn drywall paper or deeper damage, use a compatible sealer or repair method before applying compound. Water stains also need their source corrected before cosmetic finishing.
3. Skim coat uneven areas
If the ceiling has widespread texture residue or unevenness, apply a thin skim coat over the affected surface. Keep the knife pressure consistent and work in overlapping passes. The goal is a level base, not a perfectly finished coat on the first attempt. Let the compound dry fully, then sand high spots and repeat thin applications where needed.
4. Control dust during sanding
Use dust control practices and protect the room again before sanding. A sanding sponge can help with edges and small areas. Do not polish the surface aggressively, because primer needs a sound, clean substrate. Vacuum or wipe up residue only with equipment and methods appropriate for ordinary drywall dust after the safety clearance for the original texture.
For a broader overview of how ceiling preparation affects the final coat, see Paint Boise’s ceiling painting guide. It covers primer, sheen, roller selection, and the wet-edge technique used during the finishing stage.
Need help turning a scraped ceiling into a smooth, paint-ready surface? Contact Paint Boise
How do you prime and paint a smooth ceiling?
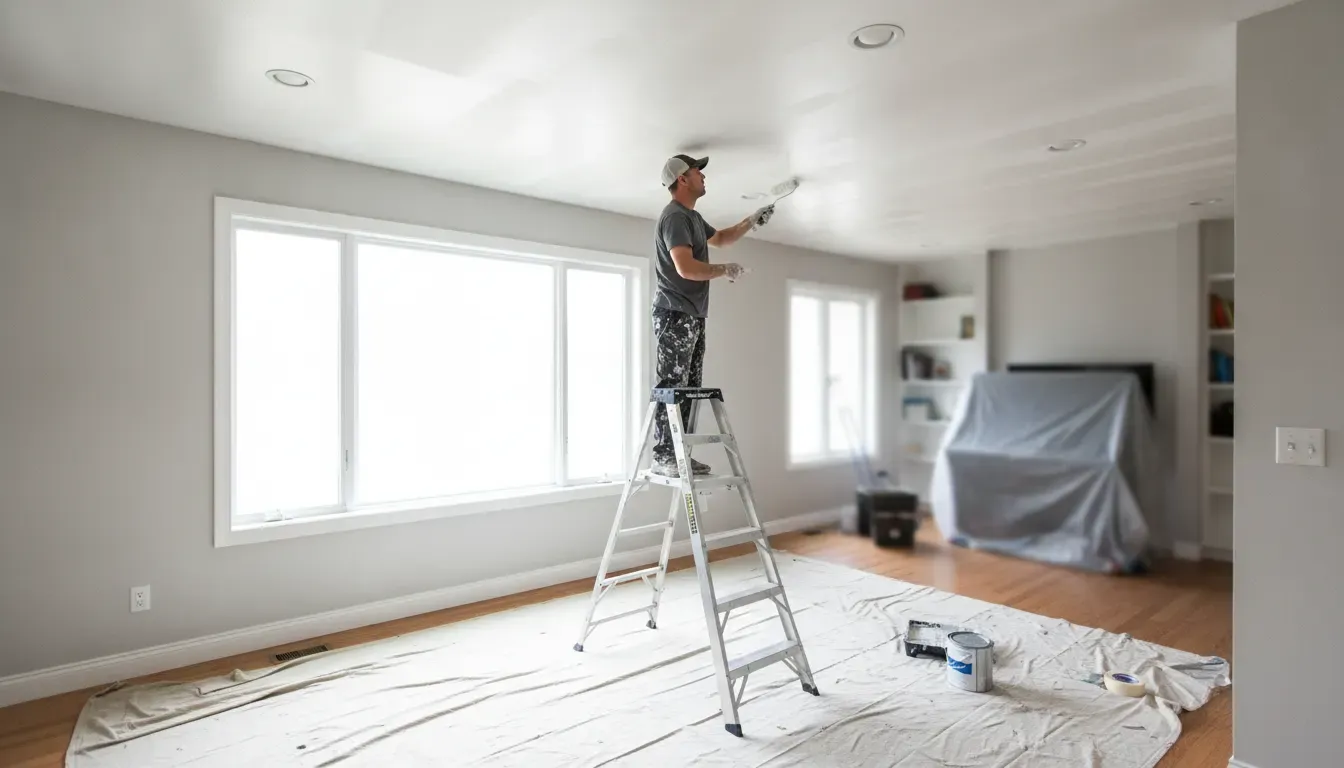
Primer creates a consistent base between the repaired ceiling and the finish paint. It can also help seal porous joint compound and isolate properly repaired stains. Choose a primer suited to the surface condition, follow the product label, and let it dry before judging whether another repair coat is needed.
- Remove sanding residue and confirm that repairs are dry and firm.
- Prime repaired areas first, or prime the entire ceiling when the surface has mixed porosity or widespread skim coating.
- Inspect the primed surface under the same lighting the room will use. Fix remaining ridges before finish paint.
- Cut in around walls, trim, fixtures, and vents with a quality brush.
- Roll the ceiling in manageable sections, keeping a wet edge so one section blends into the next.
- Use a flat ceiling paint when you want to reduce the appearance of minor imperfections and make touch-ups less noticeable.
- Allow the first coat to dry according to the product directions, then apply a second coat if coverage or sheen is uneven.
Do not judge the final appearance while the paint is still wet. A roller pass can look uneven until the sheen settles. Check the ceiling after it dries from multiple viewpoints, including near windows and under the room’s normal lights.
What are the best alternatives if removal is not the right choice?
Removing texture is not the only way to update a ceiling. The right choice depends on the material, the desired appearance, and whether the surface can be disturbed safely.
| Option | Best fit | What it does not solve |
|---|---|---|
| Remove and refinish | You want a smooth ceiling and the material has been cleared for disturbance. | It does not eliminate the need for repairs, primer, or careful room protection. |
| Paint over texture | The texture is sound, safe to coat, and its profile is acceptable. | Paint changes the color but does not create a smooth surface. |
| Repair selected areas | Only a small section is damaged and the existing finish is otherwise acceptable. | Patch blending may remain visible on a heavily textured ceiling. |
| Qualified professional evaluation | The material is uncertain, damaged, or likely to be disturbed by remodeling. | It is not a shortcut around testing or regulated work requirements. |
For a visual comparison of textured and smooth surfaces, review Paint Boise’s guide to textured versus smooth walls. If you decide the project is larger than a single ceiling, Paint Boise’s interior painting team can discuss the preparation and finish sequence for the surrounding room.
How can you avoid common popcorn ceiling removal problems?
Most disappointing results come from rushing one of four stages: safety, moisture control, repair, or finish inspection. Use these checks before moving forward.
- Texture will not release: Stop forcing the scraper. Painted texture, hard compound, or an unsuitable surface may need a different plan.
- Drywall paper is tearing: Reduce pressure and blade angle. Widespread tears need repair before compound and primer.
- The ceiling looks wavy: Use thin skim coats and inspect with side lighting. More finish paint will not hide major ridges.
- Stains bleed through: Find and correct the moisture source, then use an appropriate stain-blocking primer.
- Edges look rough: Slow down around trim, vents, and lights. These transitions are easy to notice after the room is finished.
- Debris spreads through the house: Stop, improve the plastic barrier, and change cleanup procedures before continuing.
When a ceiling has extensive damage, high access, multiple rooms, or uncertain material, professional assessment can reduce rework. Paint Boise provides interior painting and ceiling preparation throughout Boise and the Treasure Valley, including Meridian, Garden City, Nampa, Caldwell, Eagle, Kuna, and Star. Call Paint Boise at (208) 254-6615 to discuss the scope, or use the contact page to request an estimate.
Get a free quote for your Boise ceiling project
Frequently asked questions about removing popcorn ceilings
Can I remove popcorn ceiling texture myself?
You may be able to remove a cleared, removable texture in a small room if you can protect the space, work from stable access equipment, and repair the ceiling afterward. Do not begin if the material may contain asbestos, is damaged, or will be disturbed without qualified guidance.
Do I have to wet popcorn ceiling before scraping?
Light misting can soften some unpainted texture and make controlled scraping easier. Work in small sections and avoid soaking the drywall. If the texture does not respond, do not increase pressure without reassessing the surface and the removal plan.
Can I remove popcorn ceiling if it has been painted?
Paint can make texture more resistant to water and harder to remove cleanly. Test a small area only after the safety clearance, then stop if the surface requires force or begins damaging the drywall. Painted texture may call for a different professional approach.
How do I make the ceiling smooth after removing popcorn texture?
Let the ceiling dry, repair seams and damage, apply thin skim coats where needed, sand high spots, prime the surface, and inspect it under good lighting before painting. A smooth finish comes from repeated thin corrections, not one heavy coat of compound.
How long should I wait before painting the repaired ceiling?
Wait until the compound and primer are fully dry according to their product directions. Drying time varies with coat thickness, ventilation, humidity, and the room temperature. Painting over damp repairs can trap moisture and reveal uneven texture later.
What if I am unsure whether my popcorn ceiling contains asbestos?
Do not scrape, sand, drill, paint, or take a sample yourself. Leave the material alone and contact a trained, accredited asbestos professional for the appropriate evaluation. Detailed testing and abatement decisions fall outside a cosmetic painting workflow.
Final checklist for a clean ceiling finish
Before removing your plastic sheeting, inspect the finished room in normal daylight and under the room’s lights. Confirm that the ceiling is smooth enough for the intended finish, edges are clean, fixtures are safely restored, and no damp debris remains. If the work has expanded beyond a small cosmetic project, pause and get a written scope from a qualified professional.
For Boise homeowners, the complete sequence is simple to summarize: clear the safety question, protect the room, mist and scrape in controlled sections, repair the exposed ceiling, prime, paint, and inspect before cleanup. Careful preparation is what turns popcorn ceiling removal into a durable interior improvement instead of a rushed patch-and-paint job.