
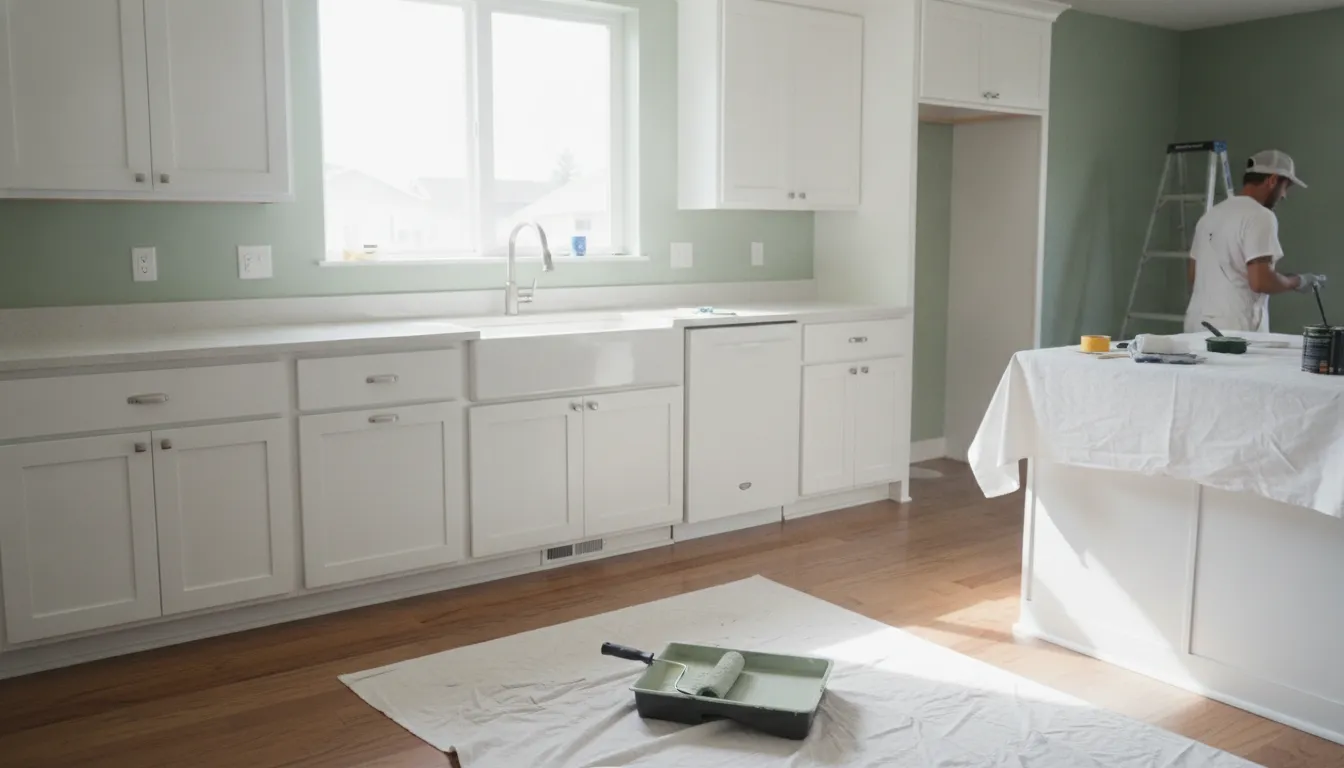
A kitchen can feel dated long before the cabinets need attention. A fresh wall color is often the fastest, most cost-effective way to change the room’s atmosphere, define a breakfast nook, or make everyday wear less noticeable. Because kitchen walls face grease, steam, and frequent cleaning, the best design idea also needs to perform in real Boise homes.
Get a Free Kitchen Wall Painting Estimate in Boise and talk through colors, finishes, and prep with a local team that has done this work across the Treasure Valley for more than 40 years.
Kitchen wall painting Boise projects work best when color, sheen, and surface preparation are planned together. Choose a durable, scrubbable wall paint, coordinate the shade with your existing cabinets and countertops, and test samples in morning, afternoon, and evening light before committing. The result can refresh the space without the cost or disruption of a full remodel.
Start with the finish: it affects how your walls handle cleaning, reflect light, and look alongside the rest of the kitchen. The right choice depends on traffic, moisture, lighting, and the feel you want the room to have.
Best Paint Finishes for Kitchen Walls in Boise
Kitchen walls need to look good, but they also need to handle the practical demands of daily cooking. Grease splatters, steam, fingerprints, and frequent wiping can quickly expose a finish that was chosen for appearance alone. For most Boise kitchens, a durable, scrubbable finish offers the best balance of cleanability, appearance, and long-term value.
| Finish | Best for | Cleanability | Light reflection |
|---|---|---|---|
| Satin | Most kitchen walls: prep areas, walls near sinks and ranges. | Good; easy routine wiping. | Moderate; helps a dim kitchen feel brighter. |
| Semi-gloss | High-traffic zones that need frequent scrubbing. | Excellent; resists grease and moisture. | High; can reveal drywall imperfections. |
| Matte | Low-traffic kitchens and dining-adjacent walls. | Lower; less forgiving with repeated cleaning. | Low; absorbs light and softens glare. |
Choose satin or semi-gloss for everyday durability
Satin is often the most versatile choice for kitchen walls. Its moderate sheen helps repel moisture and makes routine cleaning easier without creating the pronounced shine of a high-gloss coating. It works well in kitchens with active prep areas, children, or walls near sinks and ranges. Semi-gloss adds more washability and moisture resistance, making it useful for especially busy areas or walls that need frequent scrubbing.
The goal is not simply to choose the shiniest paint available. Too much sheen can draw attention to uneven drywall, patched areas, or rough texture. A smooth application with a quality roller usually produces a cleaner, more lasting result than decorative texture techniques. For more guidance, review these ideal paint finishes for kitchen walls before selecting a product.
Use matte strategically in low-traffic kitchens
Matte paint can create a soft, relaxed look and reduce the visual harshness of strong lighting. It is best reserved for low-traffic kitchens, dining-adjacent walls, or areas that are less likely to collect splashes and fingerprints. Matte finishes are also less forgiving with repeated cleaning, which makes them a poor fit behind a stove, beside a sink, or along a heavily used walkway.
Finish selection should also account for the room’s natural light. A satin or semi-gloss surface reflects more light and can help a dim kitchen feel brighter. Matte absorbs light and can calm a space with intense sun or glare. Boise homes can shift noticeably from morning sunlight to afternoon brightness and evening lamplight, so view paint samples under each condition before committing.
Coordinate the finish with the whole kitchen
Walls should support the room’s existing features rather than compete with them. Consider how the wall sheen will look beside the backsplash, countertops, flooring, and cabinet surfaces. Cabinets may be a visual coordination reference, but the wall finish should be selected for the wall’s exposure and cleaning needs. These durable sheens for Boise kitchens can help compare options across adjacent rooms while keeping the kitchen practical.
How to Choose Kitchen Wall Colors That Work With Your Cabinets
Start with the cabinets, countertops, flooring, and backsplash as a connected palette. The wall should support those fixed elements rather than compete with them. Interior color expert Kylie Mawdsley recommends deciding on the contrast you want between walls and cabinets, then checking undertones before you open a single can of paint. Walls work best as a backdrop, so choose a color that lets the cabinetry and other finishes look intentional. Modern kitchen wall color trends can provide inspiration, but your own materials and natural light should make the final decision.
Coordinate the undertones
White cabinets give you flexibility, but not every white is truly neutral. Pair bright white cabinetry with a soft gray, muted blue, pale green, or warm off-white after checking the undertones. If the cabinets feel creamy, a warmer wall color usually creates a more comfortable transition than a stark blue-white.
Wood-tone cabinets already bring warmth and variation to the room. Soft white, greige, muted sage, or a restrained blue can balance that warmth without making the kitchen feel busy. Look at the cabinet grain and nearby surfaces in daylight before choosing a sample. The goal is a cohesive relationship between wall color and existing cabinetry, furniture, and counters, not a collection of disconnected colors. A designer’s guide to coordinating wall and cabinet colors with light reflectance values and undertones explains how to pair finishes before you commit to a shade.
Painted cabinets call for the same visual check. A neutral wall can calm bold blue, green, or charcoal cabinetry, while a subtle color can keep white or pale painted cabinets from feeling flat. Keep cabinet references to coordination only: the wall color should frame the cabinetry, not attempt to imitate a refinishing project.
Test colors through a Boise day
Paint at least three large sample areas on different walls, or use large sample boards that can move around the kitchen. Live with them through morning sun, afternoon glare, and evening lamplight. Those changing conditions reveal the shade’s true character, and Boise’s natural light can make the same color appear cooler. Warmer, brighter, or more muted from one part of the day to the next. Benjamin Moore’s paint sampling guide recommends applying real paint samples and viewing them in different rooms and lighting throughout the day before choosing a final color.
Use contrast to create depth
If the kitchen needs more dimension, try a light cool gray on the primary walls with a darker, related accent near a dining nook or another intentional feature. This combination can create depth without overwhelming white or wood-tone cabinets. A deeper navy, forest green, or charcoal may also provide a rich backdrop that helps lighter design elements stand out. Keep the accent limited and purposeful so the cabinets remain visually balanced.
Request Your Free Color Consultation for help choosing a wall color that works with your kitchen’s existing cabinets, counters, and lighting.
Kitchen Accent Wall Ideas for Nooks and Breakfast Areas
A breakfast nook or coffee bar is a natural place to add personality without making the entire kitchen feel busy. An accent wall can define the zone, frame a banquette, or give a small dining corner the visual weight it needs. Keep the focus on the wall surface and its relationship to the surrounding light, seating, backsplash, and countertops.
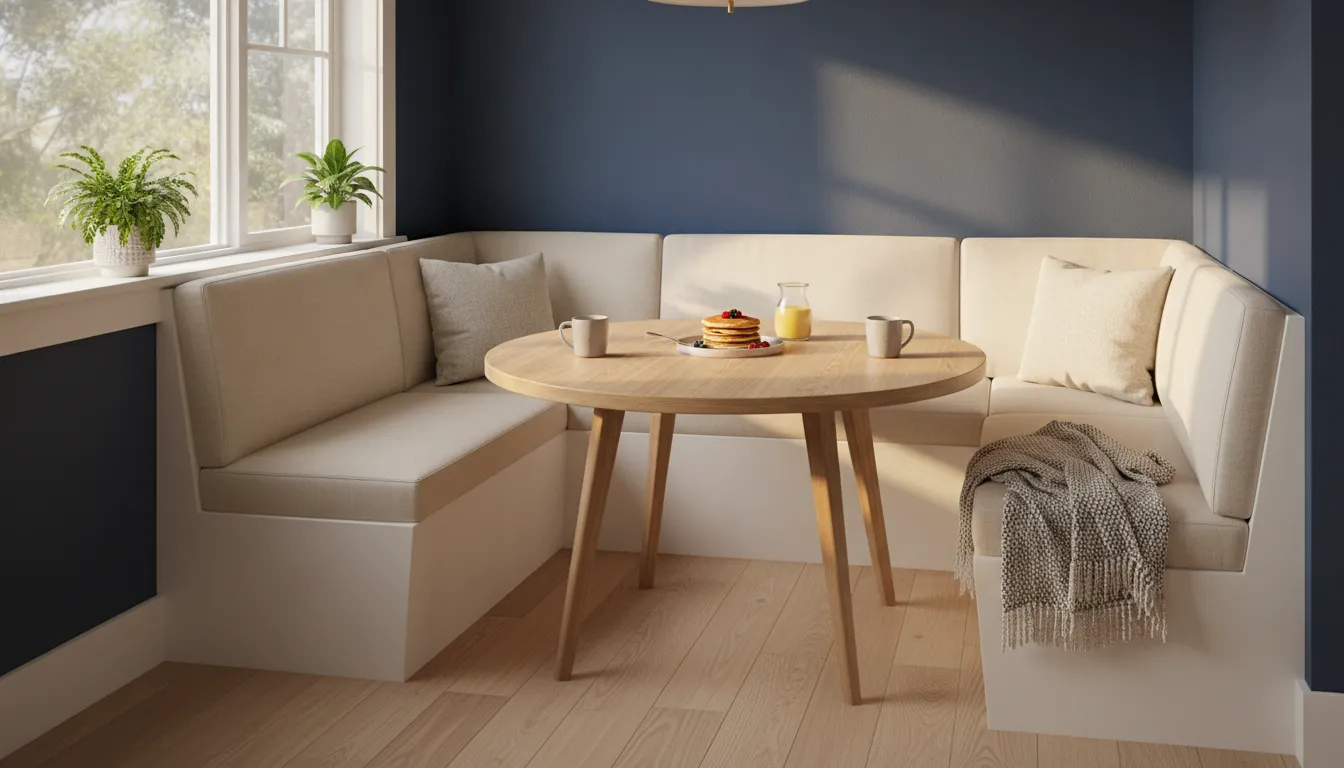
Use a deep tone to define a small nook
Behind a banquette, midnight blue or forest green can create a surprisingly open effect. Rich, dark colors may make a small space feel larger by blurring the edges of the walls, rather than stopping the eye at every corner. Design writers have documented how dark paint can work in small rooms when the color is carried confidently across the space. This approach works especially well when the accent wall continues cleanly behind the seating and is not broken up by too many shelves, frames, or competing finishes.
For a coffee bar, place the accent on the wall that receives the most natural attention when someone enters the kitchen. A short wall at the end of a counter can become a clear destination. A full-height wall behind the coffee station gives the area a more intentional, built-in feel. If the wall is narrow, paint the complete plane from corner to corner instead of creating a thin stripe around the station. A full plane usually looks more finished and avoids making the nook feel visually cramped.
Build depth with a lighter surrounding color
Pairing a light, cool gray on the surrounding walls with a darker accent can add depth without making the kitchen feel heavy. The contrast gives the nook a distinct backdrop, while the pale gray keeps adjacent walls visually quiet. This approach is particularly useful when the kitchen has limited natural light or when the seating area needs separation from the main work zone. Use the darker tone on the feature wall you want to draw the eye to. And keep the connecting walls lighter so the room still reads as one space.
Match the scale and placement to the architecture
Let the room determine the accent wall’s size. A banquette wall can usually carry a stronger color across its full width. For a compact breakfast corner, stop at natural boundaries such as inside corners, trim, or the end of a backsplash. Avoid ending paint in the middle of an uninterrupted wall, where the transition can look accidental. Before committing, view samples in morning, afternoon, and evening light. The same deep color can shift noticeably as daylight changes, so the right choice should work across the hours when your household uses the nook.
How to Paint Kitchen Walls Around Backsplashes and Countertops
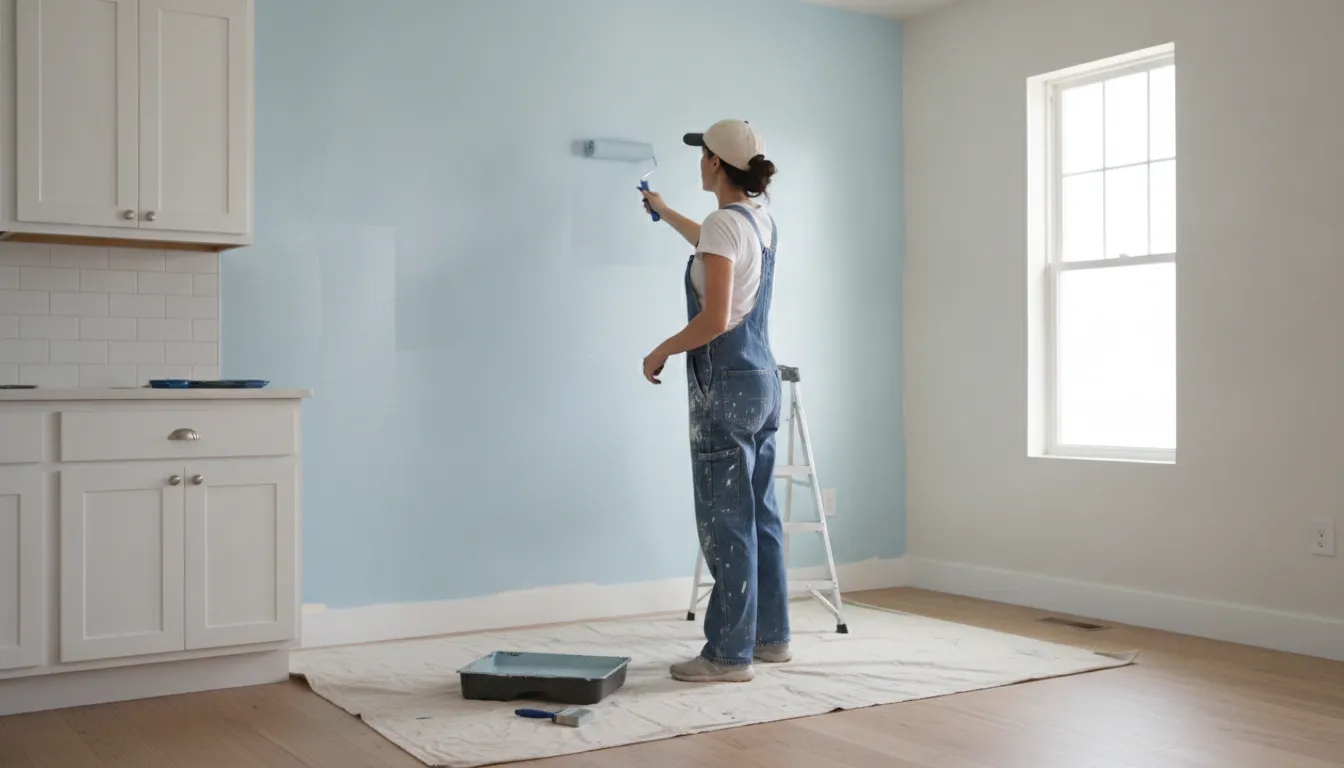
Painting the wall surface around a backsplash and countertop takes more than loading a roller and working toward the edges. These areas have tight transitions, uneven grout lines, and valuable finished surfaces that need protection. A careful sequence keeps paint off the tile, stone, and fixtures while creating crisp lines that make the whole kitchen look professionally finished.
-
Clear the work area and protect finished surfaces
Remove countertop appliances, decor, outlet covers, and anything else that limits access to the wall. Cover the floor with drop cloths, then place additional protection over the countertop. Use painter’s tape along the backsplash’s top edge, countertop seams, trim, and any fixed fixtures. Press the tape firmly, especially where tile has a subtle texture or grout line, but avoid stretching it so tightly that it pulls loose. A narrow strip of tape paired with a steady brush gives you better control than relying on tape alone.
-
Inspect and repair the wall before painting
Look across the wall from several angles to find dents, nail holes, raised fasteners, old adhesive, and roller bumps. Fill nail holes and other shallow imperfections, allow the patching compound to dry, and sand it smooth. Sand down bumps rather than painting over them. Sherwin-Williams’ wall prep guidance is clear on this: the surface should be clean, solid, and dry, with no cracks or imperfections, before any paint goes on. See this guide to preparing kitchen walls for a fresh coat for a broader preparation checklist.
-
Caulk small gaps along the backsplash and trim
Check for narrow gaps where the wall meets trim, a backsplash edge, or another stationary surface. Apply a thin bead of paintable caulk where appropriate, then tool it smooth with a damp finger or caulk tool. Wipe away excess before it skins over. Caulk is useful for creating a cleaner visual transition, but it should not be used to hide loose tile. Active moisture damage, or a large separation that needs repair first. Let the caulk cure according to the product directions before applying paint.
-
Cut in the edges with a controlled brush
Use a quality angled brush and load it lightly. Start slightly away from the backsplash, then work toward the taped edge with short, controlled strokes. Keep the brush bristles from flexing heavily into grout joints, where paint can travel beneath the tape. Work in manageable sections and refresh the paint on the brush before it becomes dry. Remove tape while the final coat is still slightly soft, pulling it back over itself at a low angle. If a small amount of paint reaches the backsplash, let it dry enough to handle, then clean it with the method appropriate for that surface.
-
Roll the open wall and inspect the finish
Once the edges are cut in, apply the wall paint with a quality roller, maintaining a wet edge as you move across the section. Use a durable, scrubbable product suited to kitchen cleaning demands from grease and steam. Keep the roller off the countertop and backsplash, even where they appear protected. After the coat dries, inspect the edges in direct and angled light. Lightly sand any raised specks, remove dust, and touch up rather than adding heavy paint to one small area. Good preparation and restrained application are what keep the final wall surface smooth.
The goal is not simply to paint up to the backsplash. It is to make the wall, tile, countertop, and trim read as one clean installation without sacrificing the finish of any existing feature.
Why Boise Homeowners Hire a Professional for Kitchen Wall Painting
Kitchen walls deal with more than changing light and daily traffic. They also face grease, steam, moisture, and repeated cleaning, so the right preparation and product choices matter to how long the finish looks good. A professional team brings local experience to those conditions, rather than treating every room as a generic paint project. Paint Boise has served Boise and the Treasure Valley for more than 40 years, with climate considerations built into its approach.
Local knowledge makes the finish more dependable
Moisture and traffic affect how often a kitchen needs attention, and the right paint system should reflect the room’s use. A professional can identify areas that need extra cleaning resistance, repair nail holes and surface bumps, and create a smooth foundation before applying the finish. That preparation is not just cosmetic. It helps the new coating adhere evenly and leaves fewer flaws to show through after the walls are painted. For broader project planning, see this guide to interior painting costs in Boise.
Paint Boise also provides a free color consultation with every project. That gives homeowners a practical way to evaluate wall color alongside existing counters, flooring, lighting, and cabinetry without letting the wall compete with the rest of the kitchen. The team can also discuss premium materials from brands such as Sherwin-Williams and Benjamin Moore, then recommend a finish suited to the space.
Clear protection before the work begins
Hiring a professional is also about reducing project risk. Paint Boise is licensed and insured, offers free estimates, and provides financing options for eligible residential projects. Its no-deposit, pay-when-satisfied guarantee means homeowners do not pay upfront and can review the completed work before payment. Projects are backed by a five-year warranty and a satisfaction guarantee, adding accountability beyond the final coat.
Call (208) 254-6615 to discuss your kitchen walls or request a free estimate. A measured assessment can clarify the preparation, finish, timeline, and investment before you commit.
Frequently Asked Questions
How much does it cost to paint a kitchen wall?
The price depends on wall area, surface condition, number of coats, paint type, and the amount of masking around cabinets, counters, and backsplashes. A small refresh may require less labor than a kitchen with repairs, stains, or a major color change. The most reliable way to price the project is an on-site estimate that accounts for preparation and finish requirements.
What colors look good on kitchen walls?
Choose a color that works with the cabinets, countertops, flooring, and available light rather than selecting the wall shade in isolation. Soft whites, warm neutrals, and light grays can keep a kitchen open, while a deeper blue or green can add focus to an accent wall. Test sample patches in morning, afternoon, and evening light before committing, because each condition can change how the color appears (Benjamin Moore).
What are some reputable painting services in Boise, Idaho?
Look for a painting company that explains its prep process, uses durable products, communicates clearly, and provides a written estimate. Paint Boise serves residential and commercial customers throughout Boise and the Treasure Valley, including Meridian, Eagle, Nampa, and Caldwell, and offers free estimates (Paint Boise). Call (208) 254-6615 to discuss your kitchen walls.
How much does it cost to hand paint a kitchen?
Hand-painted kitchen walls are priced by the same core factors as other wall projects, including square footage, repairs, trim and edge detail, access, and the number of coats. Labor can increase when careful brushwork is needed around backsplash edges or built-ins. Ask whether the estimate includes patching, sanding, protection, cleanup, and the selected scrubbable finish.
Ready to Refresh Your Kitchen Walls?
A fresh wall color and durable finish can give your Boise kitchen a cleaner, more cohesive feel without changing the room’s layout. Paint Boise can help you plan the right approach for your walls, from color selection through careful preparation and application. Call (208) 254-6615 to schedule a free kitchen wall painting estimate and talk through your project with the team.